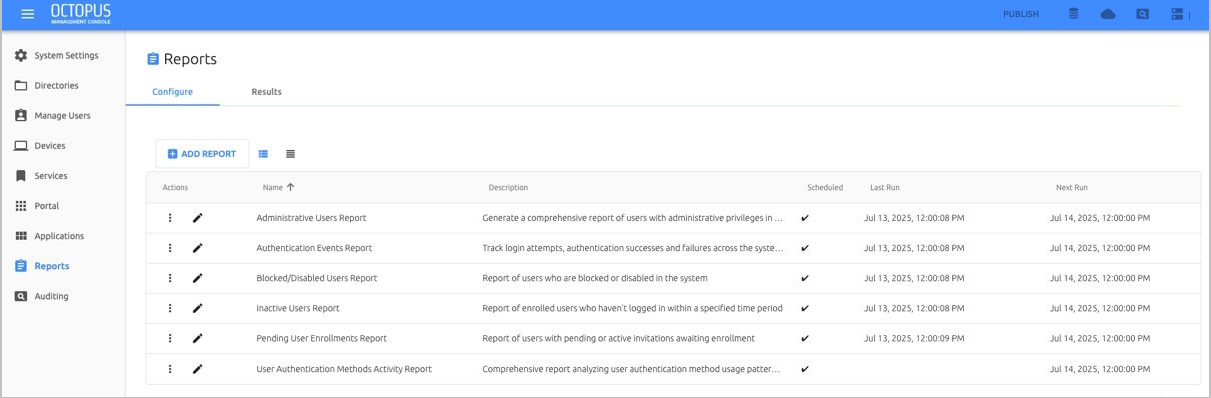
The Reports menu of the Octopus Management Console offers a variety of out-of-the-box report templates that enable you to easily track and monitor user status, enrollment trends, authentication events, authentication activity patterns and much more. A simple and intuitive report creation wizard is provided for each different report type, allowing you to add reports that are relevant for your needs and receive them in the format and at the frequency of your choice.
The Configure tab of the Reports menu lists all reports that have been added and displays basic scheduling information about each one.
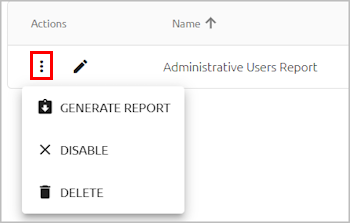
Clicking  in the Actions column enables you to perform the following operations on a report:
Generate Report: Initiates immediate report generation.
Disable: Inactivates the report generation schedule. The row of a disabled report is grayed out.

Delete: Removes the report from the system.
Clicking  in the row of a report opens the Edit Report Definition wizard, where you can review and update report parameters and settings.
Replica Database Requirement
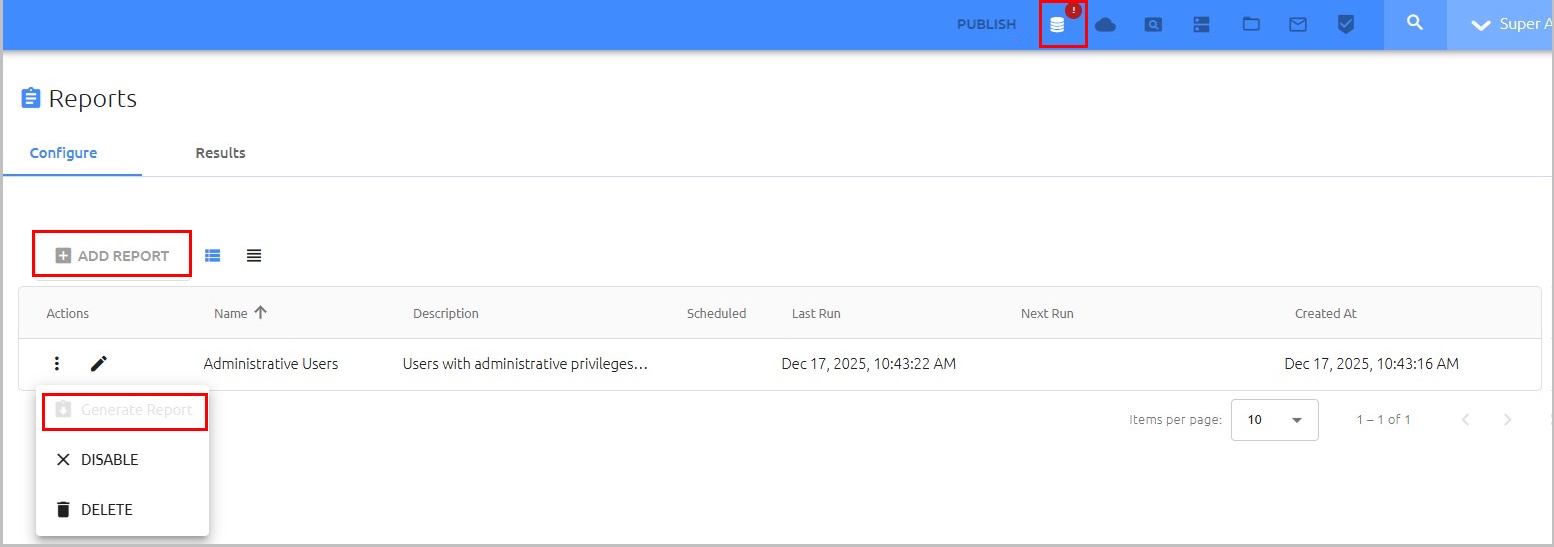
When there are over 10,000 users in the Octopus platform, a warning icon appears in the toolbar at the top of the Management Console, prompting you to create a read-only replica database. The replica, which prevents excessive load on the database, is required for continued support of report generation. For more information, refer to the Database section of the Configuring System Settings article.
Until the replica database is created, the Add Report and Generate Report actions are disabled.
Adding a report involves choosing a report template and then specifying parameters and settings in the relevant Report Definition wizard. Although some parameters can vary, depending on the type of report, the basic creation workflow is the same for all reports. The main steps for adding a new report are summarized in the procedure below.
To add a new report:
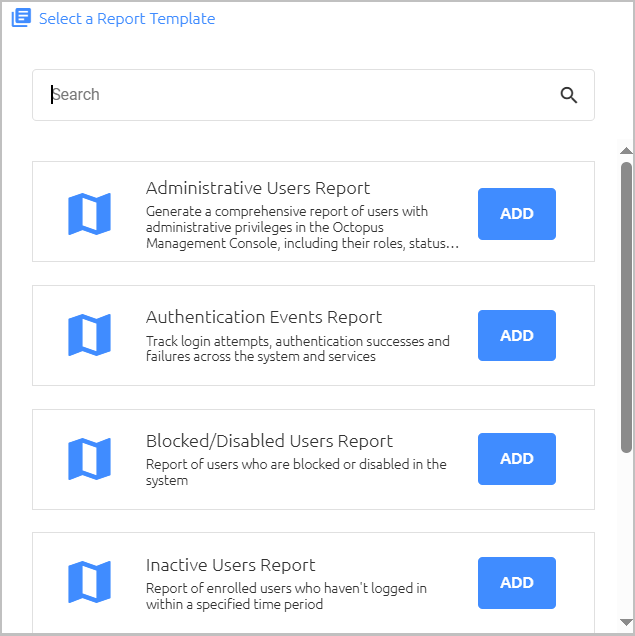
Select the template: At the top of the Configure tab, click Add Report to open the Select a Report Template dialog.
Then, in the frame of the relevant report type, click Add.
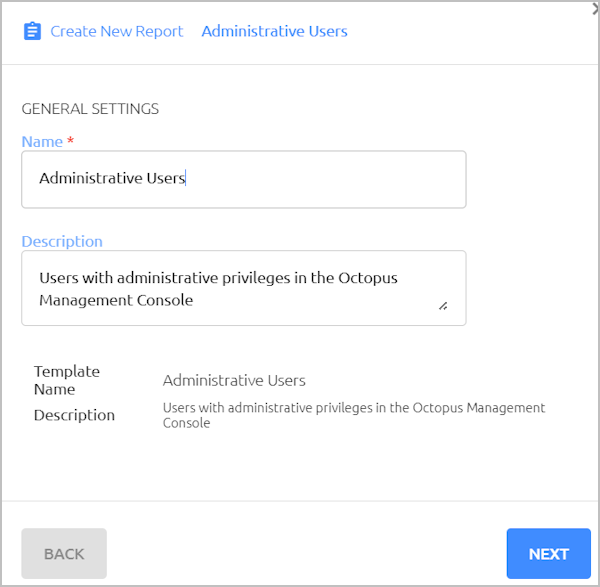
Name your report: On the General Settings page of the Create New Report Definition wizard, give the report a name (required) and a description (optional).
Then, click Next.
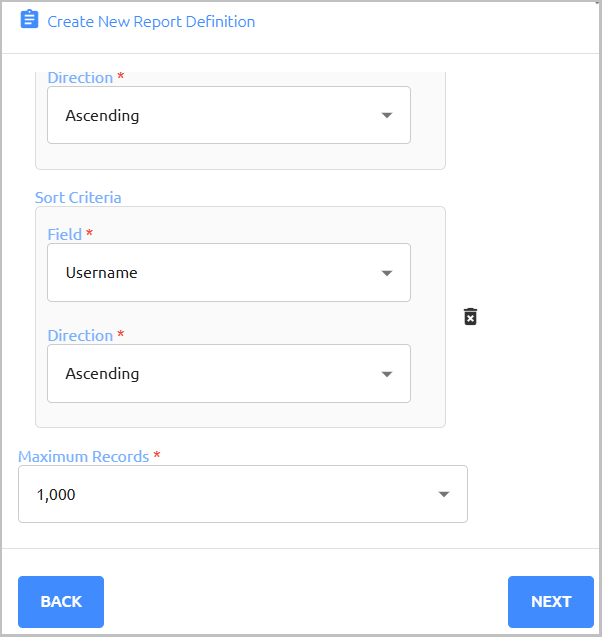
Specify report parameters: Parameters vary according to report type, but some common settings are:
Fields to Include in the report, such as username, role, invitation type, authentication method, etc.
Sort Criteria: This section enables you to add fields according to which the report can be sorted and specify sorting order (ascending or descending).
Maximum Records: Select 100, 500, 1000, 5000 or All records.
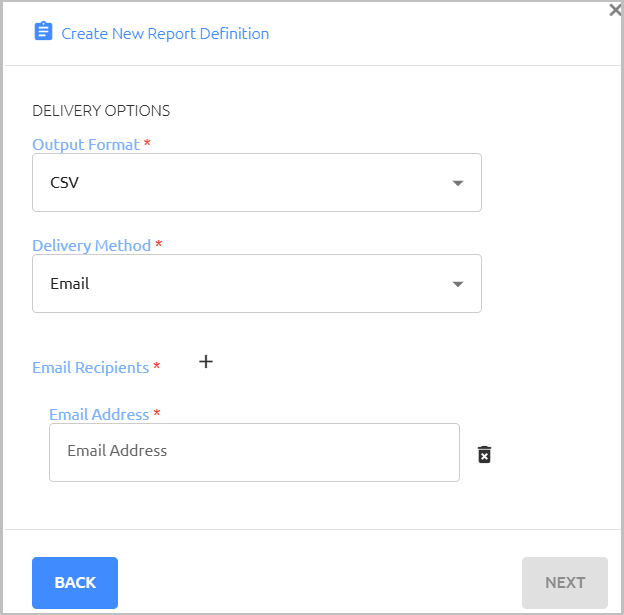
Set Delivery Options:
Output Format: Choose CSV, Excel, PDF or JSON.
Delivery Method: Select Email or Download.
If you choose Email, at least one email address needs to be provided.
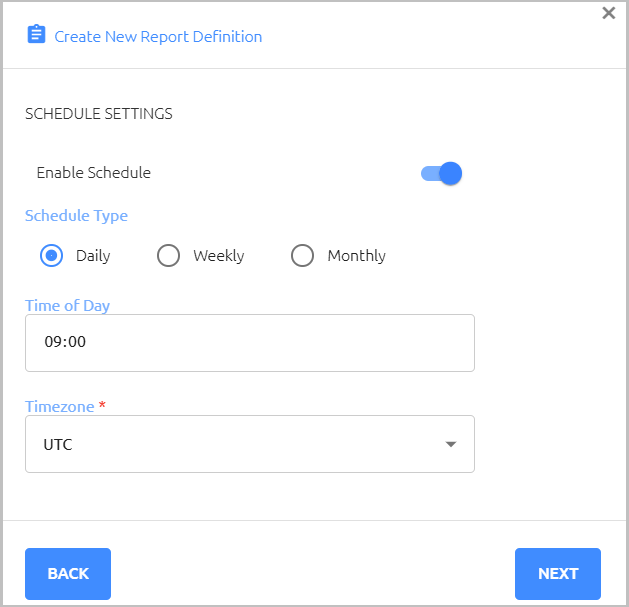
Configure Schedule Settings: Choose daily, weekly or monthly delivery. Then, specify time of delivery and choose a timezone.
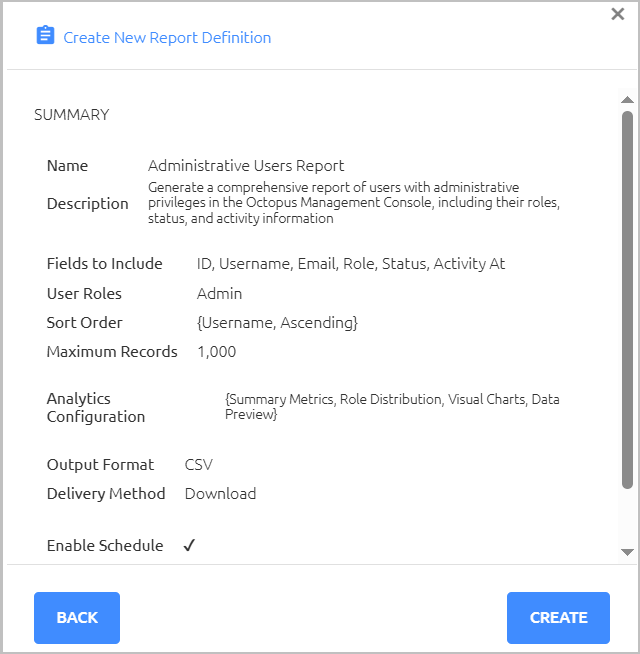
Review and save: Check the information displayed on the Summary page. To add the report, click Create.
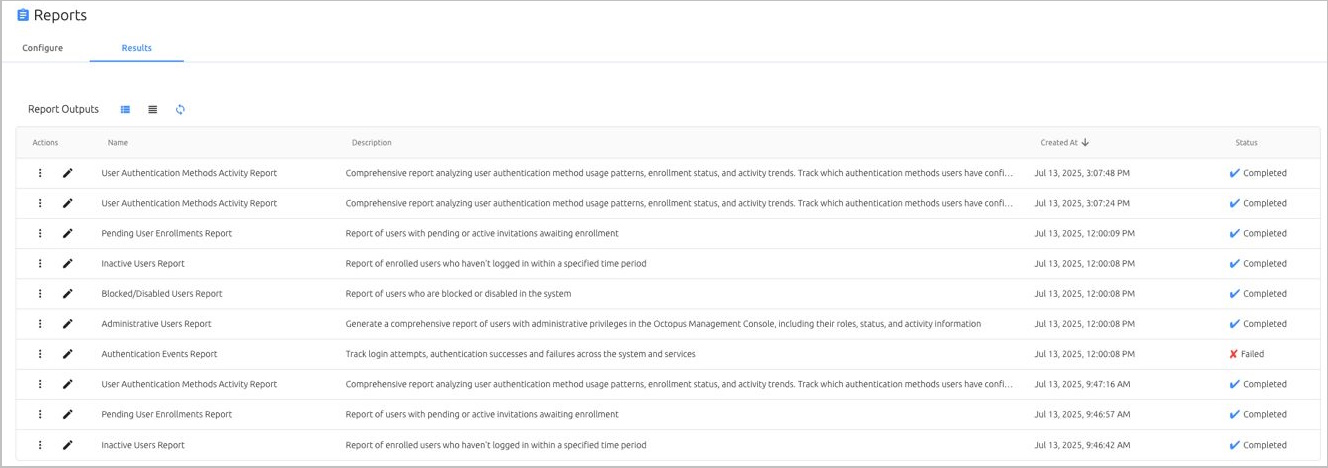
The Results tab of the Reports menu lists all report execution results. The Report Outputs grid displays the name, description, generation timestamp and status (Completed or Failed) of each result. Clicking the Refresh icon at the top of the grid updates the list with the latest results from the database.
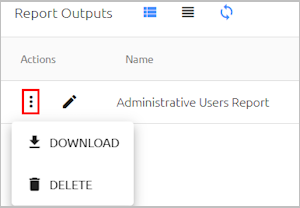
Clicking in the Actions column enables you to perform the following operations on a report output:
Download: Saves the report output locally.
Delete: Removes the report output from the list.
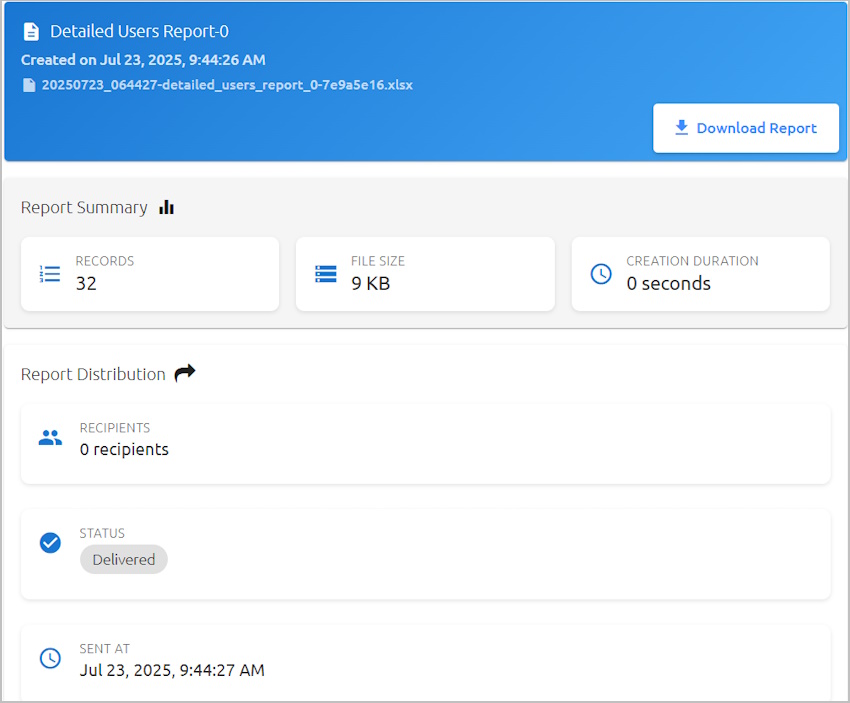
Clicking in the row of a report output allows you to preview some report highlights, such as number of records in the report, file size, the list of recipients (if relevant), and more. You can also download the report from this page.