The following sections provide step-by-step instructions for the All-in-One installation option. This installation includes the Management Console, Authentication Server and Database.
IMPORTANT: The All-in-One installation should be used for POC environments only.
Following All-in-One installation, you can install one or more additional Authentication Servers to improve availability and redundancy of Octopus Authentication and to increase performance. Octopus Authentication Servers in the DMZ are also supported for POC deployments. Make sure that the DMZ Server is connected to an additional Authentication Server (NOT the Authentication Server installed as part of the All-in-One setup).
Installation of a secondary Management Console Server is not supported in POC environments.
Before beginning the installation process, review the list of prerequisites.
Perform the following steps to set up your POC environment:
Open an SSH connection to the machine you are going to install on.
Go to the home directory and run the following command:
sudo cd
Modify the Octopus Authentication installation package’s permissions by running the following command:
sudo chmod +x octopus-####.run
Follow the procedure below to perform All-in-One installation.
To perform All-in-One installation:
Run the Octopus Authentication Server installation package:
sudo ./octopus-####.run
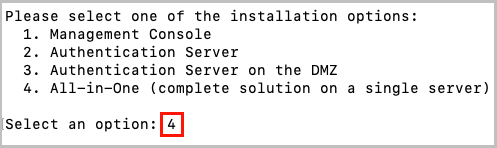
To choose the All-in-One installation option, enter 4.
When prompted, enter the port number to be used for the SSH connection between the Management Console and the Authentication Server.

Specify the setting for proxy configuration (default = no).

For network setups in which a proxy server connects to the Internet, type y and then enter the URL or IP address of your proxy server.
Note: This setting can also be configured post-installation.Specify the setting for firewall creation (default = yes).

To skip firewall creation, type n. It will then be necessary to ensure that the Linux firewall is configured correctly, according to the chosen configuration:
With SSL: Ports 443 and 8443 are enabled
Without SSL: Ports 80, 8008 and 8009 are enabled accordingly
Enter Administrator login details for the Management Console.

Delete the default email setting and enter the correct email address. Then enter and retype the password.
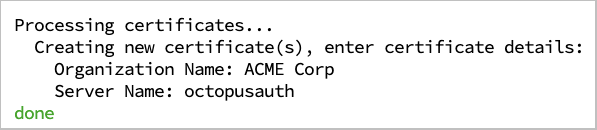
Enter details for the self-signed certificate:
Organization name: Delete My Org and enter the correct name.
Server name: Enter the server name for the certificate. (The name will appear as known on the Linux server. Change it if necessary.)
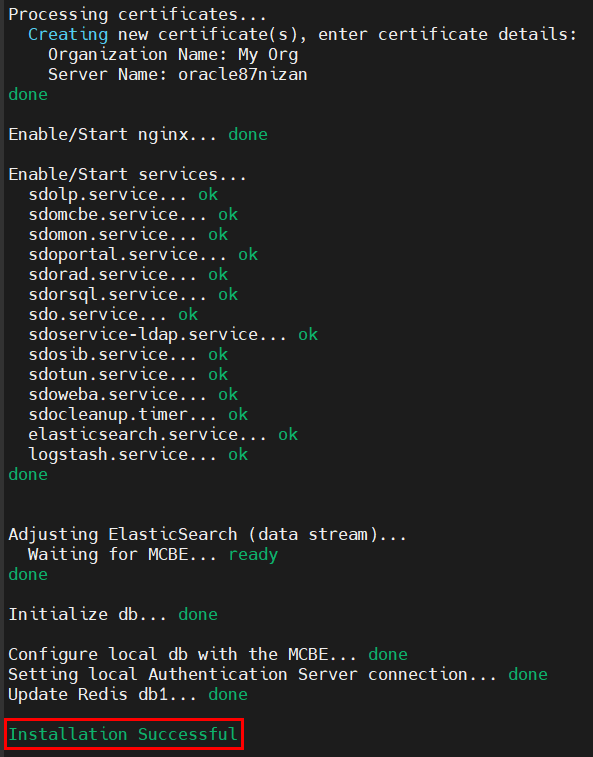
Verify that the installation completed successfully.
Before continuing, consider performing Octopus Authentication Server's Sanity Check. We recommend doing the sanity check if you suspect something went wrong during setup, or to confirm that you performed all required tests. For details about the sanity check, refer to Appendix A.
To complete setup of the All-in-One Octopus Authentication Server, log into the Management Console, activate Octopus Authentication and configure the SMTP communication of the system. For details, refer to Management Console: Basic Configuration.