A Managed Service Account (MSA) is a type of service account in Windows that is designed to provide automatic password management and simplified service principal name (SPN) management for services running on a server or in a domain.
You can use an MSA to enhance security for your remote AD service account. Using an MSA provides the following advantages:
Automatic password management: MSAs automatically manage the passwords and ensure they are rotated regularly, which enhances security and reduces administrative overhead.
Secure identity: MSAs help isolate service account credentials from application codes and improve security practices.
MSAs are particularly useful when multiple servers or instances need to authenticate and perform actions against other resources securely and efficiently.
For more information, please visit Microsoft Learn:
https://learn.microsoft.com/en-us/windows-server/identity/ad-ds/manage/group-managed-service-accounts/group-managed-service-accounts/getting-started-with-group-managed-service-accounts
The procedure below explains how to create and configure the MSA to be used with your Remote AD Server.
To create the MSA:
On the domain controller, open Windows PowerShell as an Administrator, and run the following commands:
Import-Module ActiveDirectory
New-ADServiceAccount -Name <Service Account Name> -DNSHostName <AccountName@Domain> -PrincipalsAllowedToRetrieveManagedPassword <Target machine> -ManagedPasswordIntervalInDays <Numeric value>
For example:
New-ADServiceAccount -Name sdoSVC -DNSHostName doSVC@ws-fedush.online -PrincipalsAllowedToRetrieveManagedPassword remoteAD$ -ManagedPasswordIntervalInDays 1
After running the commands, a Managed Service Accounts folder with the specified name is added.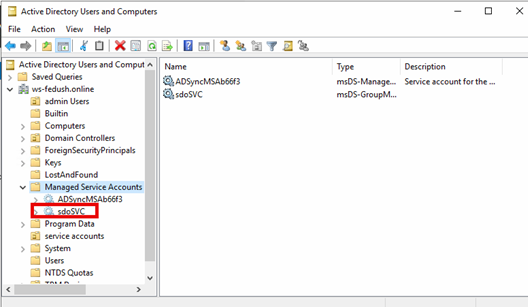
Add the MSA to the Domain Admins group.
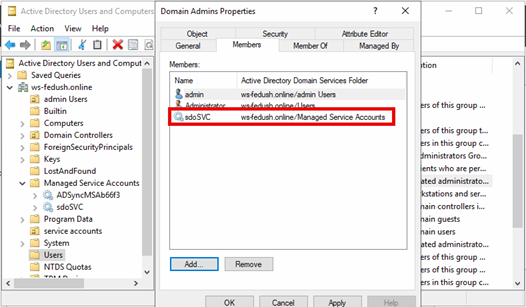
The procedure below explains how to change the service account on your Remote AD Windows Server.
To change the service account:
Log into the Windows Server where the Remote AD is installed and run Services.msc.
Edit the SDO remote AD Agent service, and stop the service.
Select the Log On tab, and click Browse.
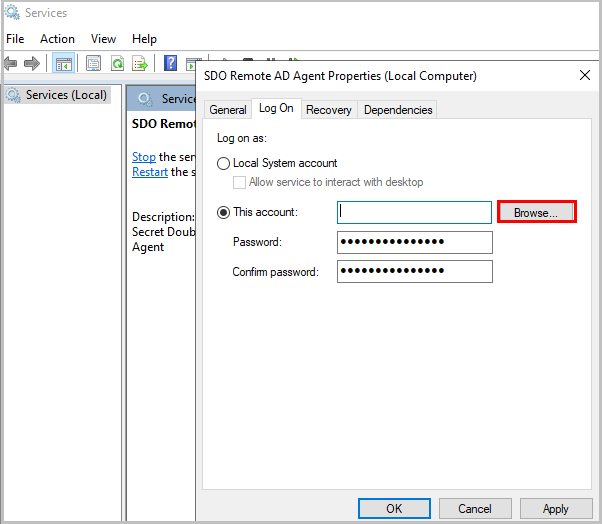
In the Locations dialog, select Entire Directory, and then click OK.
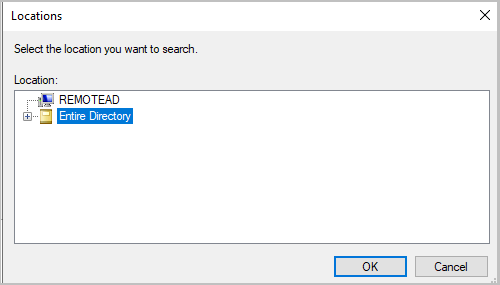
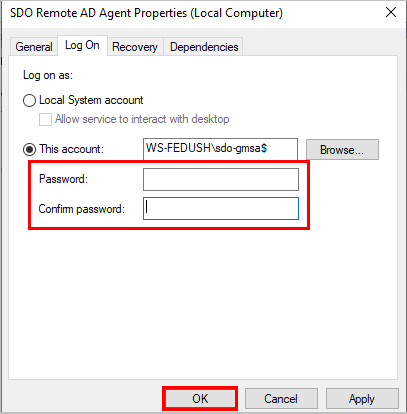
In the Log On tab, delete the characters in the Password fields, and then click OK.
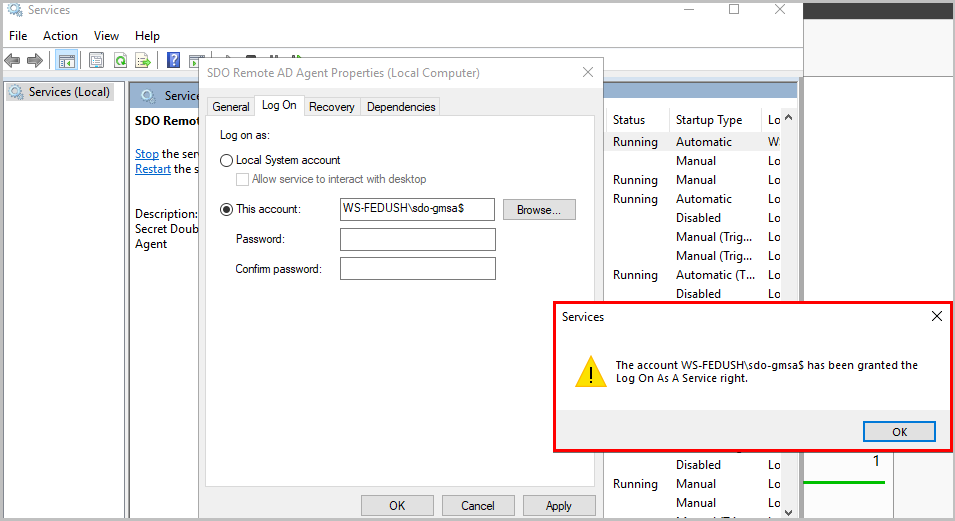
In the confirmation popup, click OK.
Start the service.