TABLE OF CONTENTS
- Preface
- Create a SAML Service in Octopus Authentication Server
- Configure Citrix Netscaler Gateway
- Set Citrix NetScaler in Octopus Authentication Server
- Running the Solution
Preface
This document describes the configurations required for SAML2.0 integration between the Octopus Authenticator and Citrix NetScaler.
Environment
The integration environment that was used in this document is based on the following software versions:
- Octopus Authentication Server – Version 4.8
- Citrix NetScaler Gateway – Version 13.0
- Citrix Virtual Apps and Desktops – Version 7.1909
Prerequisites
The communication between the 3rd party Identity Provider and the Service Provider in the SAML protocol is signed with a certificate. Since the certificate should be unique to the organization, the certificate has to be downloaded from a service that will be created in the Octopus authentication server.
Please note: For using SSO from Netscaler to the VDI Citrix FAS needs to be installed and configured on the StoreFront server.
Note: When the authentication for Citrix NetScaler is forwarded to Citrix Virtual Apps and Desktops, the Citrix StoreFront must be set to “Pass-through from NetScaler Gateway” and the Citrix Federated Authentication Service (FAS) must be installed. |
Create a SAML Service in Octopus Authentication Server
A service for Citrix NetScaler Gateway has to be created in Octopus Authentication Server. The service data will be later used in the Citrix NetScaler Gateway configuration.
Perform the following steps to add Citrix NetScaler Gateway as a Service Provider in Octopus Authentication Server:
1. Log in to Octopus Authenticator management console.
2. Select Services from the left pane.
3. In the right pane, select the ADD SERVICE tab.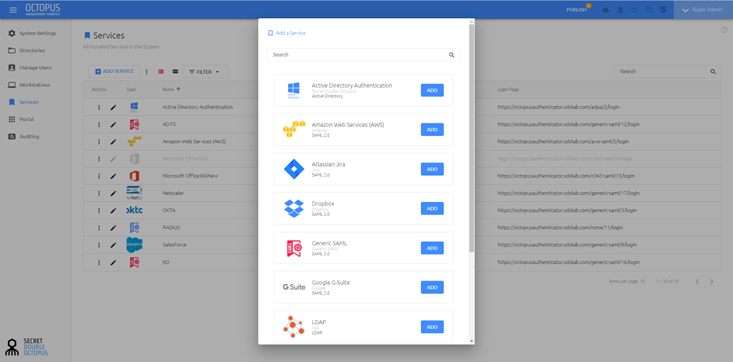
4. Click Generic SAML template.
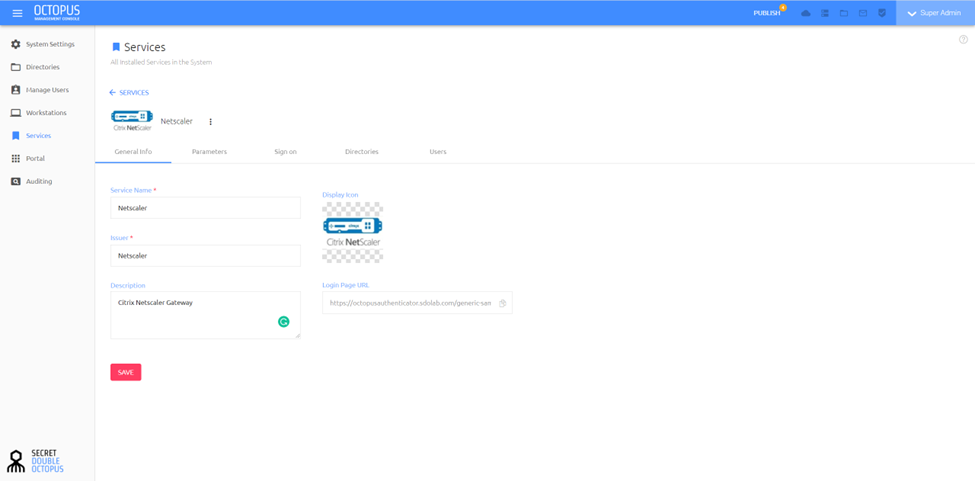
5. In the GENERAL INFO tab, complete the following fields:
Field name | Field value | |
Service name | Enter a display name to identify the Service Provider (e.g., NetScalar) |
|
Issuer | Enter the issuer of the service (e.g., NetScaler) |
|
Description | Enter a description of the service. |
|
Enabled | Toggle as enabled |
|
Display icon | Click on the icon and upload an icon for the service that will be displayed on the login page |
|
6. In the top menu, select the SIGN ON tab.
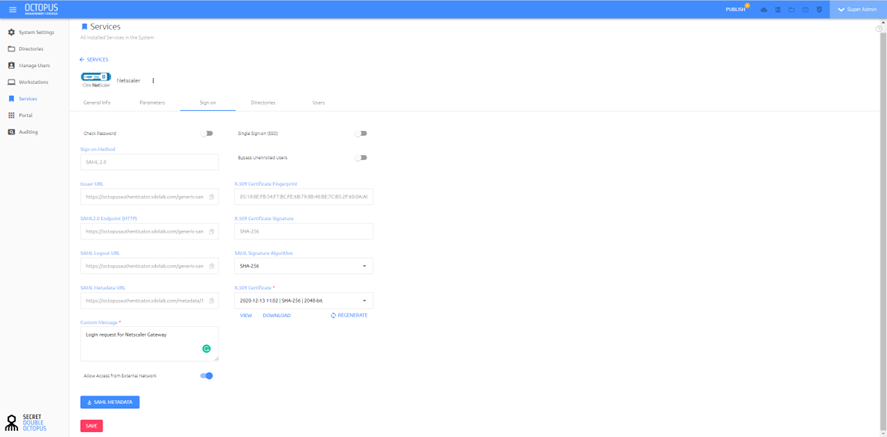
7. The message for the mobile device can be customized in the Customize message field.
8. Under X.509 certificate, click DOWNLOAD to download the certificate.
9. Click SAVE.
Configure Citrix Netscaler Gateway
To work with Citrix NetScaler as a Service Provider and Octopus Authentication Server as the 3rd party IdP, Citrix NetScaler has to be set as a Service Provider and the Octopus Authentication Server has to be set as an Identity Provider in Citrix NetScaler.
Update Octopus Authentication SAML certificate in Citrix NetScaler
To add the Octopus Authentication SAML certificate please follow these steps:
1. Login to Citrix Netscaler administrator console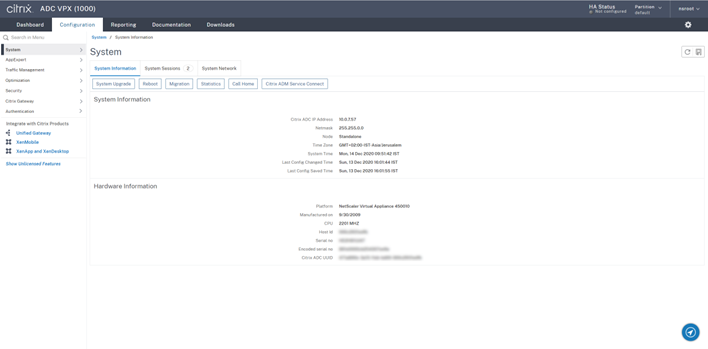
2. In the left pane, select Traffic Management -> SSL -> CA Certificates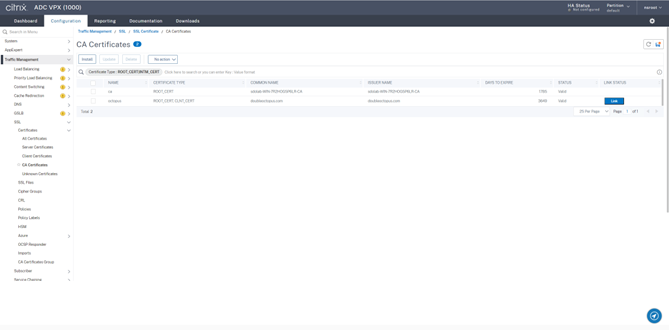
3. In the top menu, select Install. The Install CA Certificate window opens
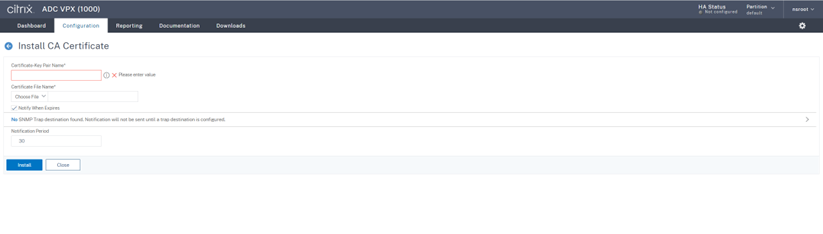
Configure 3rd party SAML Authentication Server
1. Log in to the Citrix NetScaler administrator console.
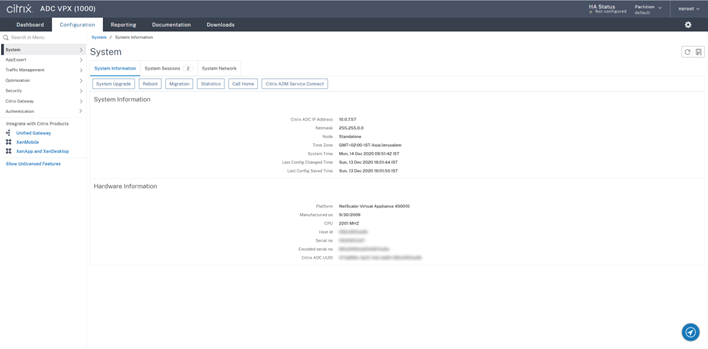
2. Select the Configuration tab and select Authentication > Dashboard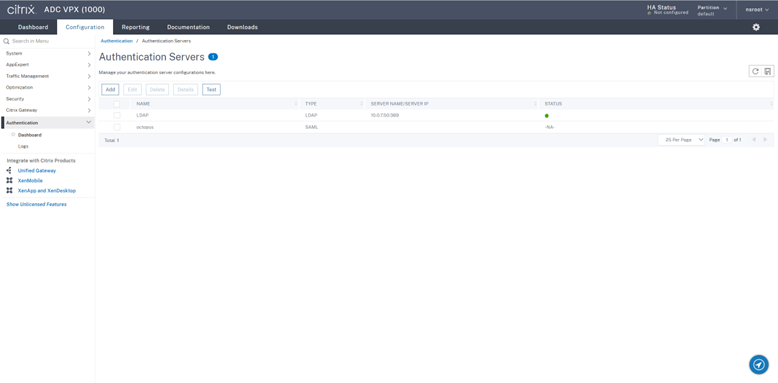
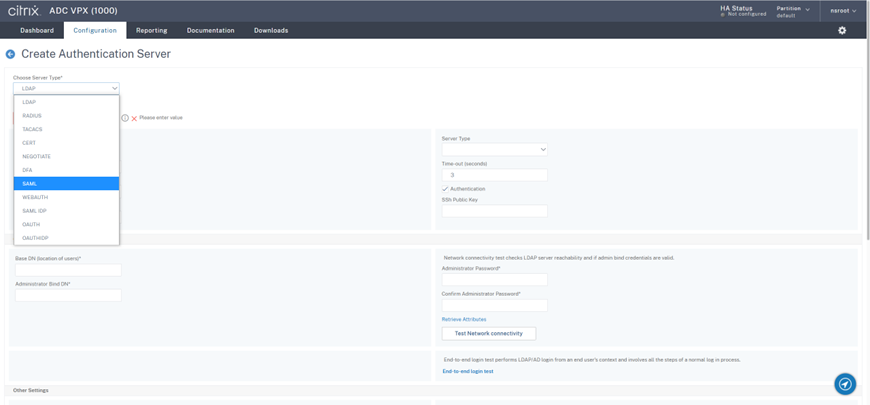
3. In the top menu, press on Add. The Create Authentication Server window opens. Press on the Choose Server Type dropbox and select SAML
4. Uncheck the Import Metadata checkbox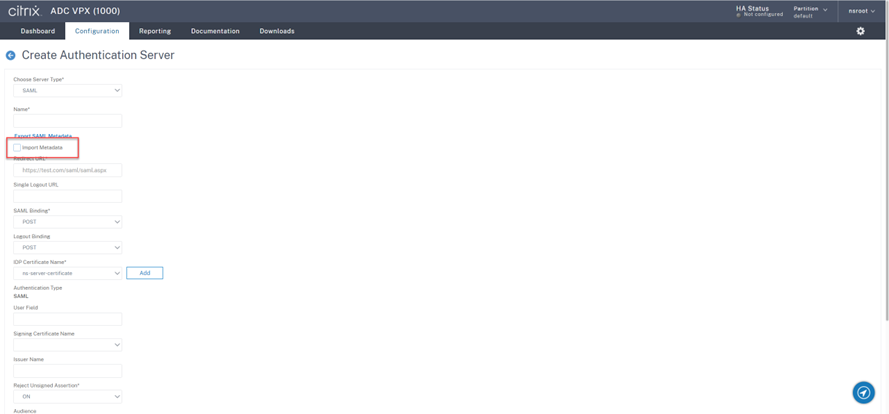
5. In the Create Authentication Server window fill the following fields:
Field name | Field value | |
Name | Enter a name for the server (e.g., Octopus IDP) |
|
Redirect URL | Enter the identity provider login URL (can be found in the Octopus Authentication Server management console, on the previously created service, the SAML2.0 Endpoint (HTTP) value under the SIGN ON tab,). |
|
SAML Binding | POST |
|
IDP Certificate Name | Select the IDP certificate that was previously installed. |
|
|
|
|
Issuer Name | Enter the NetScaler virtual server URL (e.g., https://netscaler.octopusdemos.com) |
|
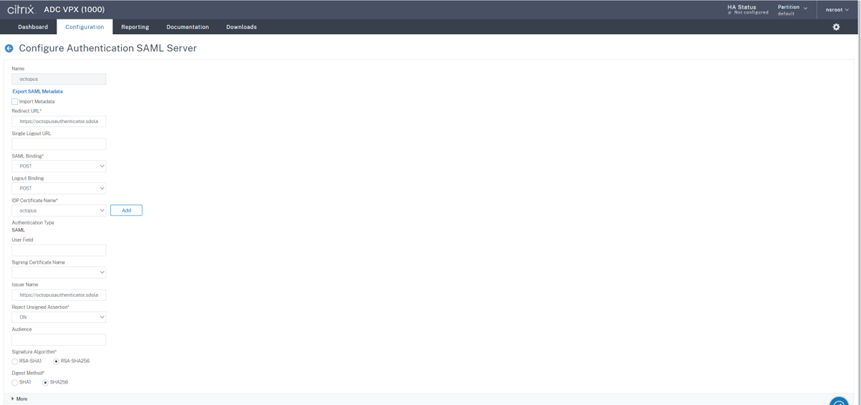
6. Press CREATE and Save.
Create a SAML Authentication Policy
On the Citrix NetScaler administrator console, under the Configuration tab, perform the following steps:
1. In the left pane, select NetScaler Gateway > Policies > Authentication > SAML.
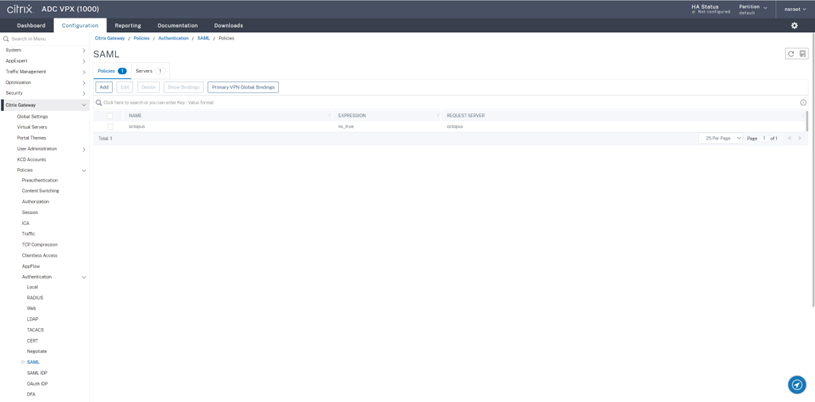
2. In the right pane, under SAML, select the Policies tab.
Click Add. The Create Authentication SAML Policy window opens
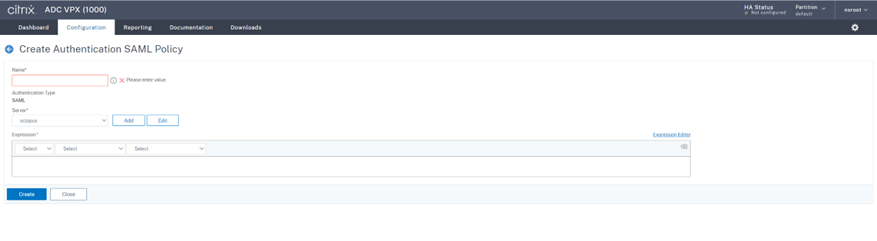
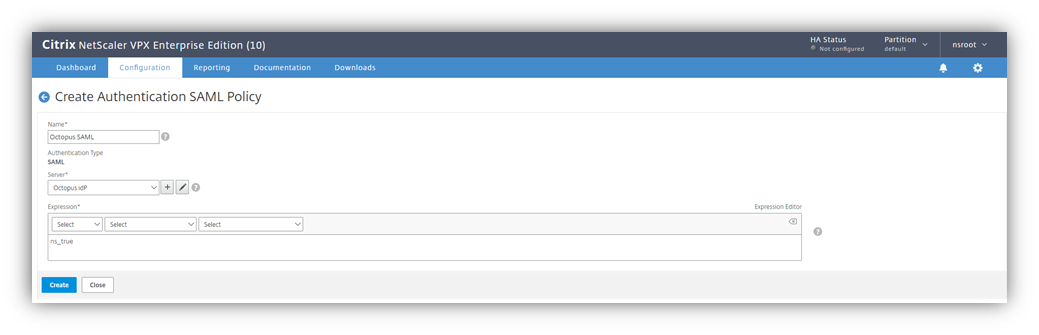
3. On the Create Authentication SAML Policy window, complete the following fields:
Field name | Field value |
Name | Enter a name for the Authentication Policy (e.g., Octopus SAML) |
Server | Select the SAML server that was previously created. |
Expression | Enter the required logical expression (e.g., ns_true) |
4. Click Create.
5. Click OK on the warning that is displayed.
Assign SAML Policy to NetScaler Virtual Server
On the Citrix NetScaler administrator console, under the Configuration tab, perform the following steps:
1. In the left pane, select Citrix Gateway > Virtual Servers.
2. In the right pane, under NetScaler Gateway Virtual Servers, click on the virtual server to be assigned to the SAML policy.
3. On the VPN Virtual Server window, under Basic Authentication, click +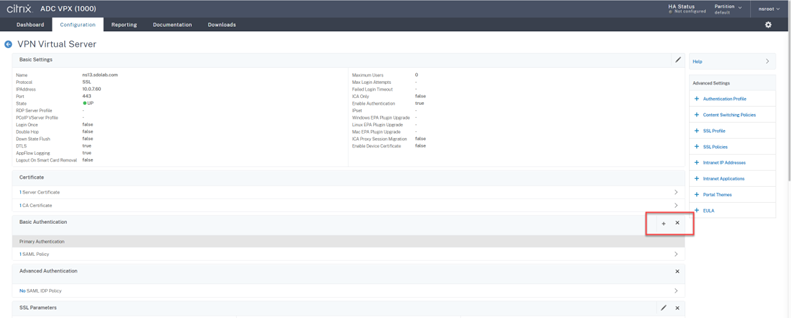
4. On the Choose Type window, complete the following fields:
Field name | Field value |
Choose Policy | Select SAML |
Choose Type | Select Primary |
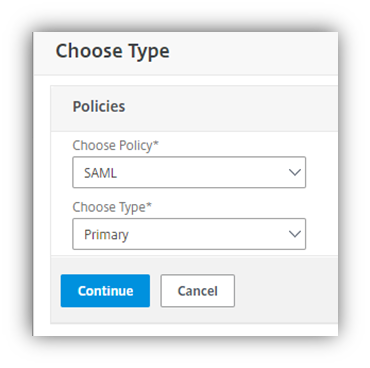
5. Click Continue.
6. Click on the Select Policy field to select the authentication policy that was previously created.
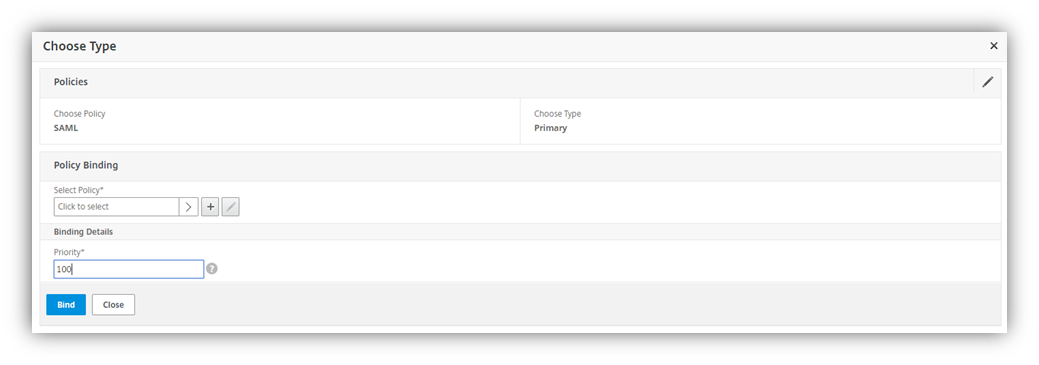
7. Select the policy you created.

8. Click Bind.
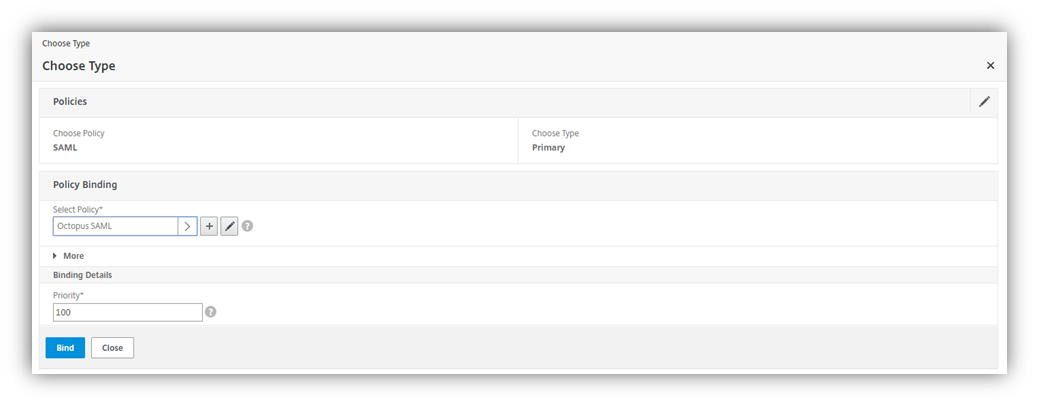
9. Click Done.
10. To save the running configuration, on the Citrix NetScaler Administrator console, click the save icon ( ) in the top right corner.
Set Citrix NetScaler in Octopus Authentication Server
Octopus Authentication Server needs to be configured with Citrix NetScaler as a SAML service so it can receive SAML authentication requests from Citrix NetScaler.
Edit Citrix NetScaler Service in Octopus Authentication Server
Perform the following steps to add Citrix NetScaler as a Service Provider in Octopus Authentication Server:
1. Open the Octopus Authentication management console.
2. Select Services from the left pane.
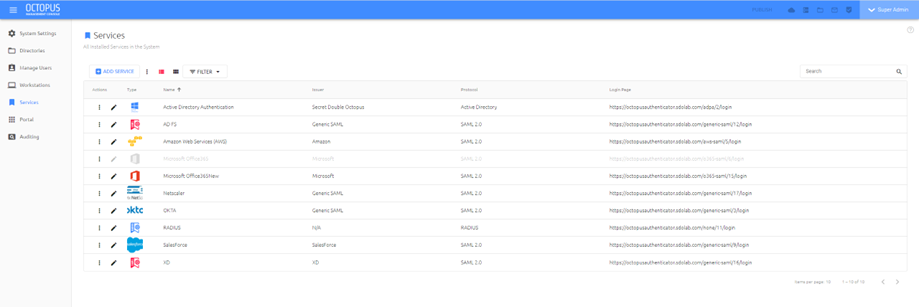
3. Click on the edit (pencil) icon of the service that was previously created
4. On the top menus select the Parameters tab
5. Complete the following fields:
Field name | Field value |
Octopus Authentication Login | Login method for Octopus Authentication Server |
Name ID | Citrix NetScaler login parameter |
Method | POST |
ACS URL | https://<NetScaler Virtual Server FQDN>/cgi/samlauth |
Audience | Enter the issuer value |
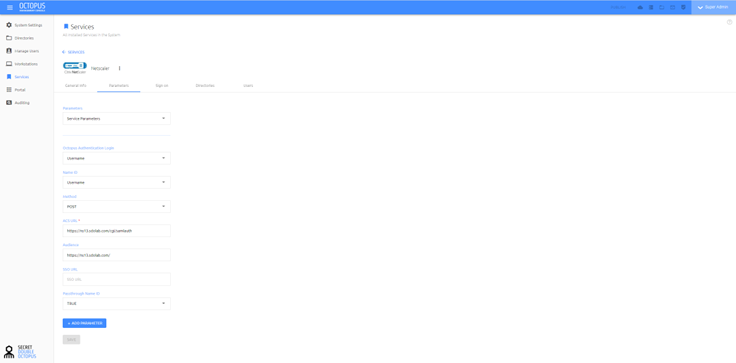
6. Click SAVE and Publish the changes.
Assign Users to Citrix NetScaler Service
After configuring the service, users should be assigned to the service to use it for authentication.
1. Select Services in the left pane.
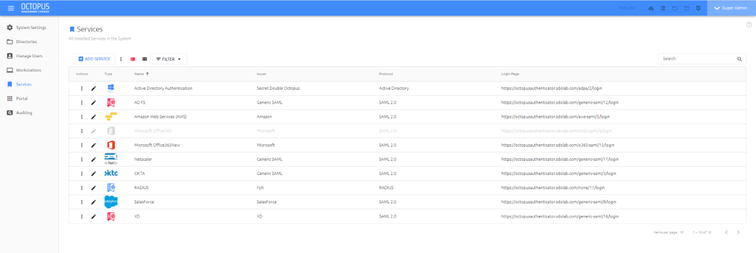
2. Press on Edit service (pencil icon).
3. In the top menu, select Directories
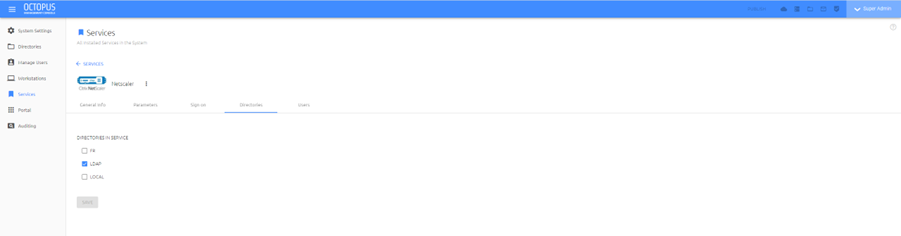
4. Enable the directories that will be using the service and Save
5. In the top menu, select the USERS tab.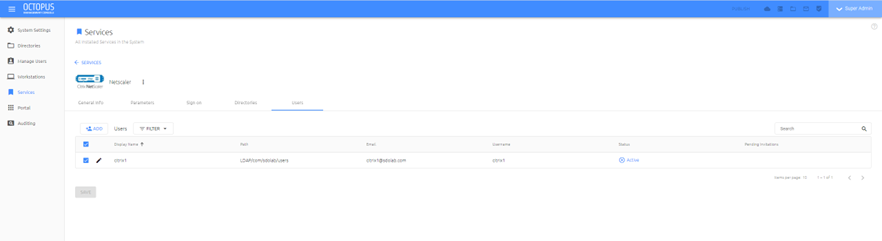
6. Select and enable users either from “Local Users” or “LDAP Users” lists.
The selection can be either of:
- A group of users, by clicking on the dot next to one of the folders
- An individual user, by clicking on the dot next to that use
7. Click SAVE.
Running the Solution
1. Open Citrix Netscaler SSL VPN login page. Once you browse to the Netscaler login page you will be redirected to the Octopus service login page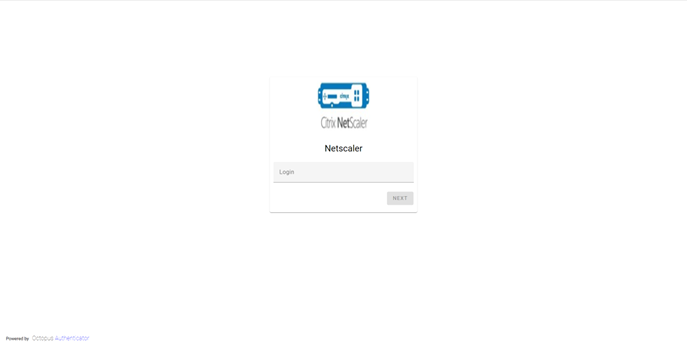
2. Enter the username and click Next.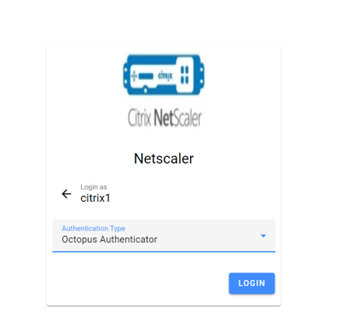
3. Press Login
4. A notification will appear on the Octopus Mobile App asking for authentication approval. A challenging number will appear on the web page. Verify the challenge number and approve the authentication accordingly.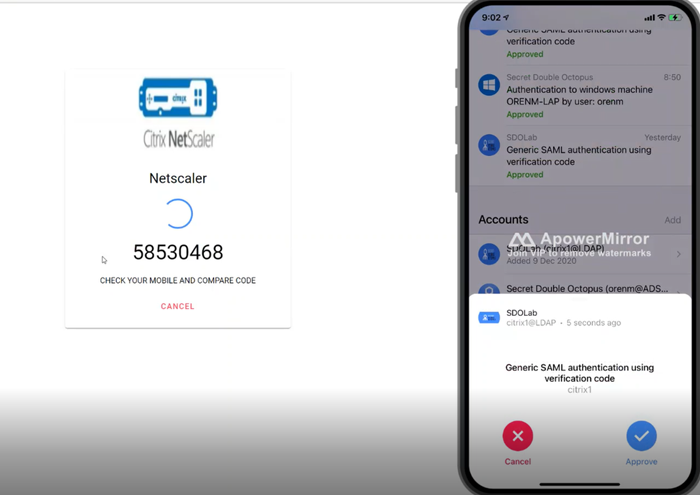
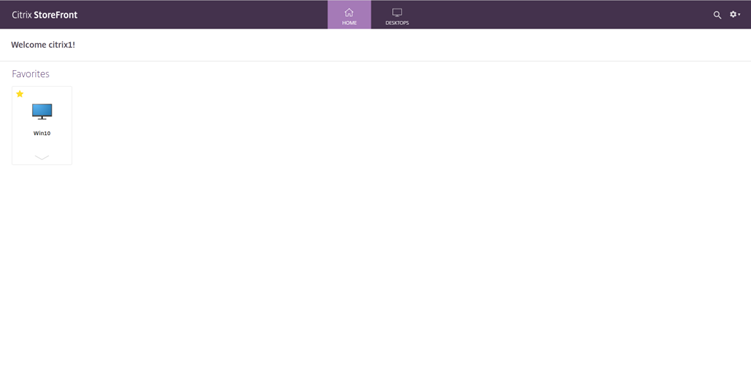
5. After successful authentication, the user will be logged on to Citrix NetScaler Gateway. When Citrix StoreFront is configured, the user will be redirected to the Citrix StoreFront page.