The Secret Double Octopus platform supports integration of a wide variety of applications with the Octopus Authentication Server and the Octopus Windows Agent. This integration provides Windows users with seamless access to these applications, without the need to manually enter login credentials. When an integrated application is launched, the Windows Agent retrieves the user's credentials and populates the fields of the Login screen, through the Desktop SSO mechanism. For more information about Desktop SSO and its configuration, please refer to the Octopus Management Console Admin Guide.
The Octopus SQL Agent is an independent component required for successful integration of applications that store user credentials in their own databases. (In the Octopus platform, these kinds of applications are called SQL-type applications.) The SQL Agent, which is installed on a domain-joined Windows server or workstation, acts as an intermediary element between the Octopus Authentication Server and the application storing the password. The SQL Agent is responsible for setting the password generated by the Authentication Server in the application's database, and retrieving username details from the database. These credentials are then sent to the Windows Agent, via the Authentication Server, so Desktop SSO can be performed.
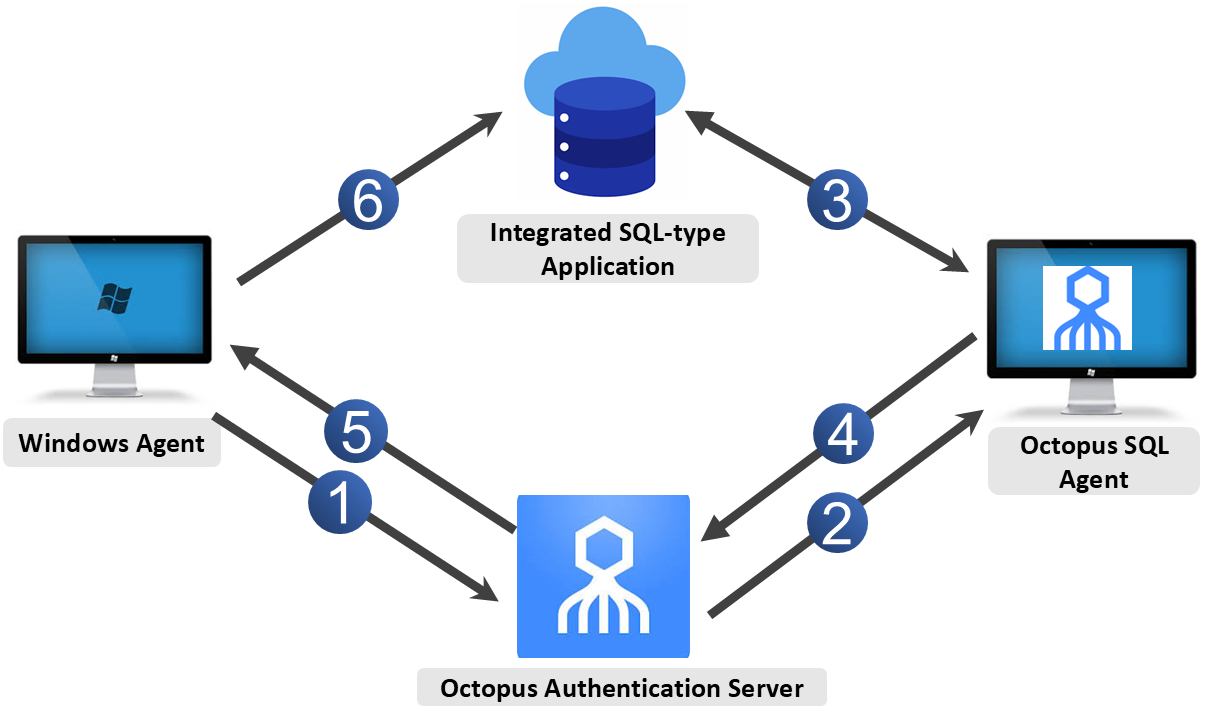
A high-level summary of the workflow involved is presented in the diagram and table below.
Step | Description |
|---|---|
1 | Upon launching of the application, the Windows Agent sends an authentication request to the application via the Octopus Authentication Server. |
2 | The Octopus Authentication Server generates a password and sends it to the Octopus SQL Agent. |
3 | The Octopus SQL Agent sets the password in the application's database, and retrieves username details from the database. |
4 | The Octopus SQL Agent returns the username confirmation of the password to the Octopus Authentication Server. |
5 | The Octopus Authentication Server sends the username and password to the Windows Agent. |
6 | The Windows Agent sets the credentials in the application's Login screen using the Desktop SSO flow. |
This document details the end-to-end process for creating, downloading and installing Octopus SQL Agents.
IMPORTANT: The Octopus SQL Agent should be installed BEFORE configuring SQL-type applications in the Octopus Management Console.
The Octopus SQL Agent can be installed on the following operating systems:
Windows 10
Windows 11
Windows Server 2016
Windows Server 2019
Windows Server 2022
Minimum hardware requirements for the target machine are a 4-core CPU and 8GB of RAM.
Before you begin, verify that:
You have obtained the installation file (e.g., Octopus_SQL_Agent-1.0.1.06.exe) from Secret Double Octopus.
You are working with Octopus Authentication Server version 6.6 (or above).
You are working with Octopus Desk for Windows version 4.0 (or above).
Octopus SQL Agents are created from the Agents tab of the Applications menu, in the Octopus Management Console.
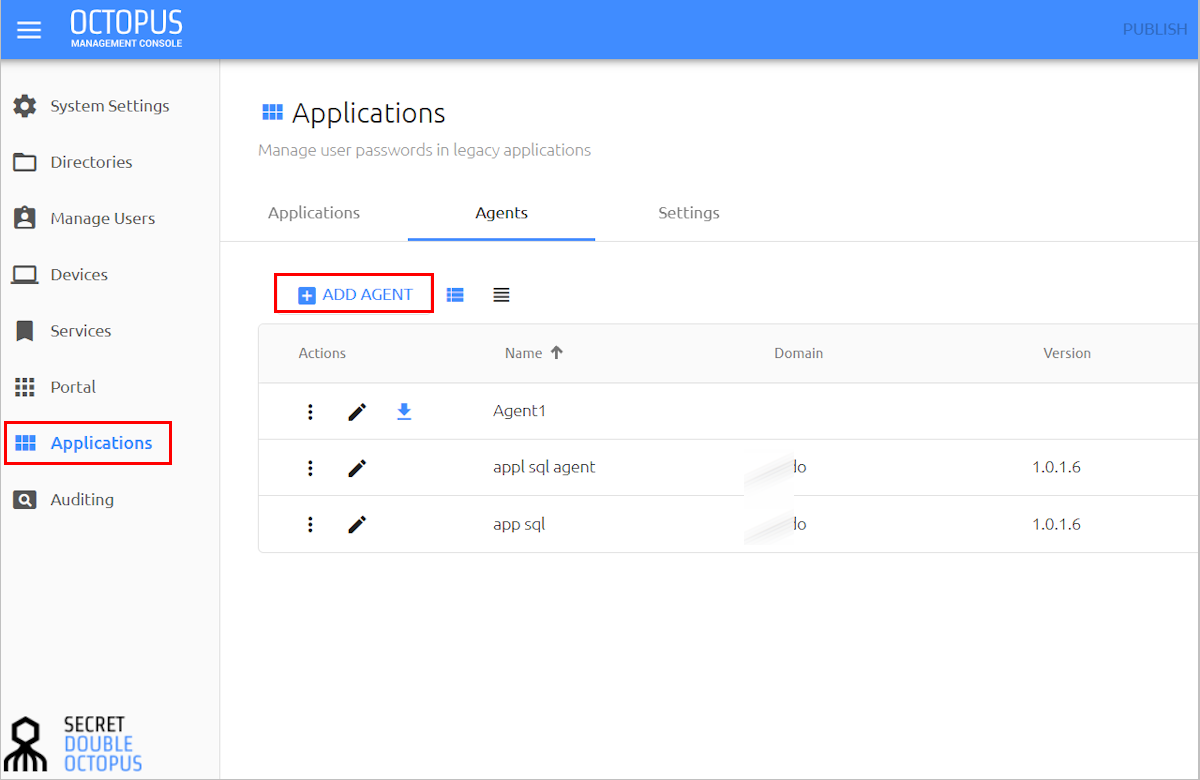
To add an Octopus SQL Agent:
In the upper left corner of the Agents tab, click Add Agent.
In the popup that opens, enter a unique name for the new Agent. Then, click Create.
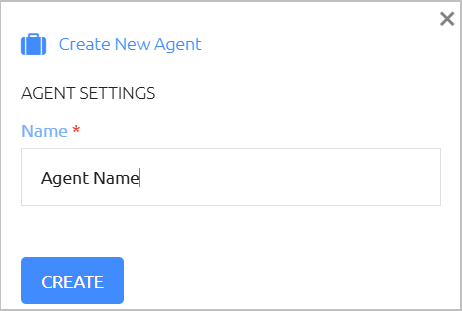
The Create New Agent popup closes, and a row for the new Agent is added to the Agents tab. The orange connection status icon indicates that the Agent has not yet been installed.
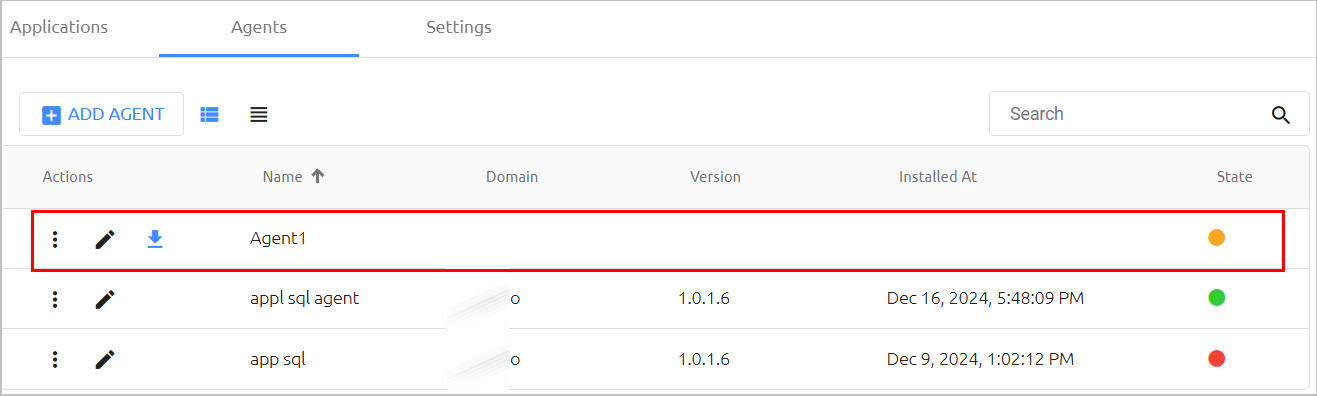
Continue by installing the Agent (below).
Follow the steps below to download and install the Octopus SQL Agent. The Agent should be installed with Admin permissions on a domain-joined on-premise Windows server or workstation.
To install the SQL Agent:
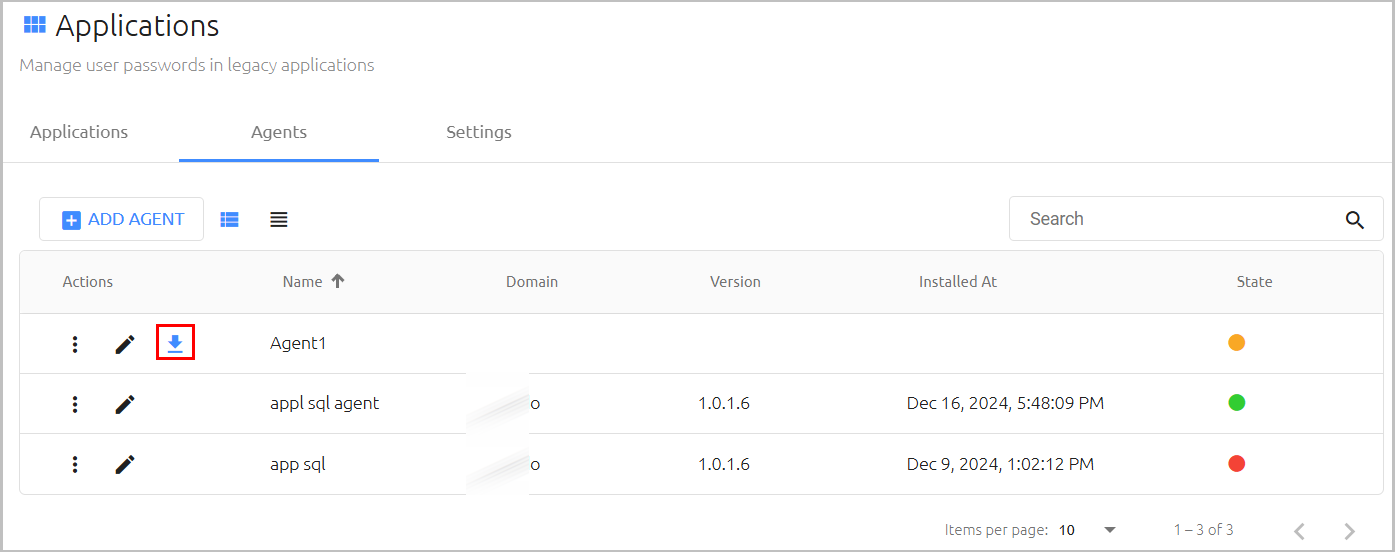
From the Agents tab, in the row of the uninstalled Agent, click the Download icon.
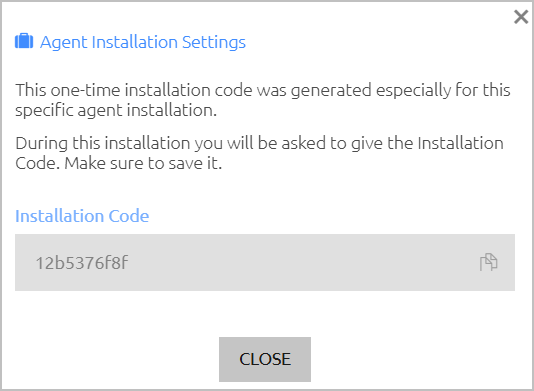
In the popup that opens, copy the Installation Code to a secure location. (You will need this during the installation process.)
On a domain-joined Windows server or workstation, run the installation file as an Admin.
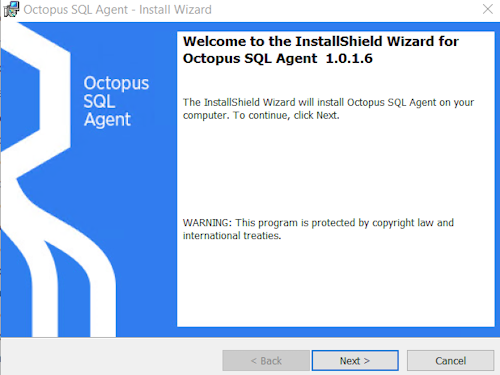
The Octopus SQL Agent installation wizard opens.
On the Welcome page, click Next.
On the License Agreement page, accept the terms and click Next.
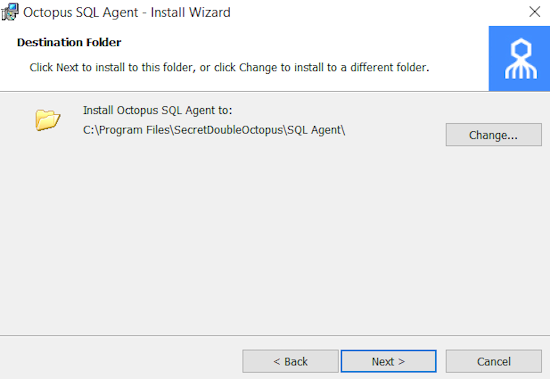
Review the default path displayed on the Destination Folder page and change it if required. Then, click Next.
On the page that opens, click Install to begin the installation.
A progress bar is displayed during the installation process.
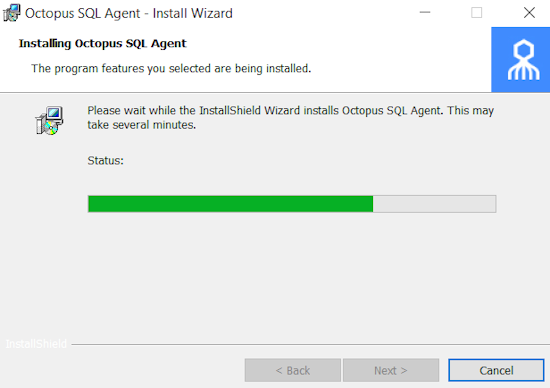
During the installation, you will be prompted to provide required information and perform SQL Agent registration.
On the Server Settings page, configure the following settings:
Installation Code: Enter the code you copied in Step 1 above.
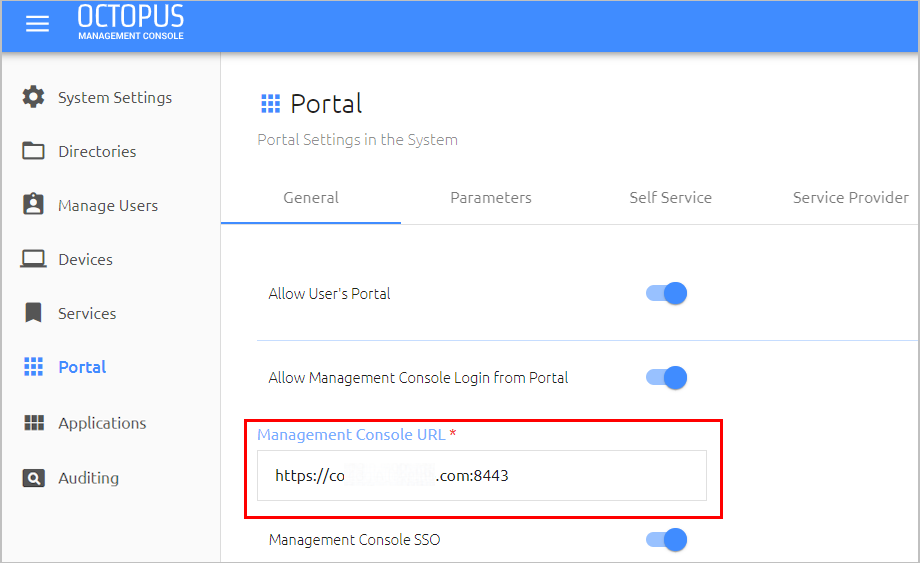
Management Console URL: Copy the setting from the Portal menu of the Octopus Management Console.
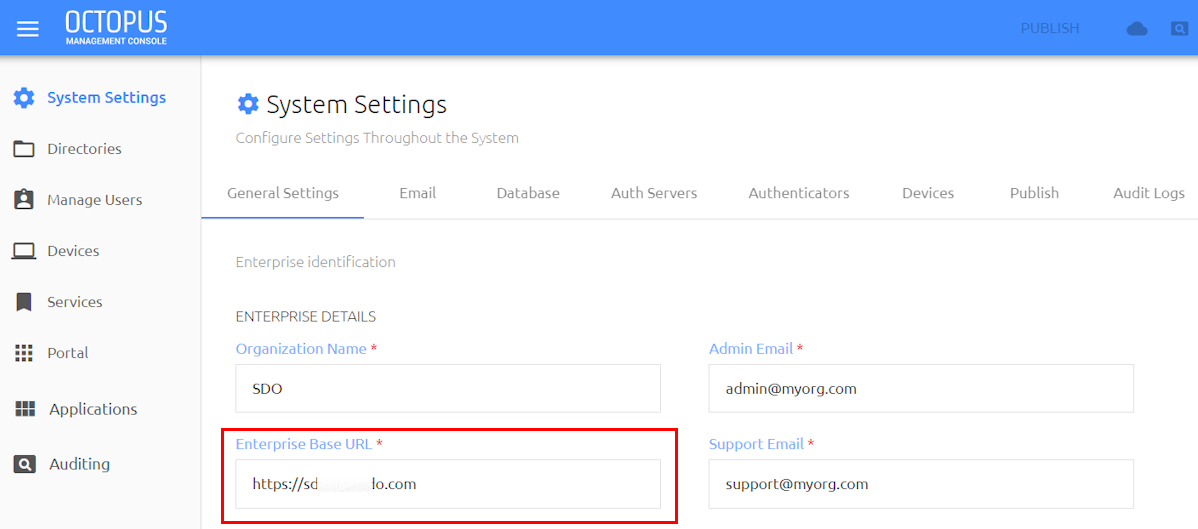
Authentication Server URL: Copy the Enterprise Base URL from the System Settings menu of the Management Console.
Use Proxy (optional): If your internet access requires a web proxy, select the checkbox. Then, enter the address of the Proxy Server in the following format: https://proxy.acme.com:1234
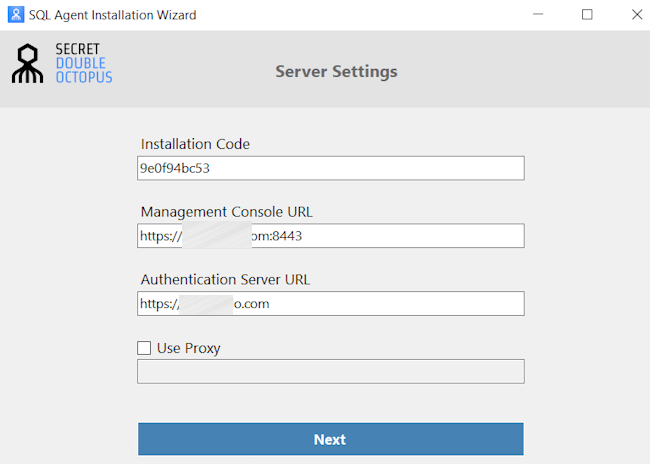
Click Next.
On the Management Console Admin Login page, enter the Super Admin login credentials for the Octopus Management Console, and click Login.
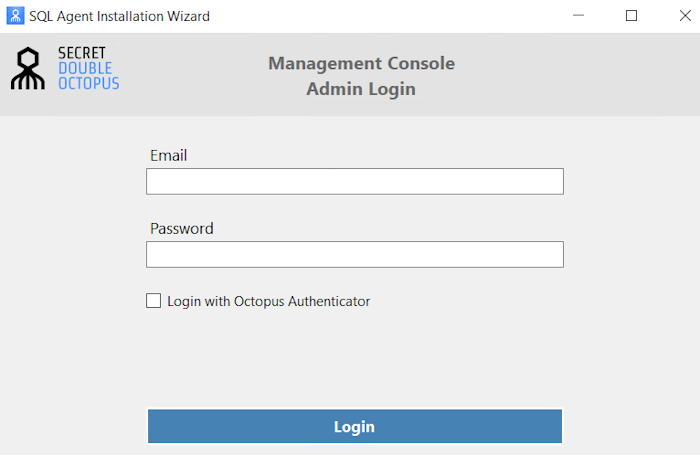
Alternatively, select the Login with Octopus Authenticator checkbox. Then, enter your username, click Login and authenticate using the Octopus Authenticator mobile app.
On the Database Configuration page, enter the following information:
Name: User-assigned name for the database server.
Server / Port: IP and port for the database server.
Username / Password: Login credentials for the database server.
Database: Official name of the database server.
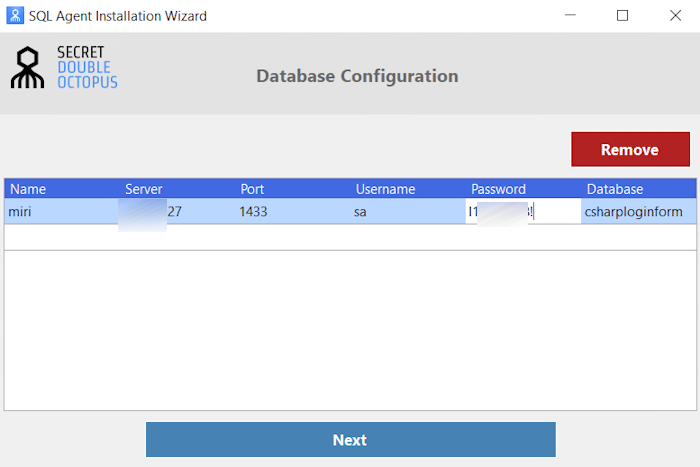
Then, click Next.
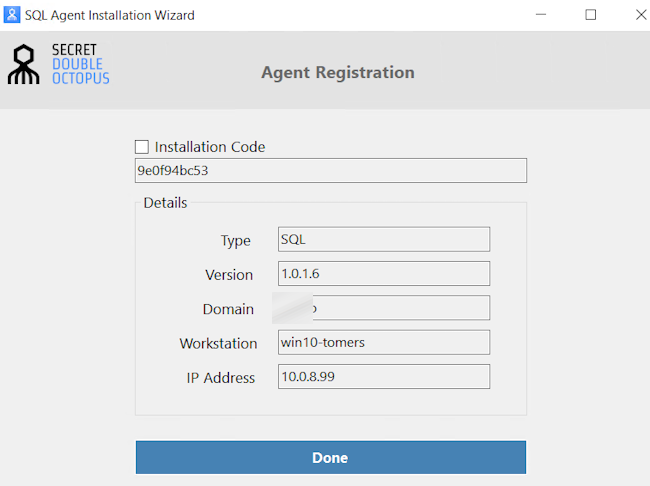
Review the details on the Agent Registration page. Then, click Register.
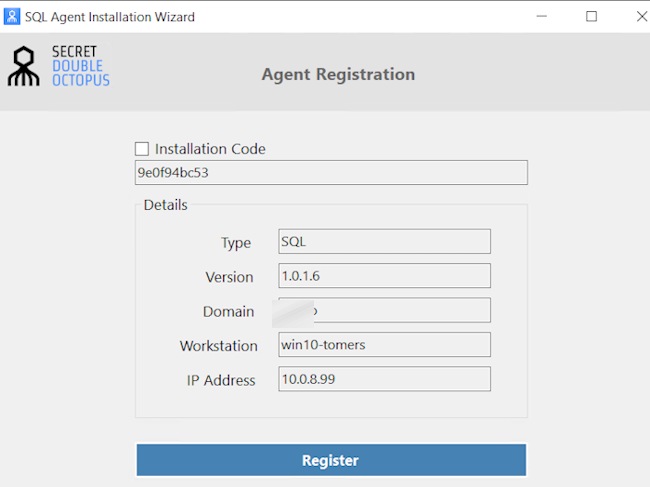
A confirmation popup opens on successful registration.
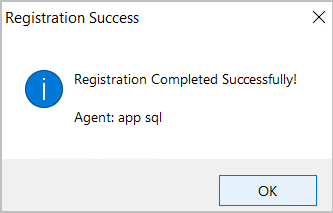
At the bottom of the Agent Registration page, click Done.
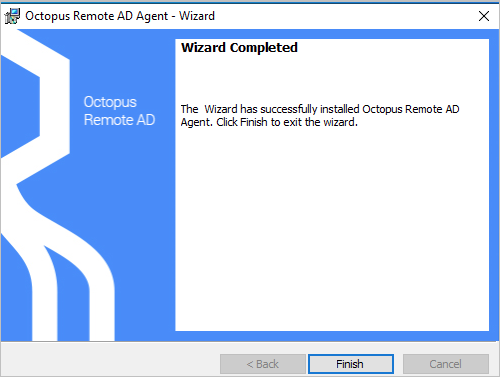
To exit the wizard, click Finish.
You can now start to add SQL-type integrated applications to the Management Console. For details, please refer to the Octopus Management Console Admin Guide.