Install Octopus Desk Agent and Configure Service
Secret Double Octopus • Octopus Desk for Windows
Complete Installation and Configuration Guide • 58 Steps
Download PDF
Use the PDF version for offline use or sharing with colleagues.
☰ Purpose
This guide walks you through downloading and installing the Octopus Desk Agent for Windows, creating the Active Directory Authentication service in the SDO Admin Console, generating a tenant-specific Windows agent using the MSIUpdater utility, and installing the generated agent on endpoints.
✎ Who Should Use This Guide
- ► IT administrators deploying Octopus Desk for Windows
- ► MSP helpdesk / support teams onboarding customer tenants
- ► Security teams validating the Windows agent deployment flow
✓ Prerequisites
- ✓ Access to the SDO Support Portal to download software
- ✓ Admin access to the SDO Management / Admin Console (tenant)
- ✓ Local Administrator privileges on the Windows machine used to generate and install the agent
- ✓ Network access to required SDO services (per your environment policy)
☑ Summary of Steps
- 1 Download Windows Agent – Login to the support portal and download the latest Octopus Desk for Windows and MSIUpdater utility.
- 2 Create AD Authentication Service – Add and publish an “Active Directory Authentication” service in the SDO Admin Console.
- 3 Install MSIUpdater – Extract and install the MSIUpdater tool on your admin workstation.
- 4 Generate Tenant Agent – Use MSIUpdater to generate a tenant-specific agent MSI.
- 5 Install the Windows Agent – Install the generated MSI on the endpoint(s) with admin privileges.
Download Windows Agent (Steps 1–6)
1Go to SDO support portal and click "Login"

2Click "Sign in with SSO" and login with your account

3Click "Octopus Software & Download"

4Click "Latest Microsoft Agent"

5Click "Octopus Desk for Windows Version"

6Download the MSIUpdater utility

Create Active Directory Authentication Service in SDO (Steps 7–21)
7Login to SDO Management, select "Services" and press on "ADD SERVICE"

8Select "Active Directory Authentication" service and click "ADD"

9Click "CREATE"

10Click "Sign on"

11Click "SERVICE METADATA" to download the XML file

12Click "Keep"

13Click "Directories"

14Click on the directory you would like to give a permission to use the service

15Click "SAVE"

16Click "Users"

17Click "ADD"

18Select the Groups or Users that will have the permission to use the service

19Click "SAVE"

20Click "PUBLISH"

21Click "PUBLISH"

Install the MSIUpdater utility (Steps 22–29)
22Press [[Delete]]

23Extract the downloaded Zip file
24Double-click the installation file

25Click "Next >"

26Click "I accept the terms in the license agreement"

27Click "Next >"

28Click "Install"

29Click "Finish"

Generate the Windows Agent using the MSIUpdater utility (Steps 30–50)
30Give the configuration a name

31Click "Browse"

32Select the base template

33Click "Open"

34Click "Load from XML (Optional)"

35Click "Downloads"

36Select the XML file you previously downloaded

37Select the authenticator. Octopus app for the mobile application

38Octopus BLE for BLE offline authentication
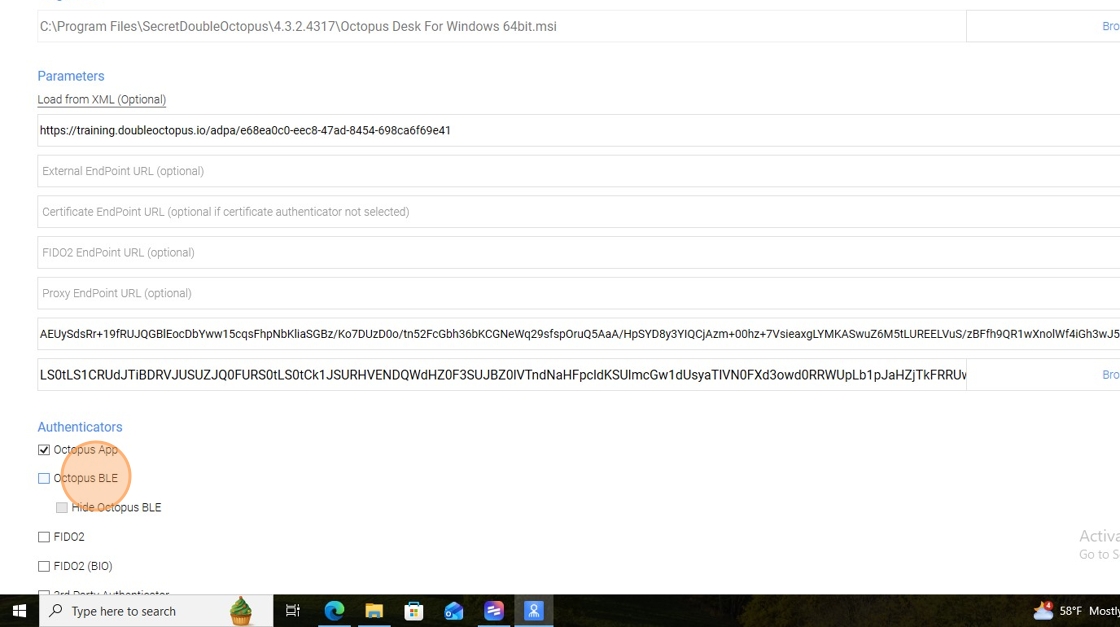
39You can select FIDO (optional)

40You can select FIDO BIO (optional)

41Click here

42Click "SysTray"

43Click "Retrieve Password with SDO Authenticator/Admin Bypass Token"

44Click "Retrieve Password with FIDO2"

45Click "Errors"

46Click "Apply"

47Click "OK"

48Click "OK"

49Click "Parameters"
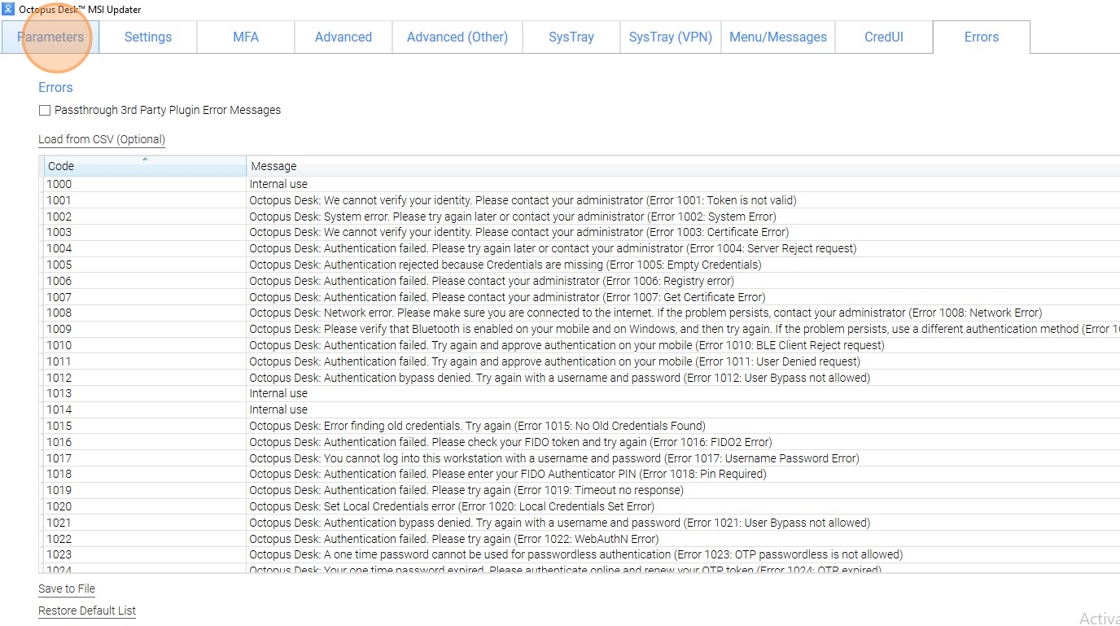
50Click on the Output file. It will open the installation file folder

Install the Windows Agent (Steps 51–58)
51Open CMD as administrator

52Go to the Windows Agent installation file folder

53Execute the MSI file

54Click "Next >"

55Click "I accept the terms in the license agreement"

56Click "Next >"

57Click "Install"

58Click "Finish"

⚠ Troubleshooting Tips
- If downloads fail, confirm you can access the SDO Support Portal and that your browser is not blocking the file.
- If the MSI won’t install, run the installer as Administrator and verify endpoint security/AV is not blocking it.
- If service creation options are missing, confirm you are logged in with a role that can manage services.
- When generating the agent, ensure you selected the correct base template and output folder in MSIUpdater.
ℹ Support Information:
If you encounter issues during deployment, contact Secret Double Octopus support and include:
- The tenant name and environment (Prod / MSP / etc.)
- Windows version/build and whether the device is domain-joined
- MSI installation logs and any error message screenshots