Overview
When the Allow Self-Service Portal setting is on, users can manage their own devices and authentication methods directly from the User Portal, without needing to contact IT. This guide covers the self-service actions available and what each one does.
How to Access Self-Service Actions
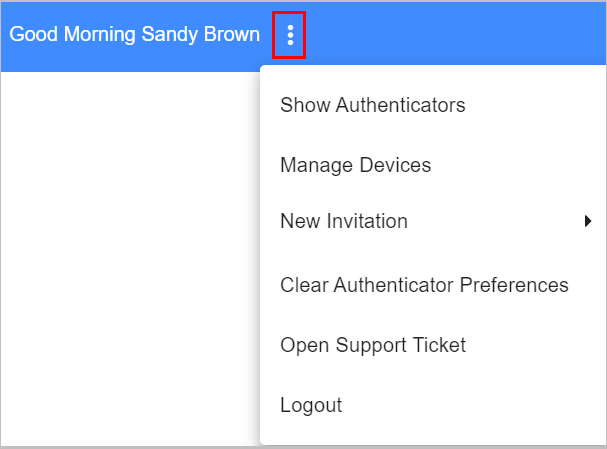
Navigate to the doubleoctopus URL for your company. Click the Actions icon (three dots) to open a dropdown list of the self-service actions available to you.
Show Authenticators
When this setting is enabled, users are able to open a popup displaying basic information about all the devices they have used for authentication.
Manage Devices
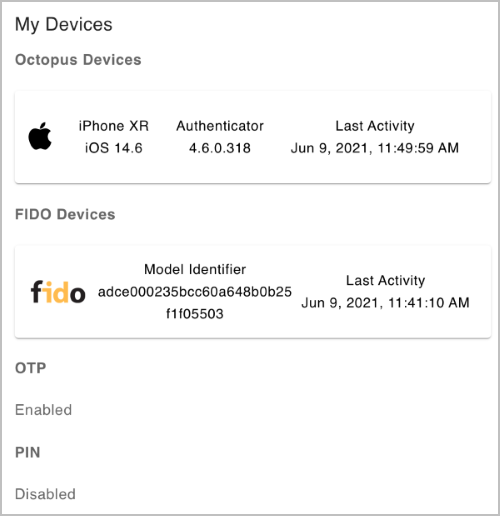
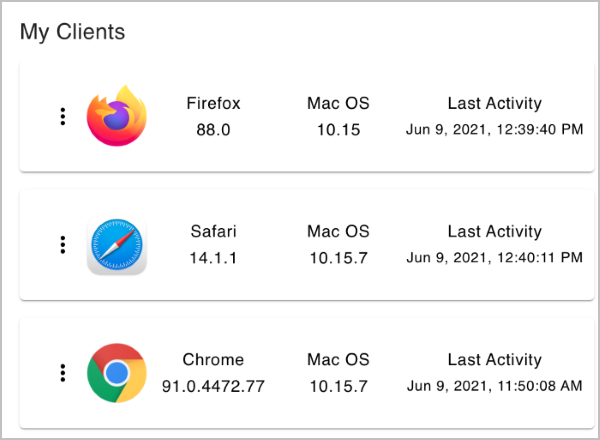
When this setting is enabled, users are able to view a popup displaying basic information about all the browsers they have used for authentication. Users are able to remove the browser from the list by clicking the Actions icon and selecting Delete.
New Invitation
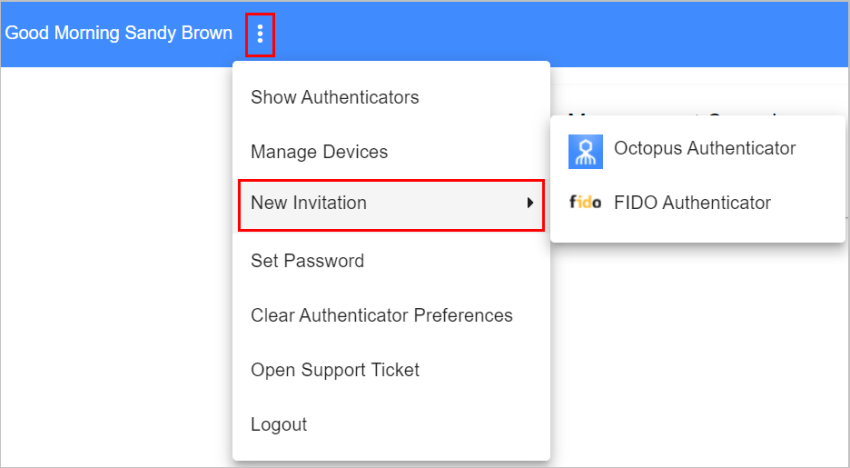
This action enables users to send enrollment invitations to themselves so they can enroll additional devices in the system. The invitation types available in the User Portal are determined by the Invitation settings enabled in the Self Service tab (Octopus, FIDO, and OTP).
Set Password
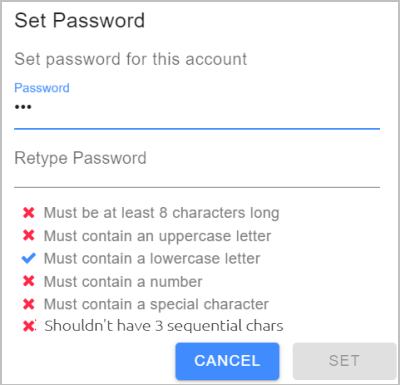
When this setting is enabled, users in the LOCAL directory have the option to reset the password required for user verification in services that utilize multi-factor authentication. To reset the password, users select the Set Password self-service option and enter the new password in the Set Password popup. Password requirements are displayed as the password is entered.
Clear Authenticator Preferences
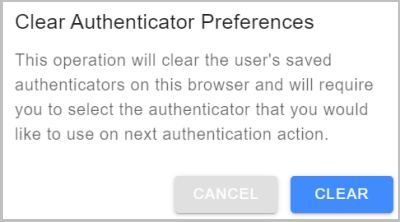
This action enables users to remove data stored on the browser, such as the previously selected authentication method for accessing SAML services. After clearing preferences, users will need to specify an authentication method the next time they access the service. To clear stored data, users select the Clear Authenticator Preferences self-service option and then click Clear in the confirmation popup.
Open Support Ticket
When users select this action, an email message to the Support Email address (specified in System Settings > General Settings) is automatically created in the user's default email client.
Summary
The Self-Service Portal gives users control over their own authentication experience – from viewing enrolled devices to resetting passwords and requesting support – all without needing to contact IT directly.