Configure Google Workspace with SDO
This guide walks through the full setup process for integrating Google Workspace with Secret Double Octopus, including the SDO service configuration and the Google Credential Provider for Windows (GCPW) setup and authentication flow.
What this article covers
- Create and configure a Google Workspace service in SDO
- Associate the relevant Google directory
- Assign users and publish the service
- Download and install GCPW
- Authenticate to Windows using Google + SDO
Before you begin
- Administrator access to the SDO management console
- Administrator access to Google Admin Console
- The relevant Google directory already connected to SDO
- A Windows device for GCPW installation
- The user enrolled for SDO authentication
Part 1: Configure the Google Workspace service in SDO
In this section, you will create the Google Workspace service in SDO, connect it to the correct Google directory, assign users, and publish the service.
Step 1: Add a new service in SDO
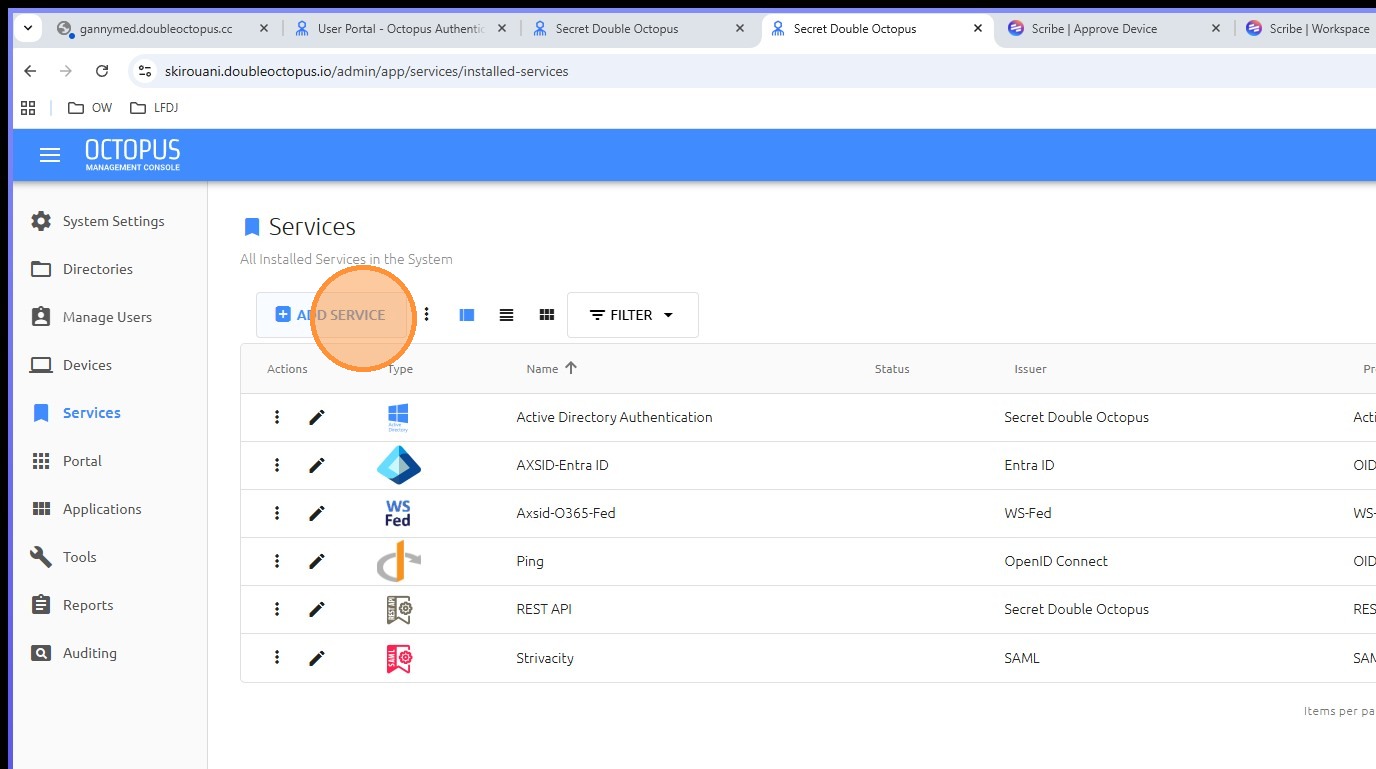
Open the SDO console and click ADD SERVICE.
Step 2: Select OpenID Connect
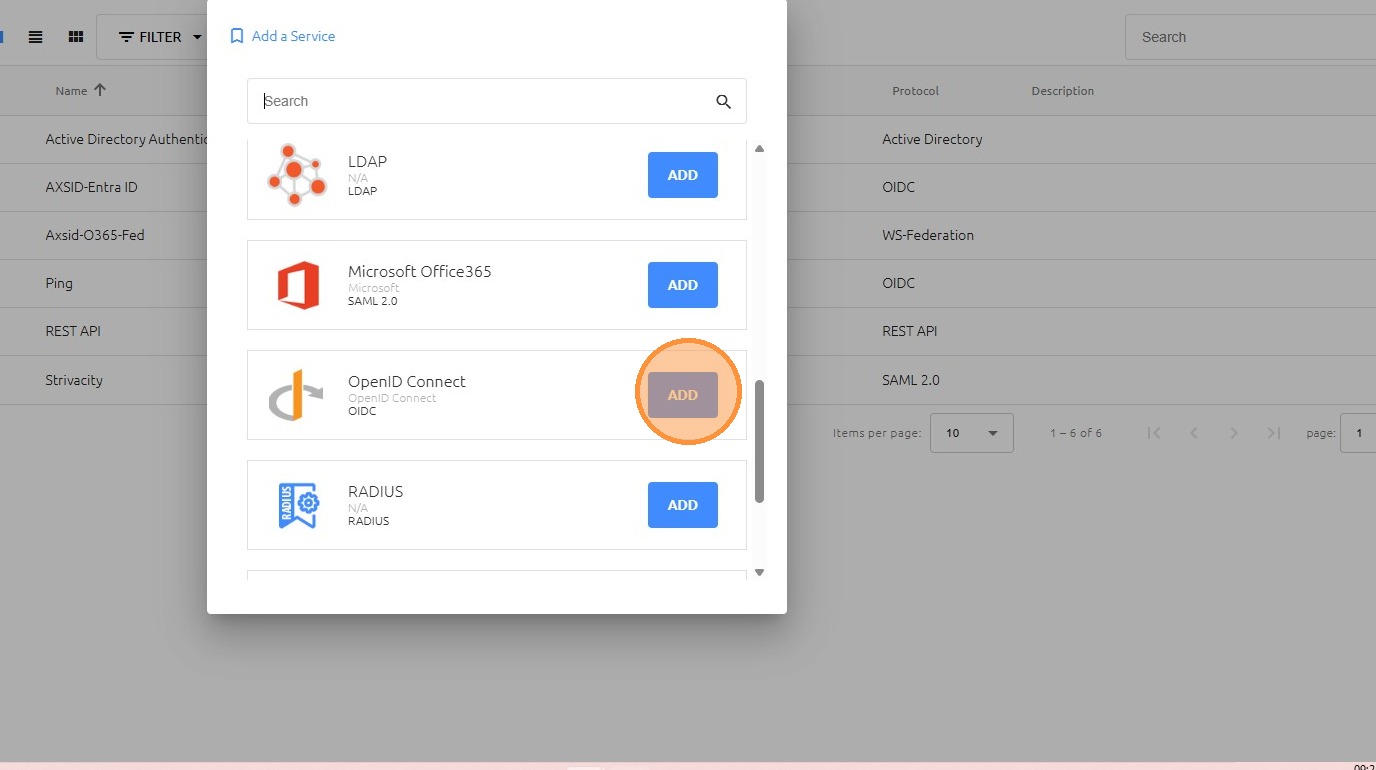
Select OpenID Connect and click ADD.
Step 3: Create the service
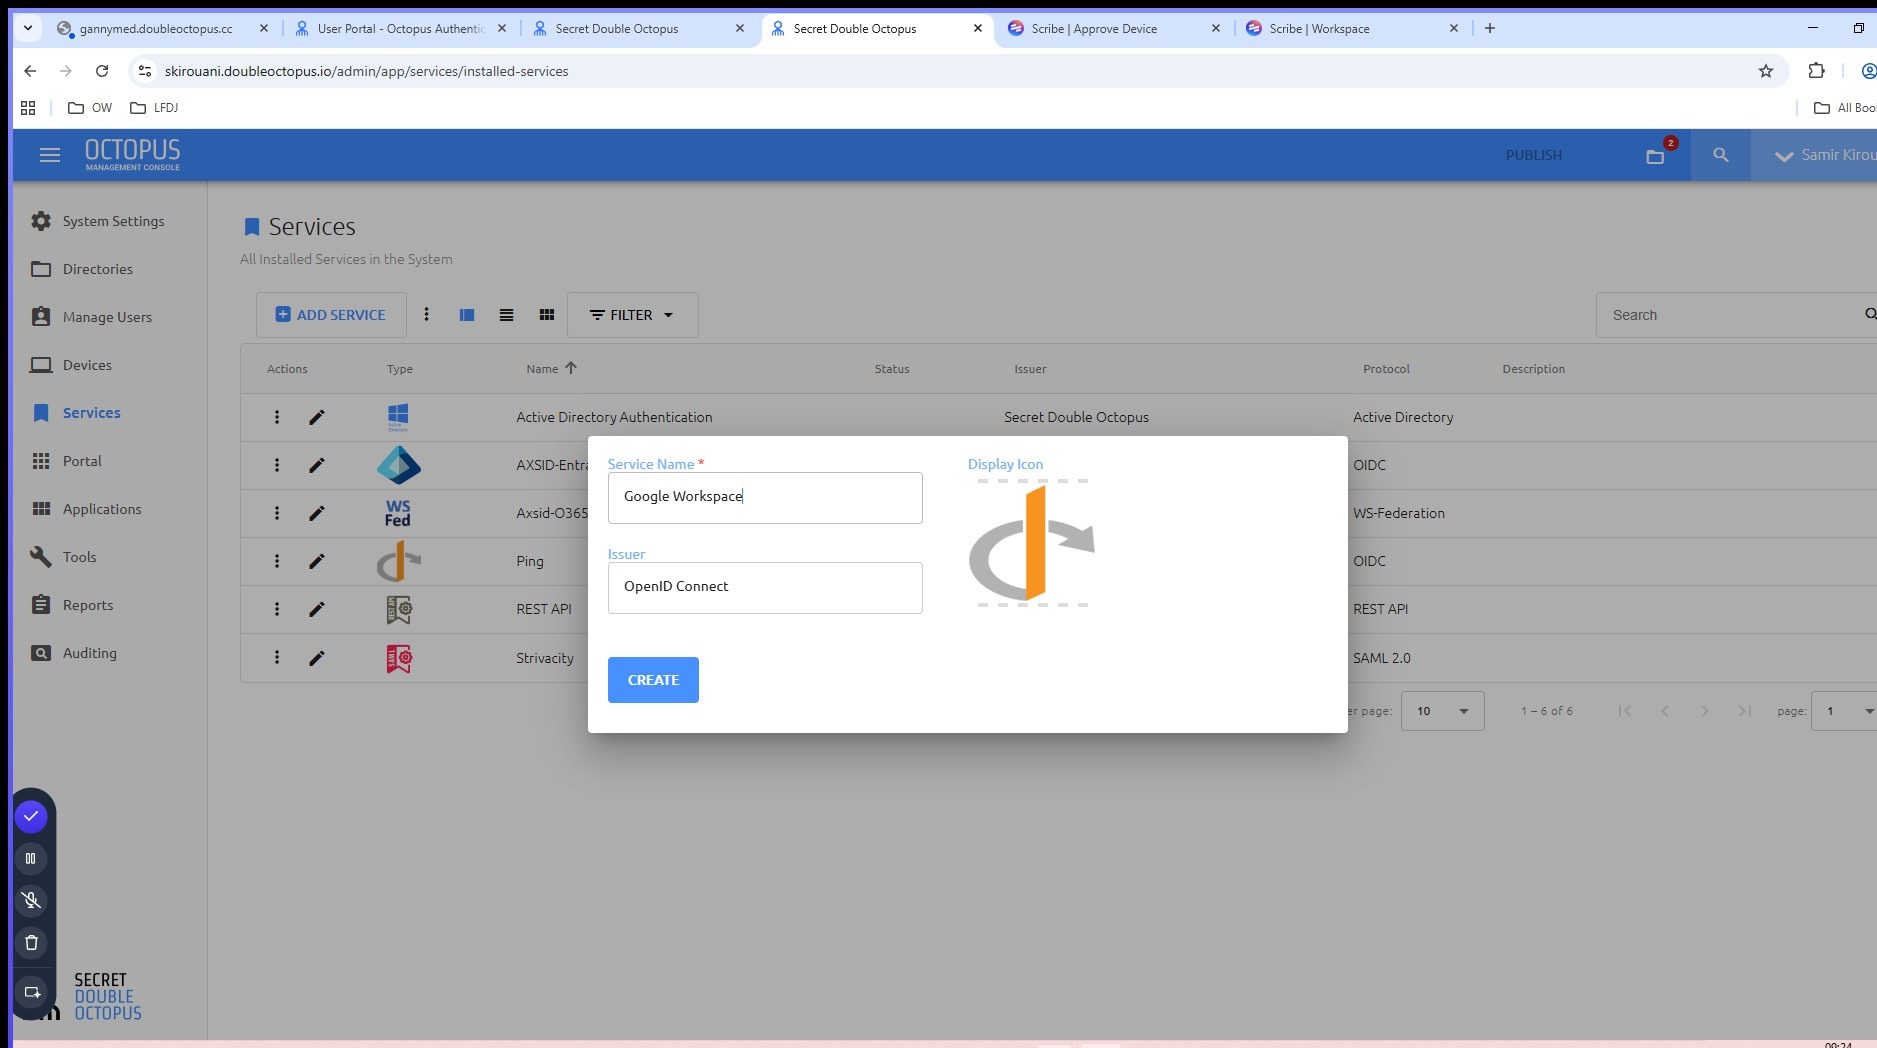
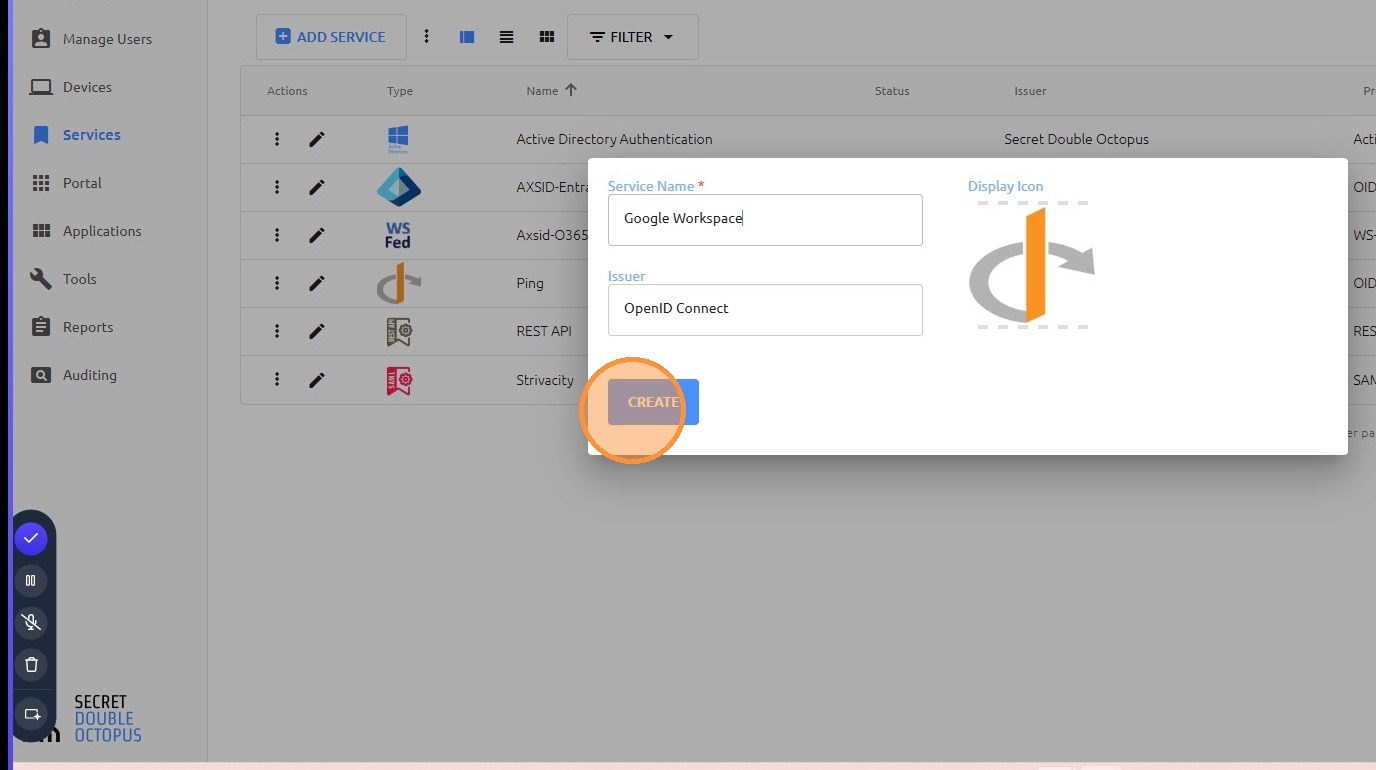
Enter the service name, for example Google Workspace, and click CREATE.
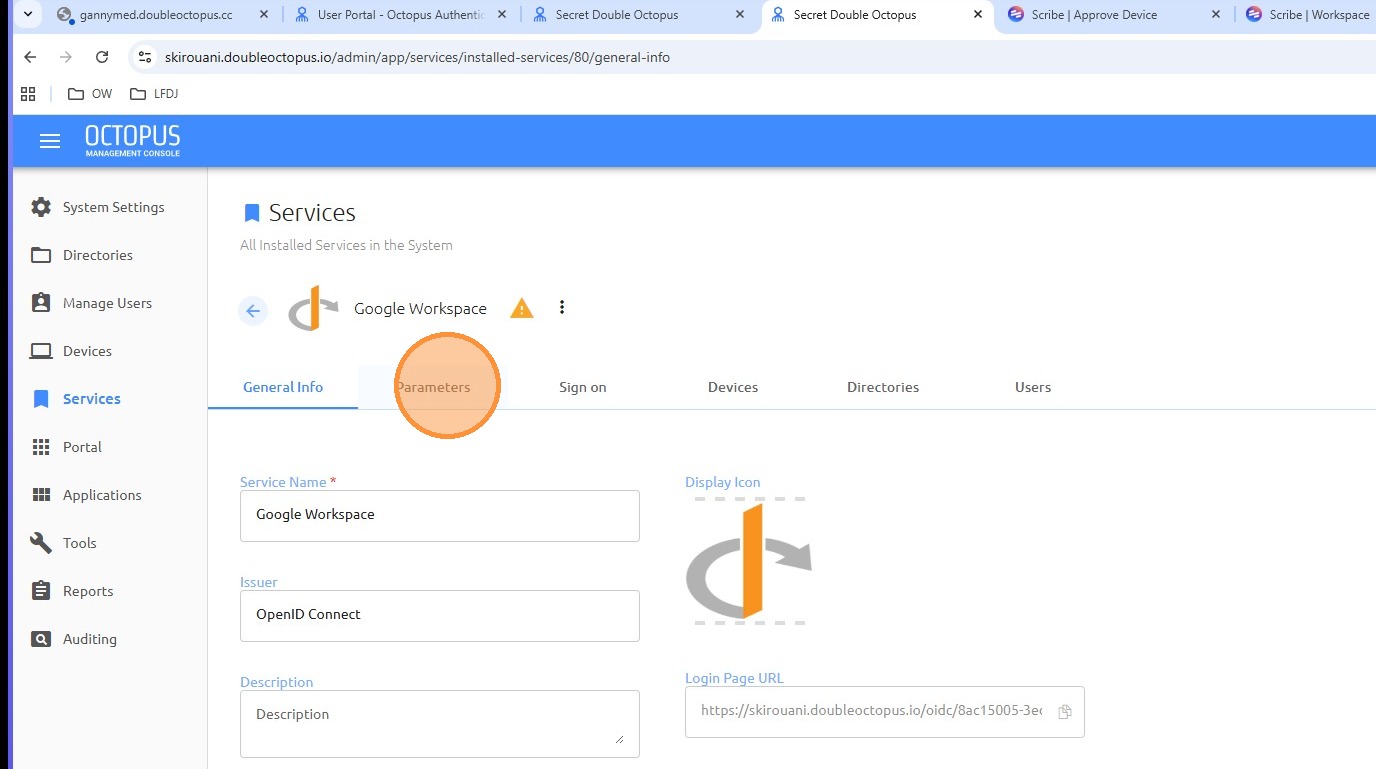
Step 4: Configure service parameters
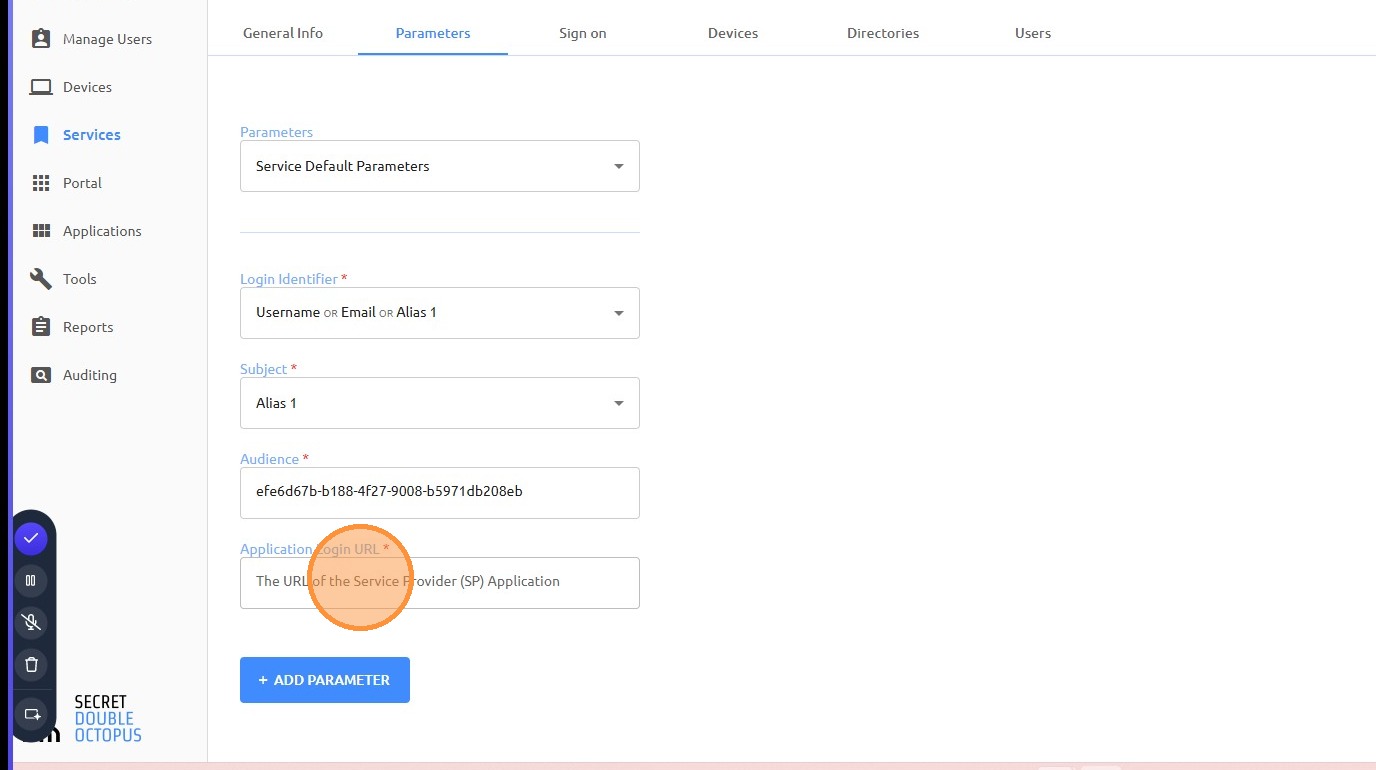
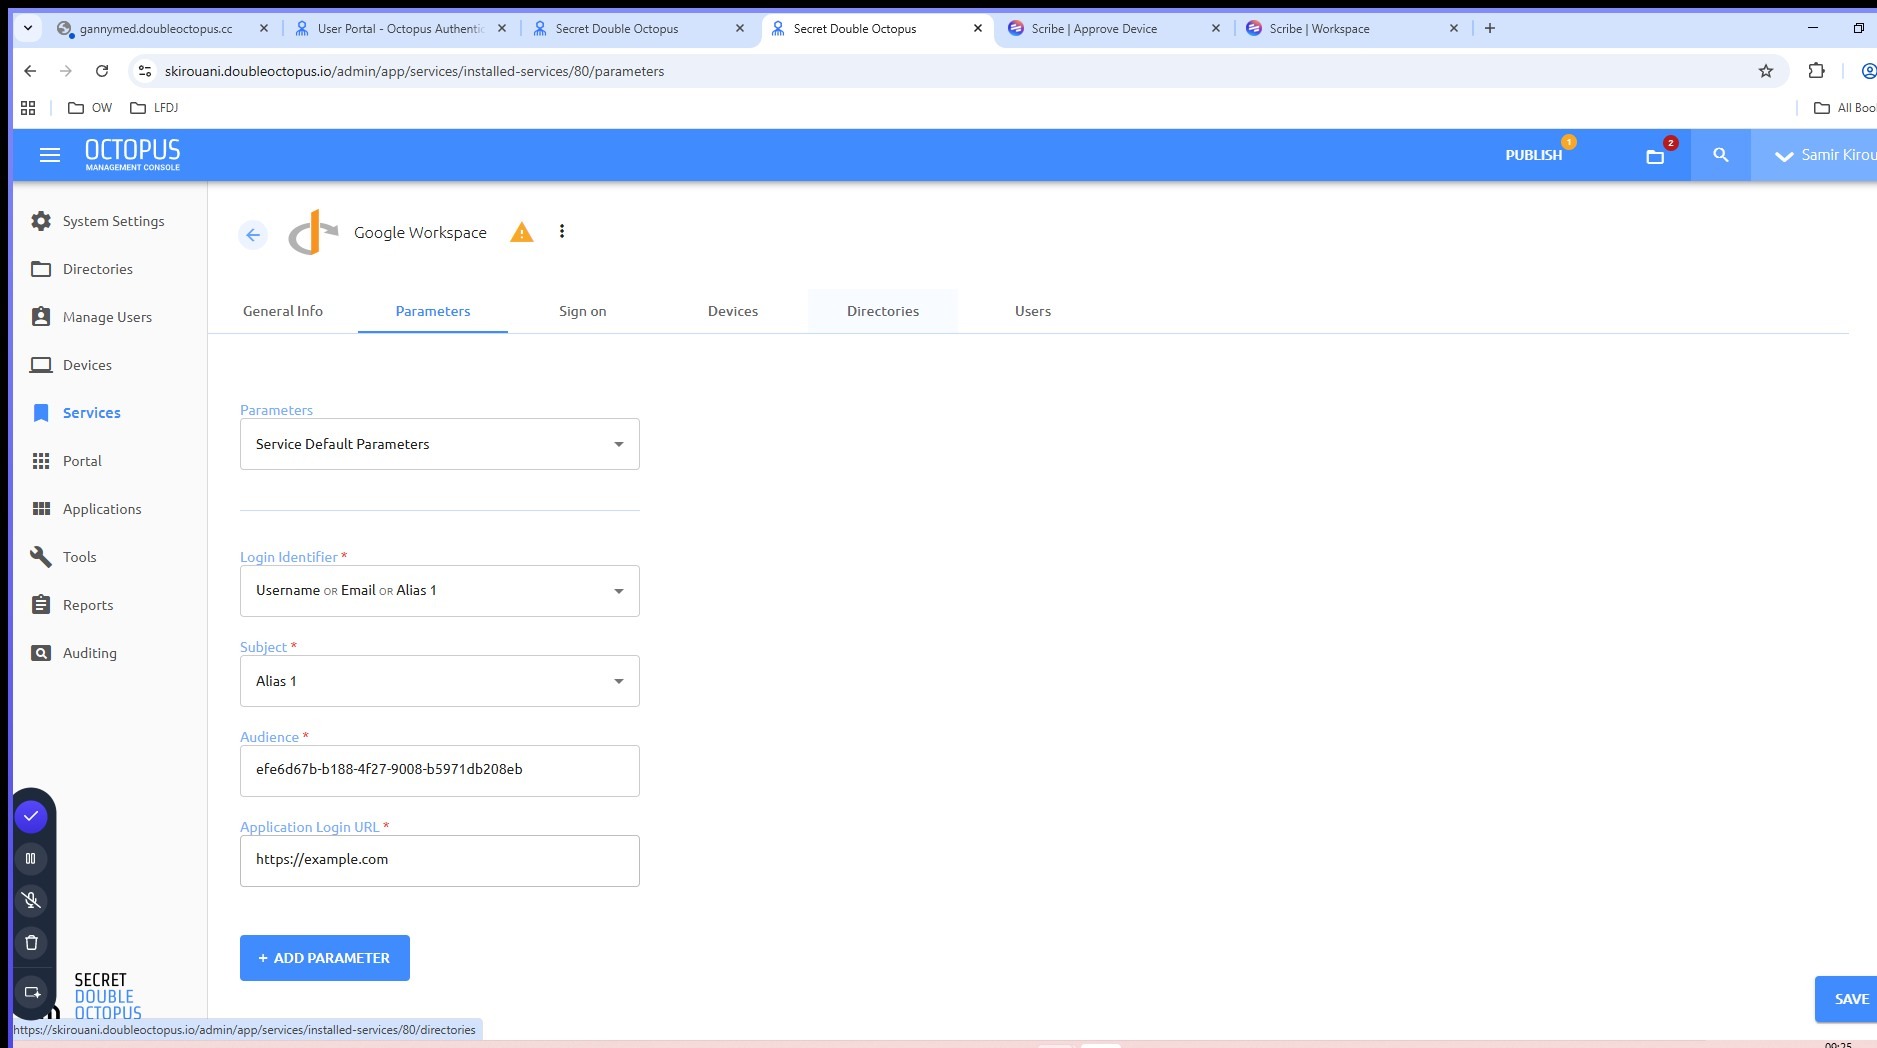
Open the Parameters tab. In the field The URL of the Service Provider (SP) Application, enter the appropriate service URL.
Example: https://example.com
Step 5: Associate the Google directory
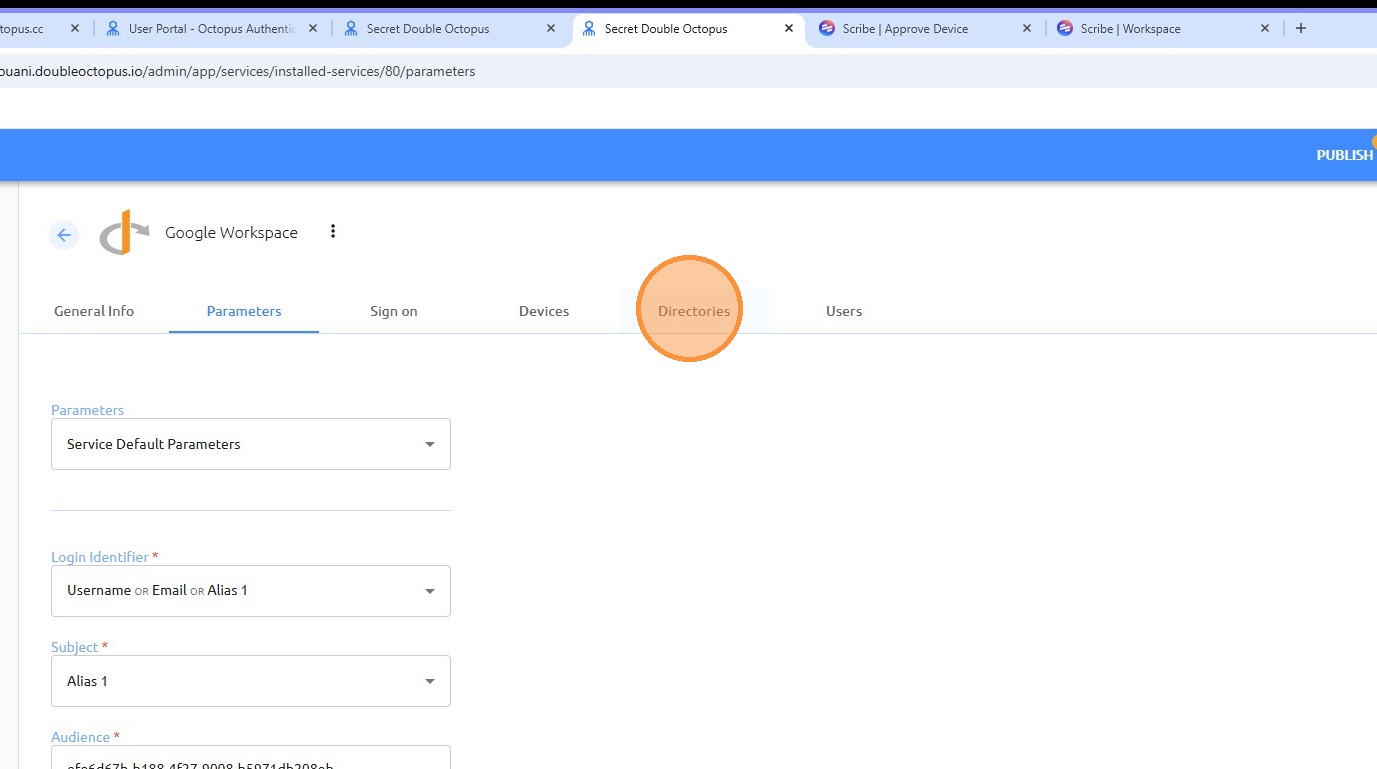
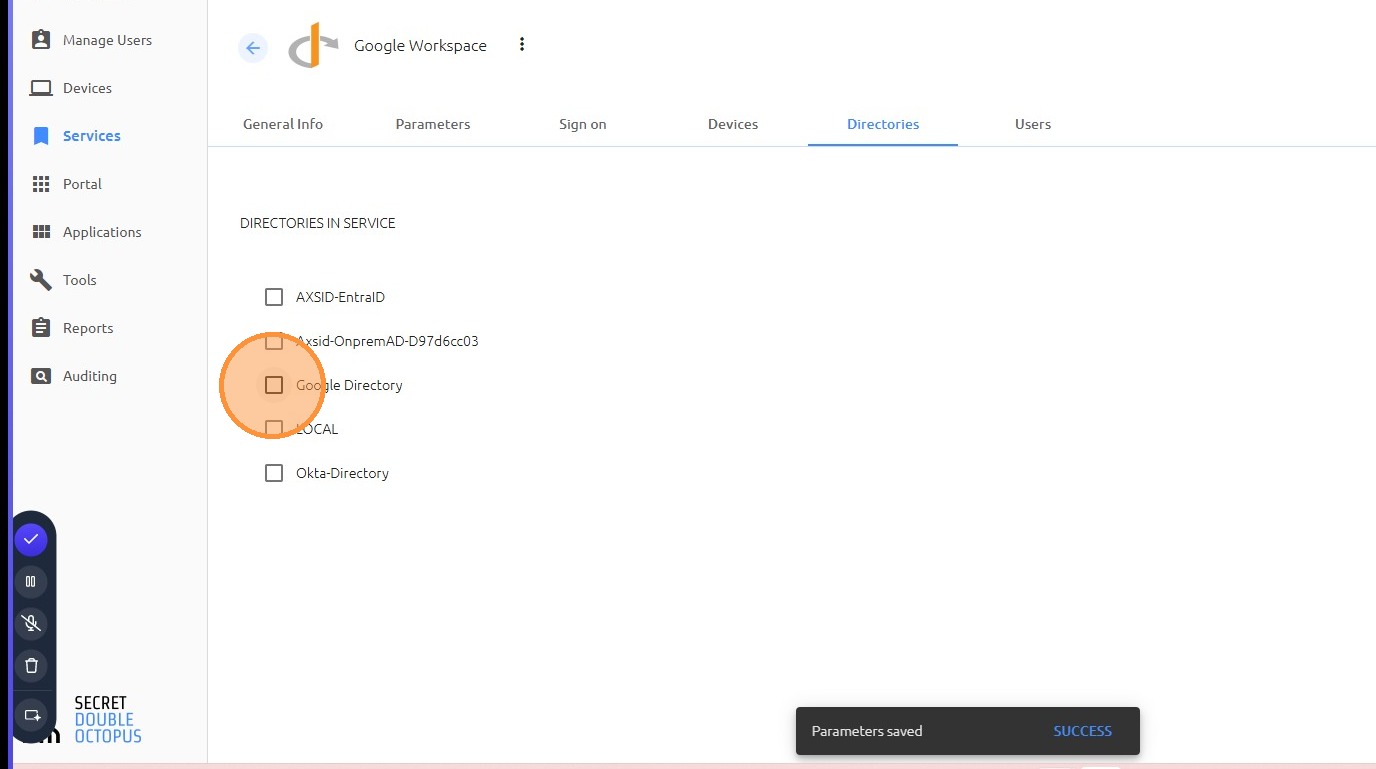
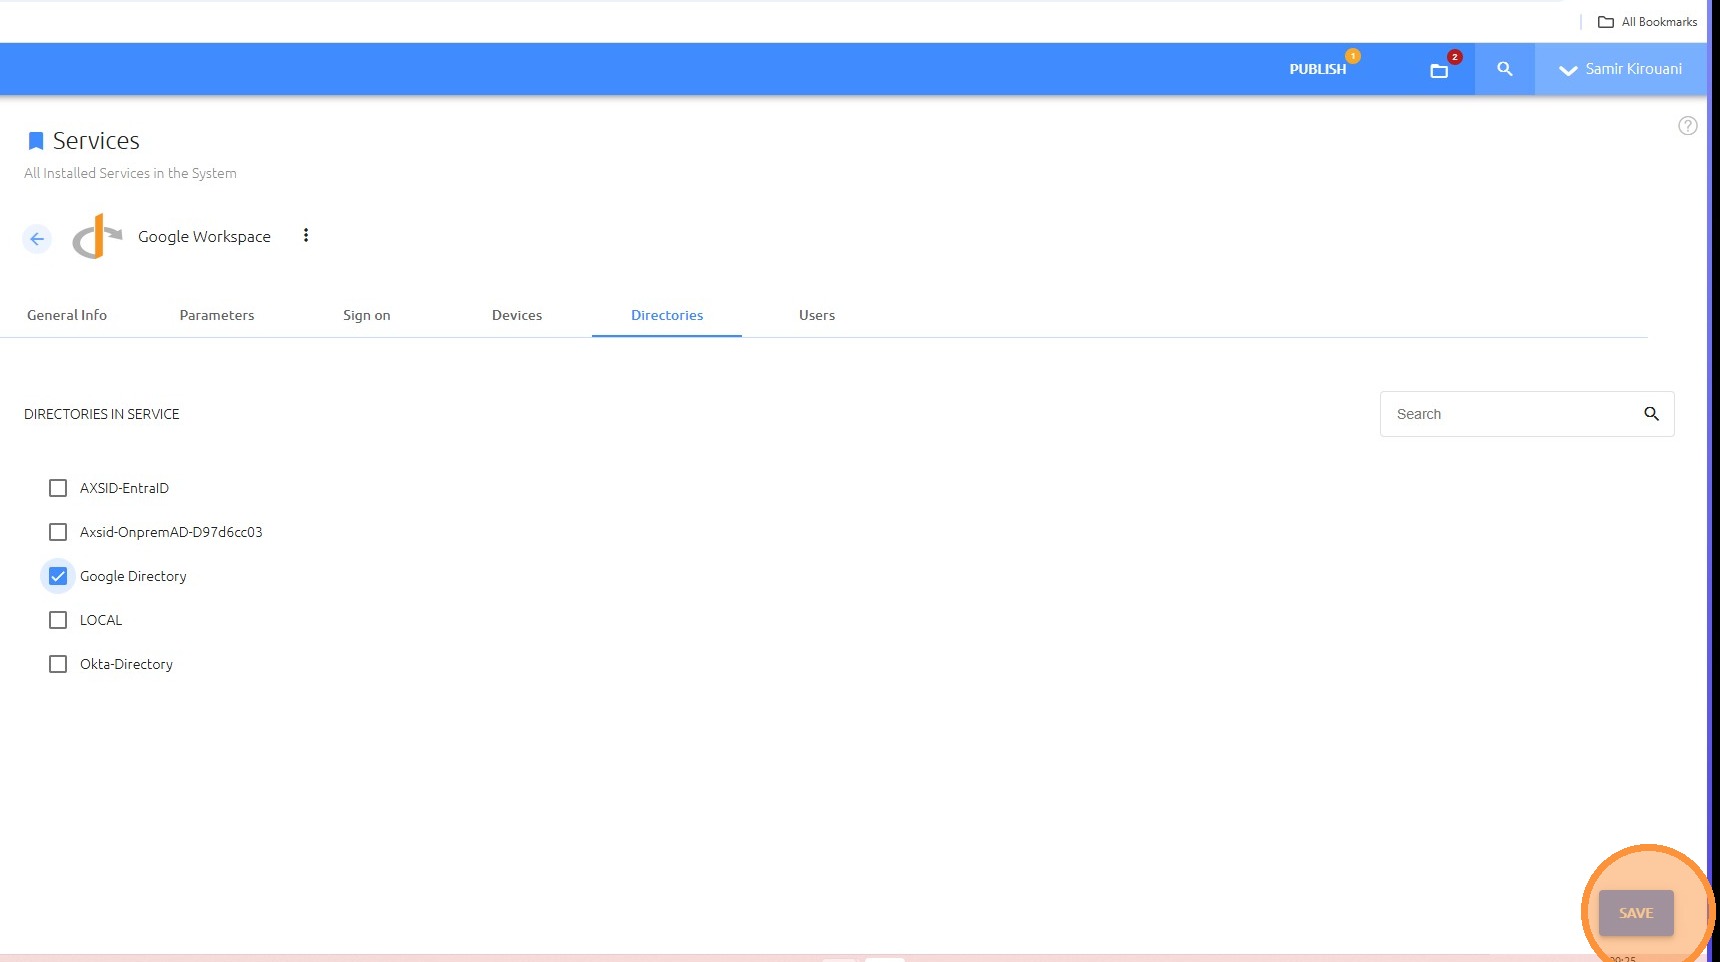
Open the Directories tab, select Google Directory, and click SAVE.
Step 6: Assign users
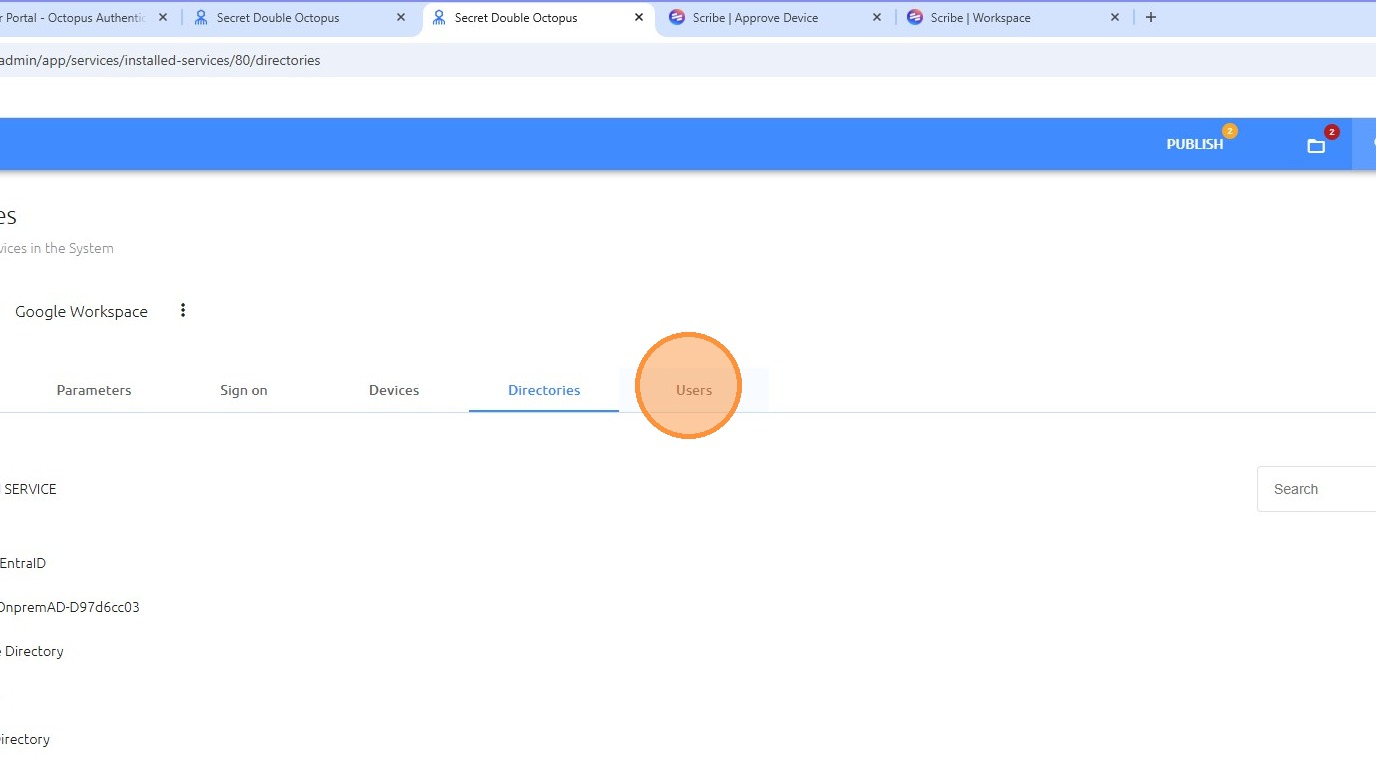
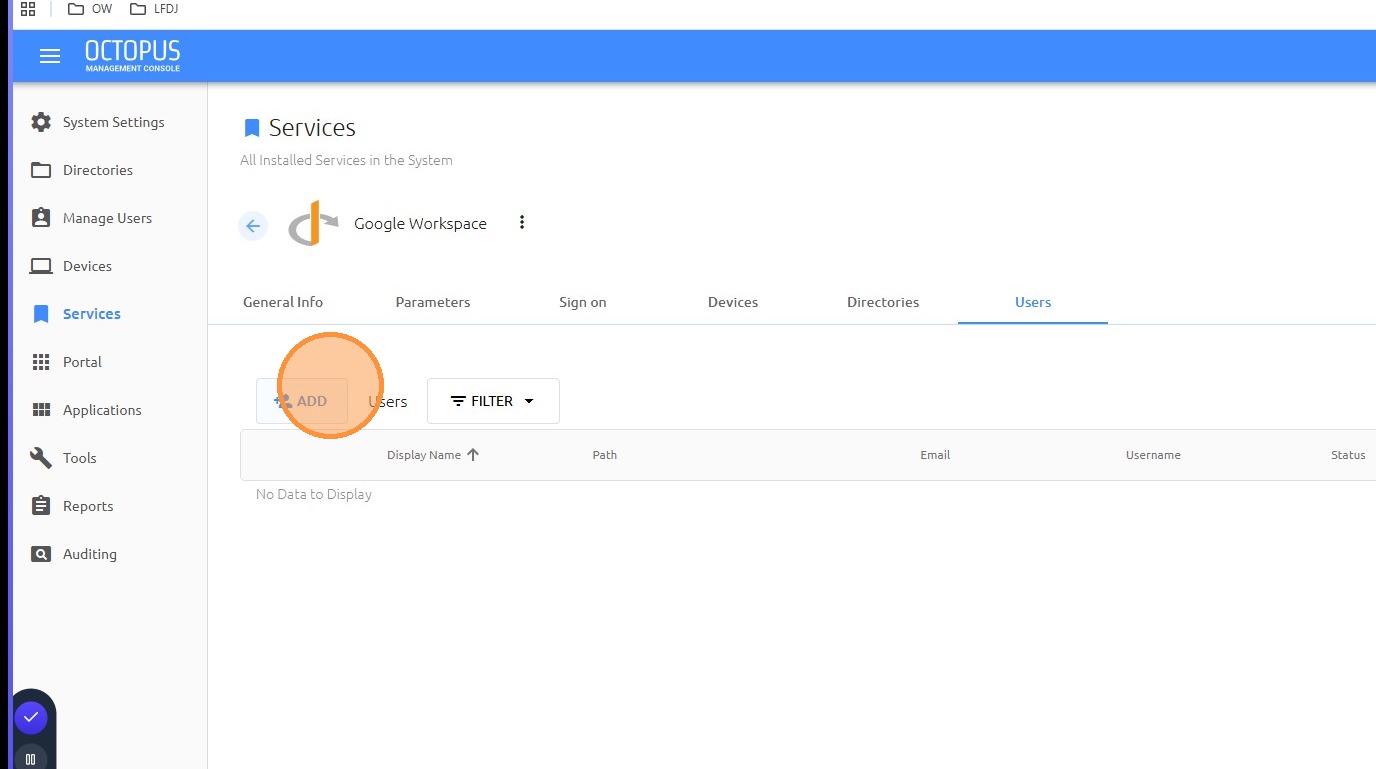
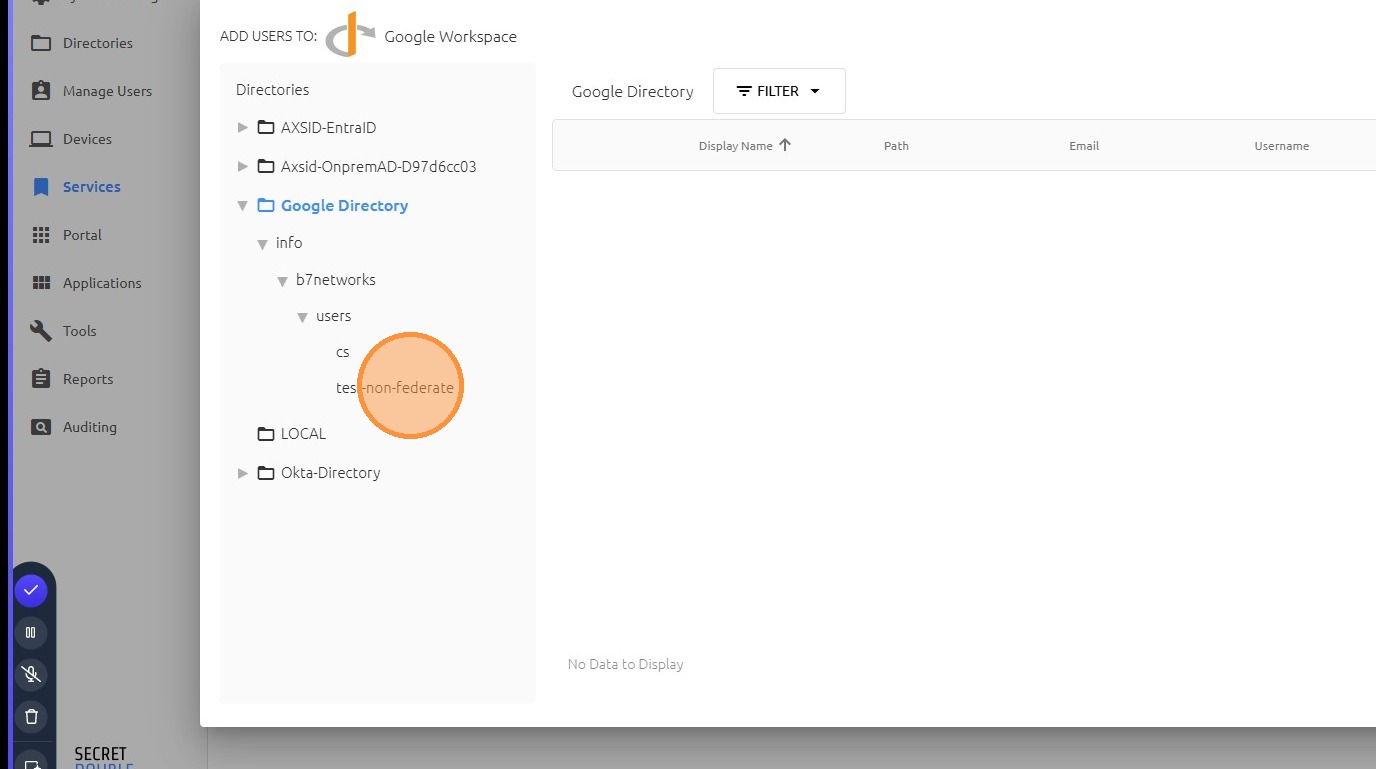
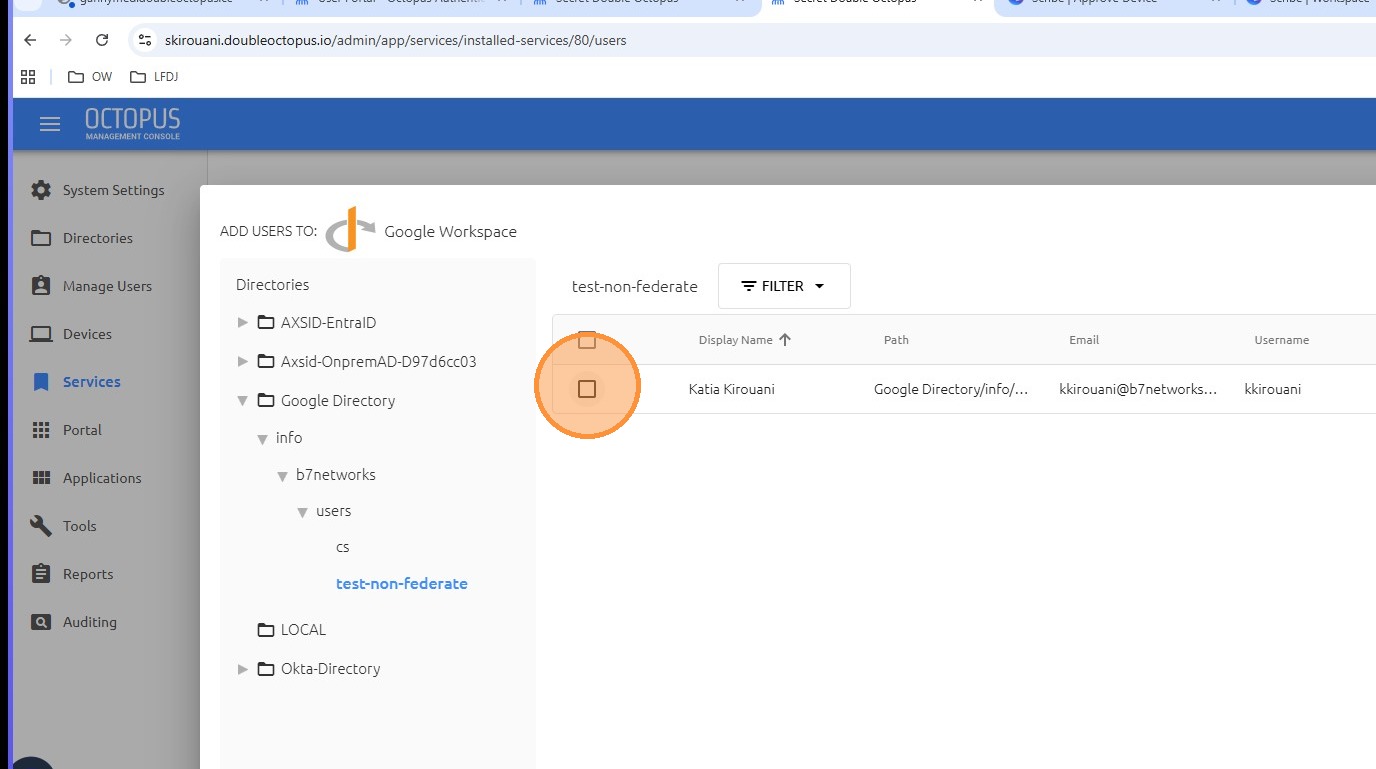
Open the Users tab and click ADD to add users who need access to the service.
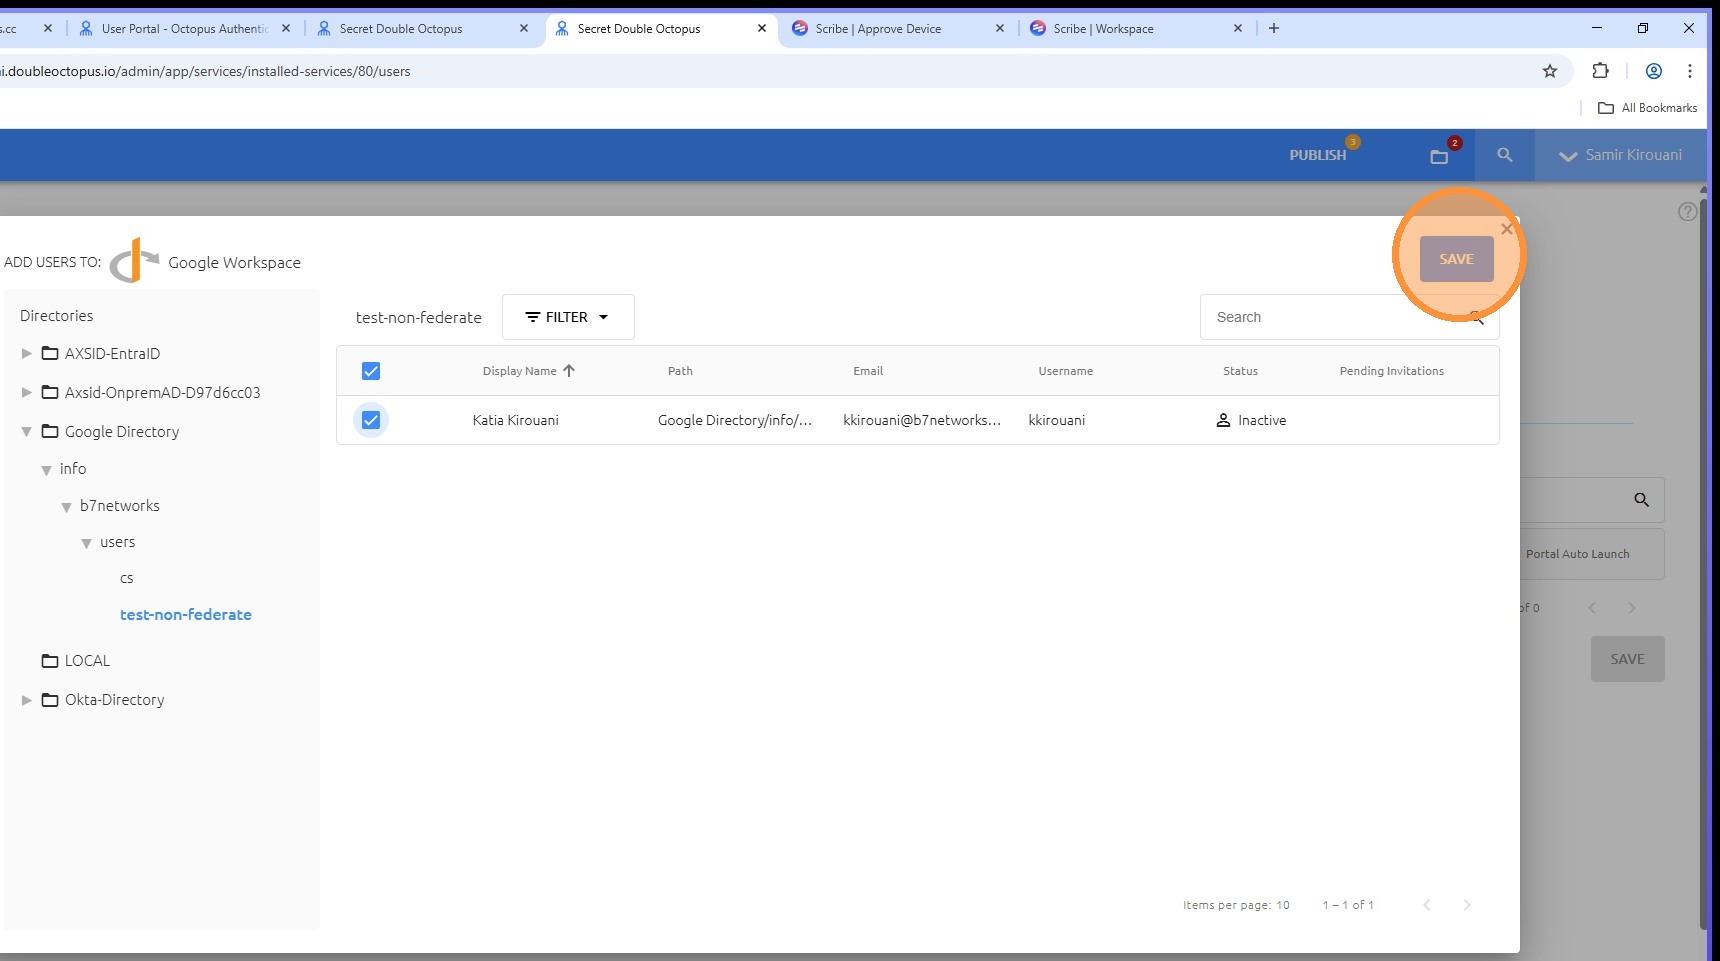
Select the relevant OU, choose the required user, and click SAVE.
Step 7: Publish the service
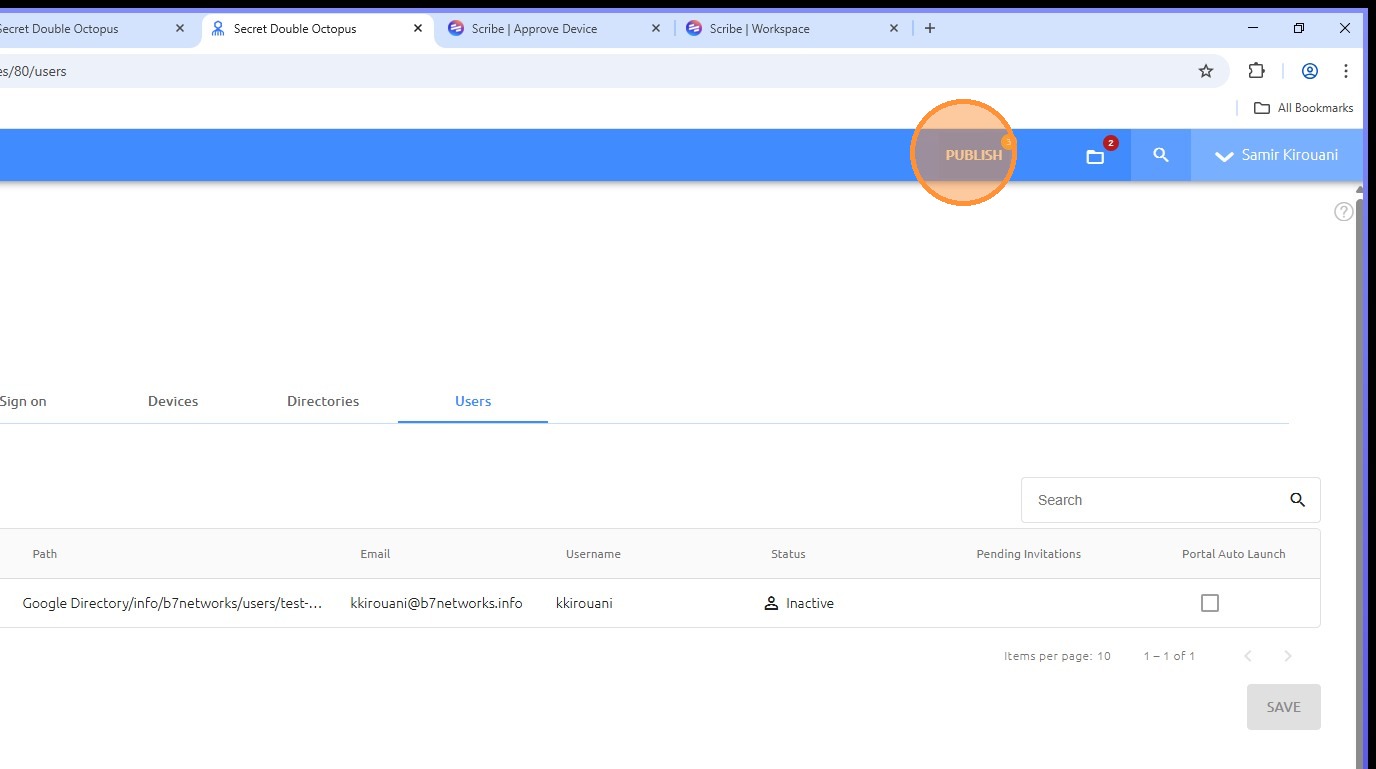
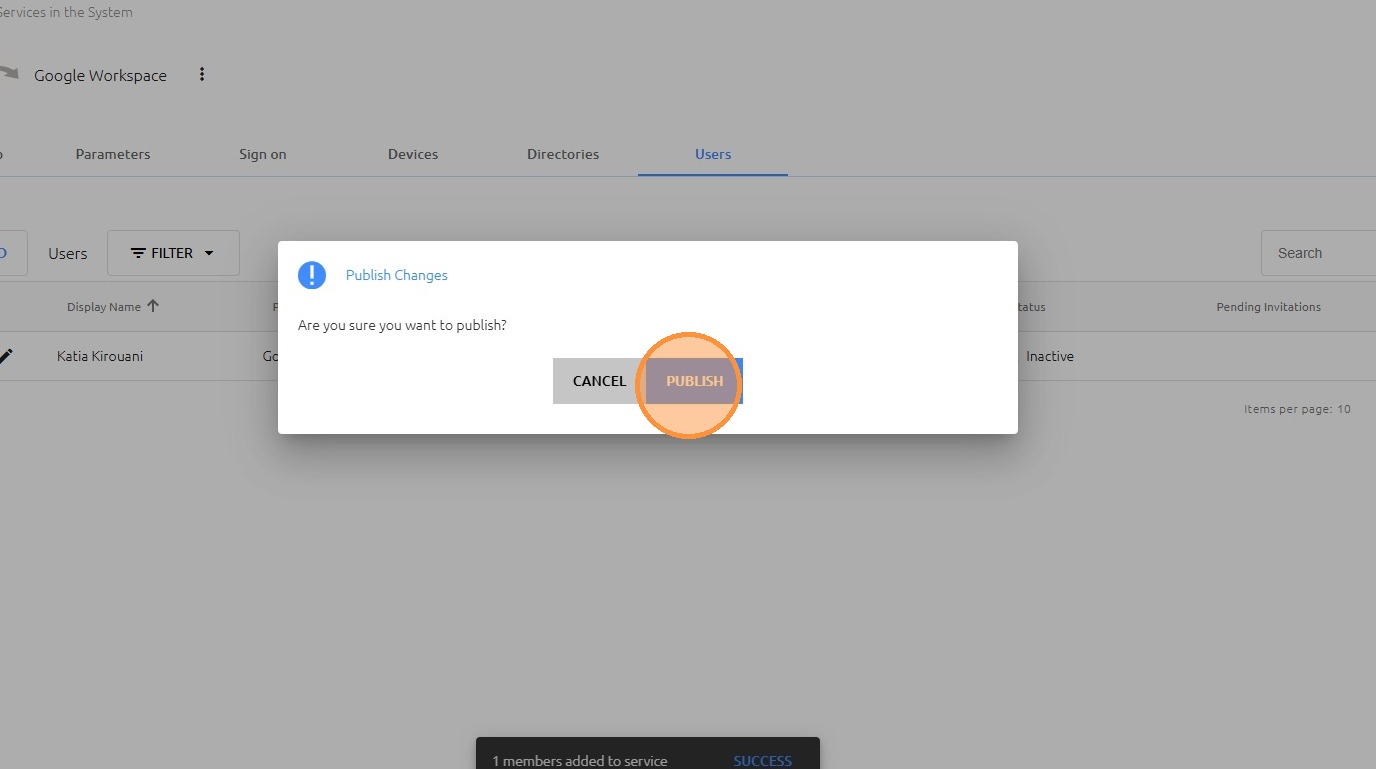
When configuration is complete, click PUBLISH, then confirm by clicking PUBLISH again.
Part 2: Configure Google and sign in with SDO
In this section, you will download the Google Credential Provider for Windows (GCPW), install it on the endpoint, and complete the authentication flow using Secret Double Octopus.
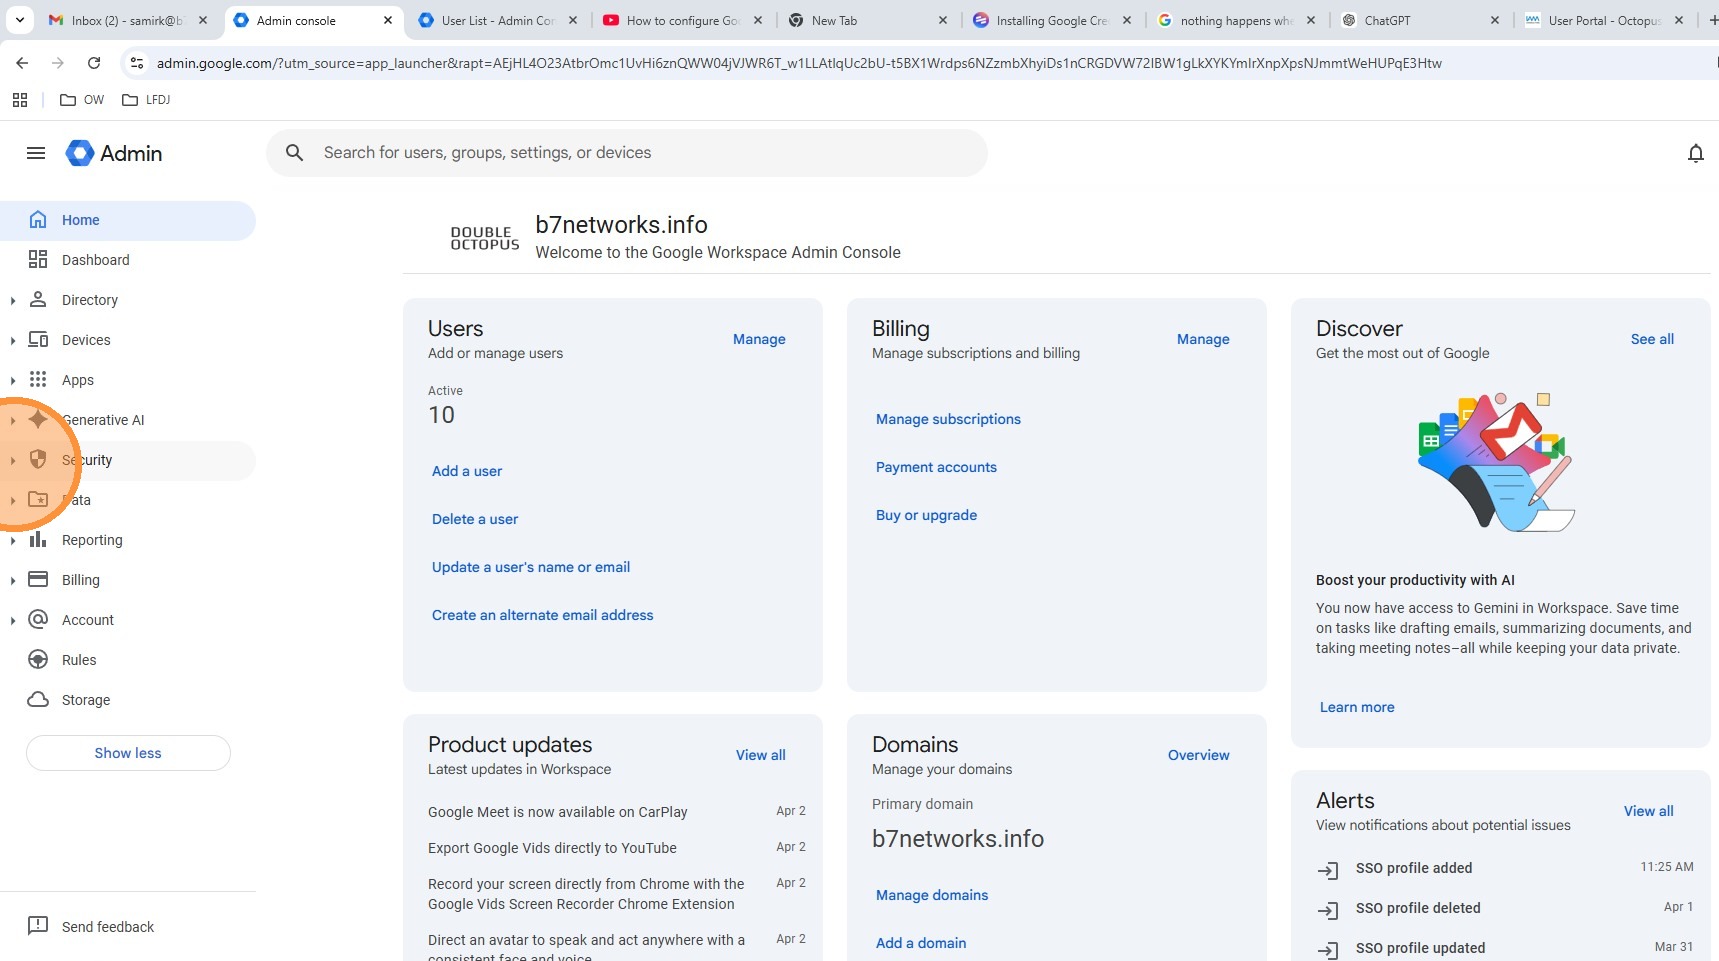
Step 1: Open Google Admin Console
Sign in to the Google Admin Console.
Step 2: Navigate to the Windows GCPW settings
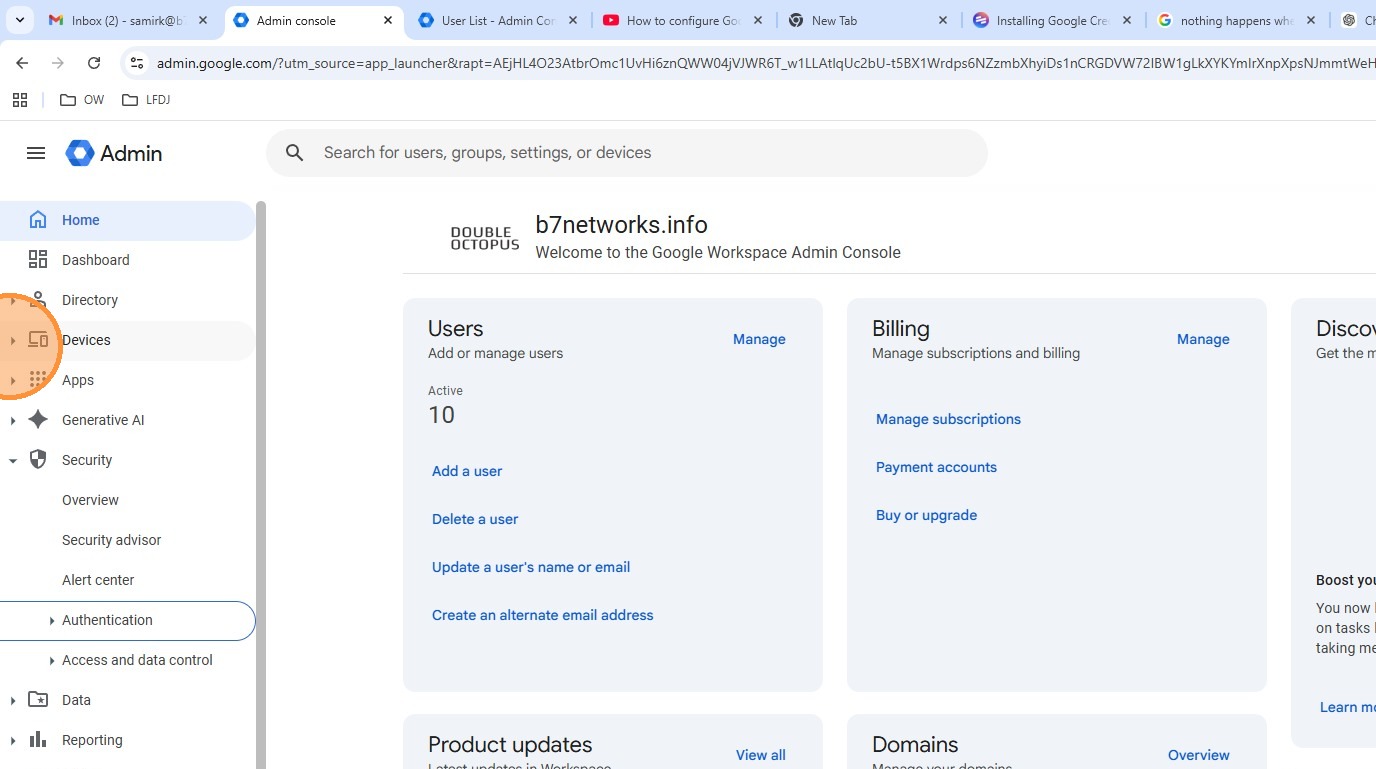
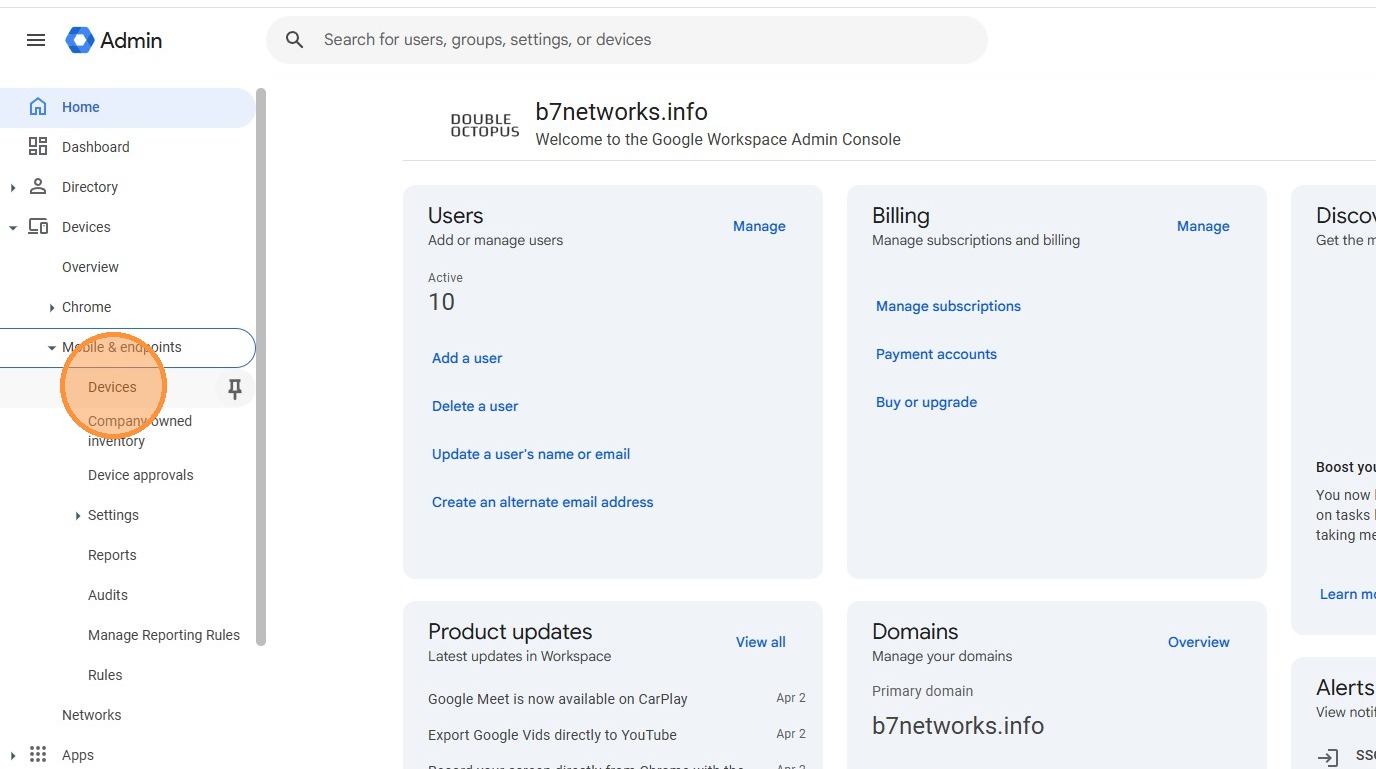
Go to Devices > Mobile & Endpoints > Settings > Windows.
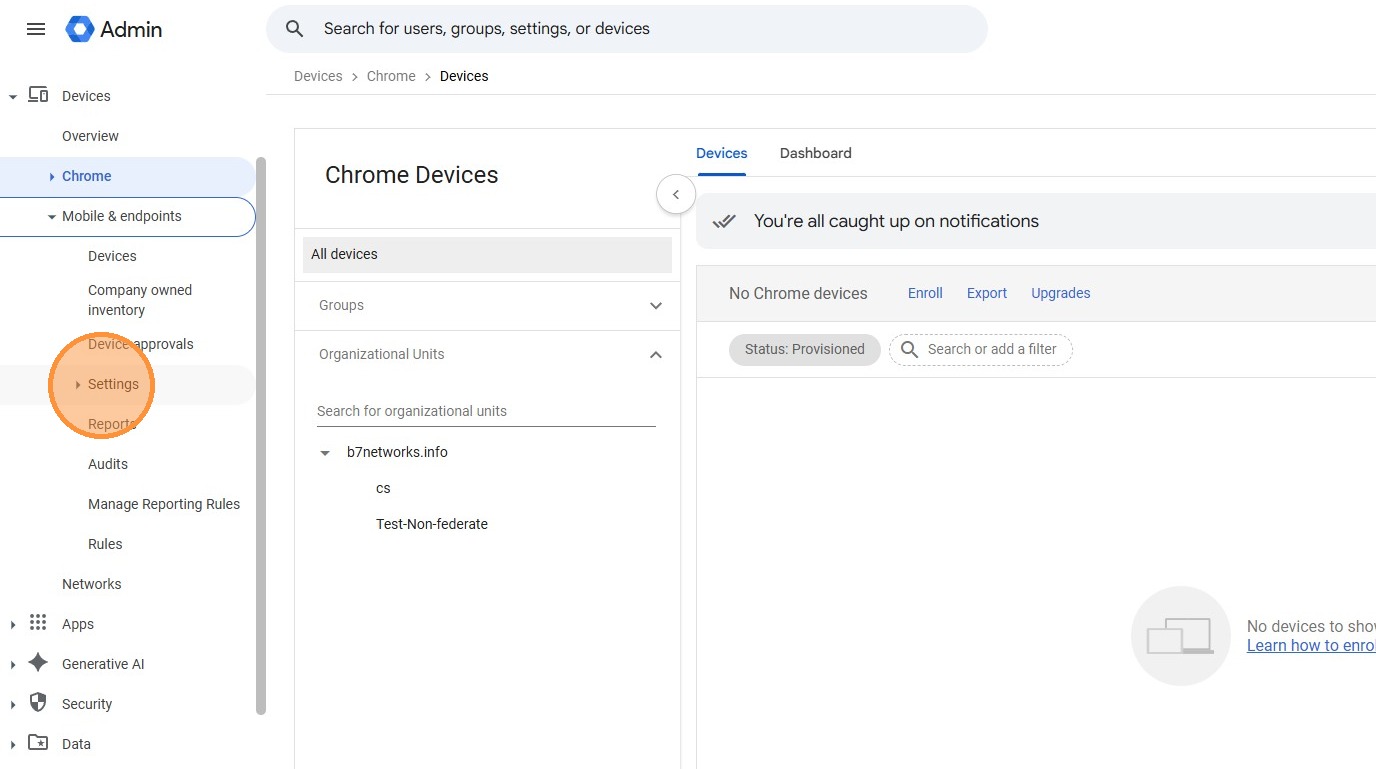
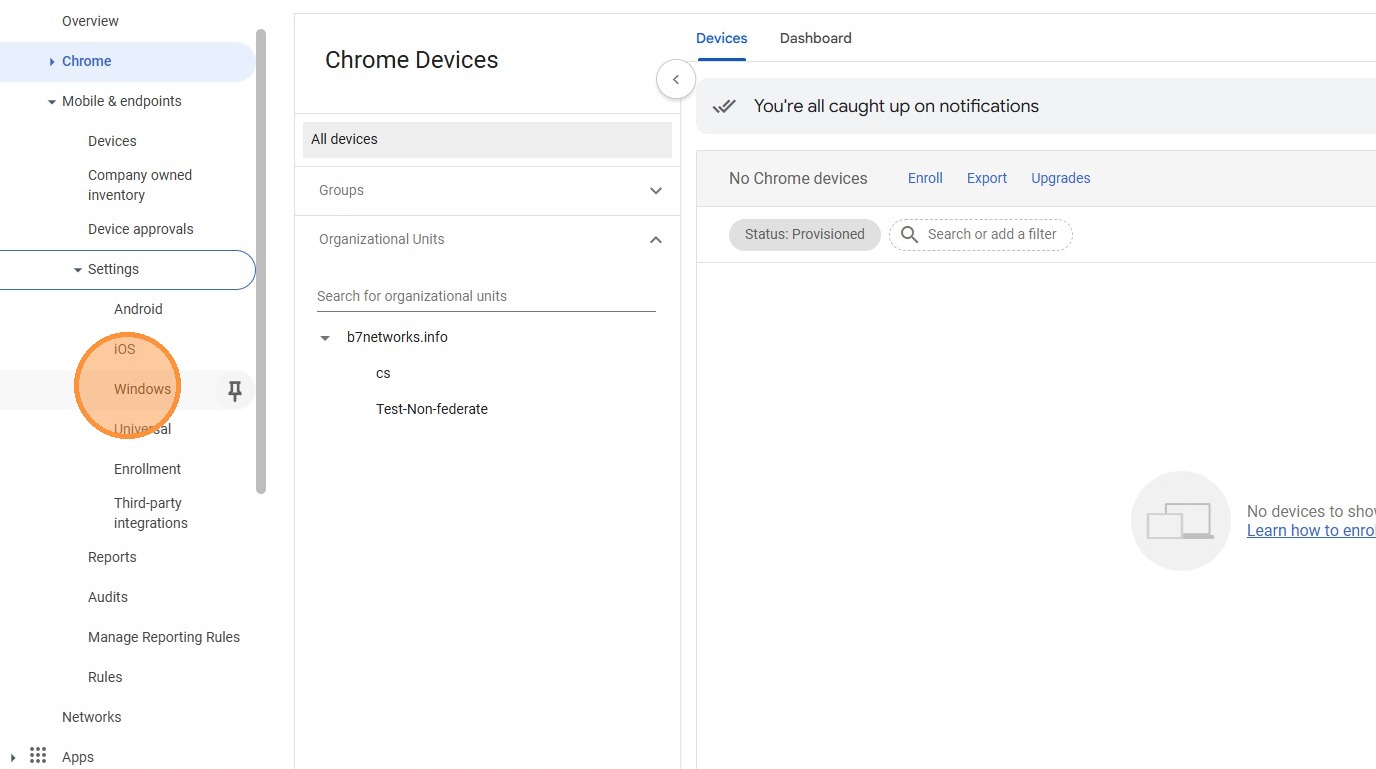
Step 3: Download GCPW
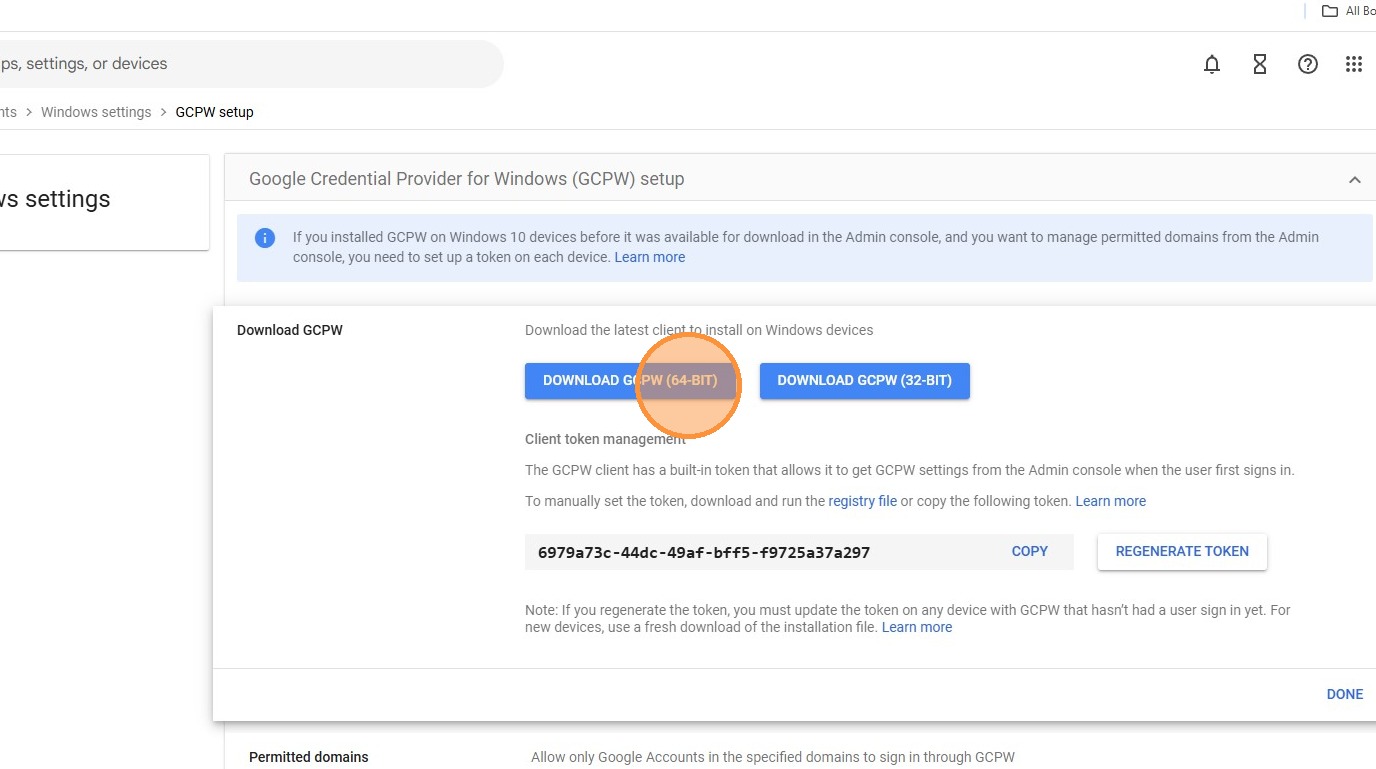
Open Google Credential Provider for Windows (GCPW) setup, click Download GCPW, and then select DOWNLOAD GCPW (64-BIT).
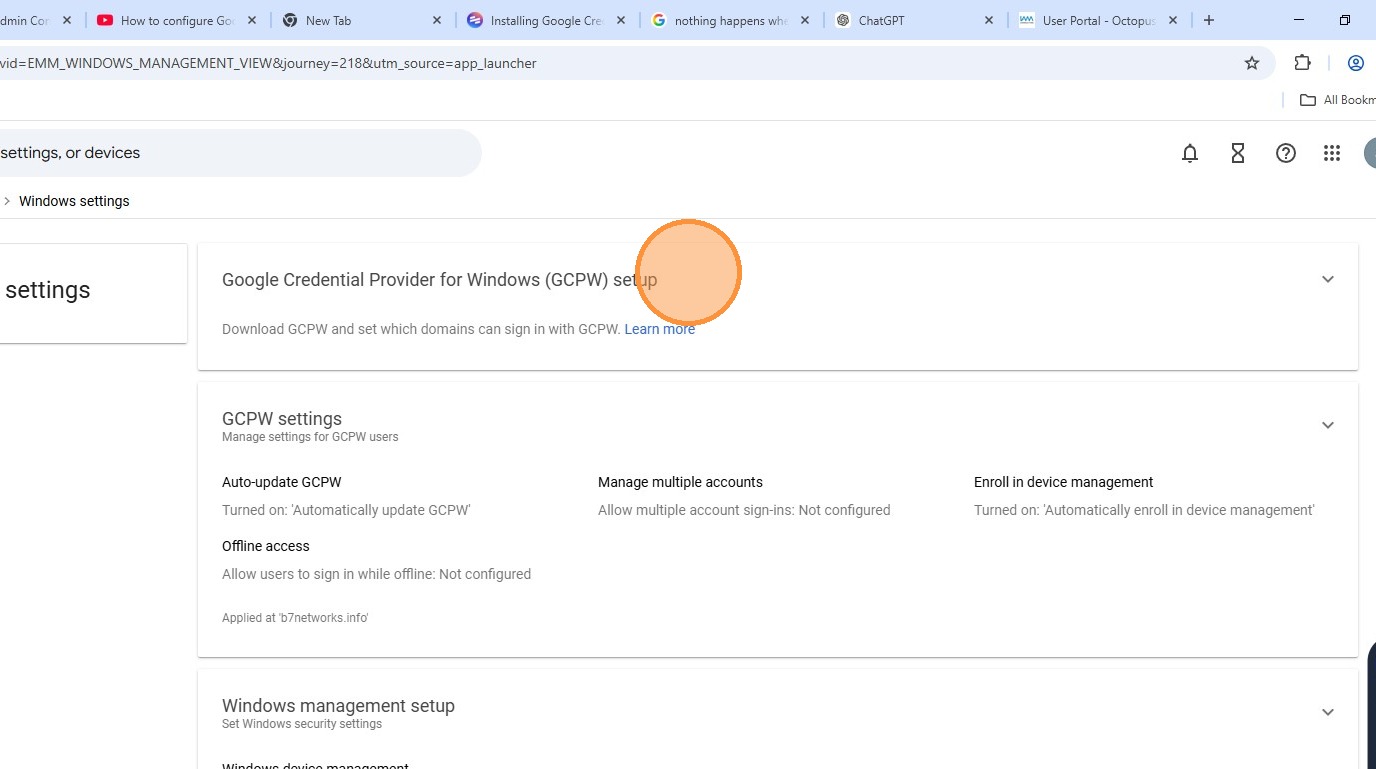
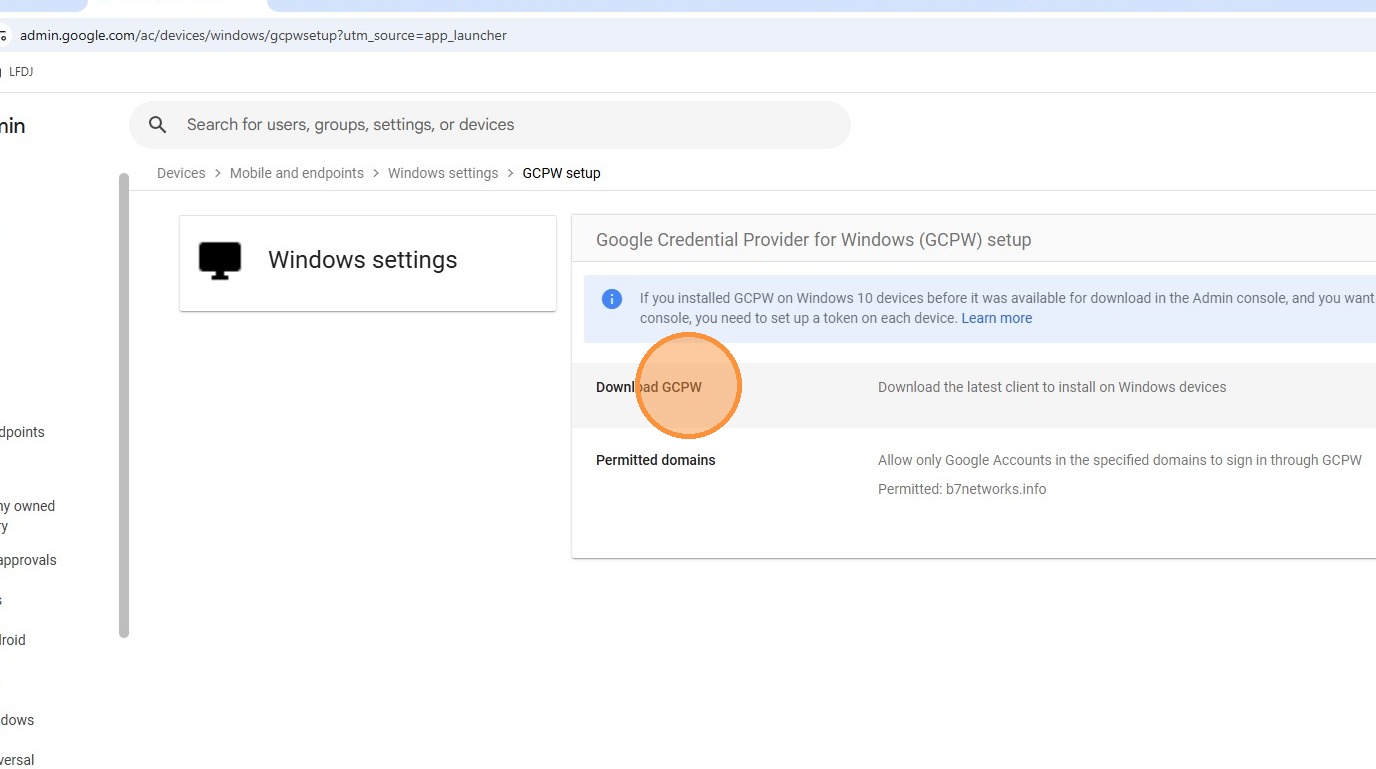
Step 4: Install GCPW and Chrome
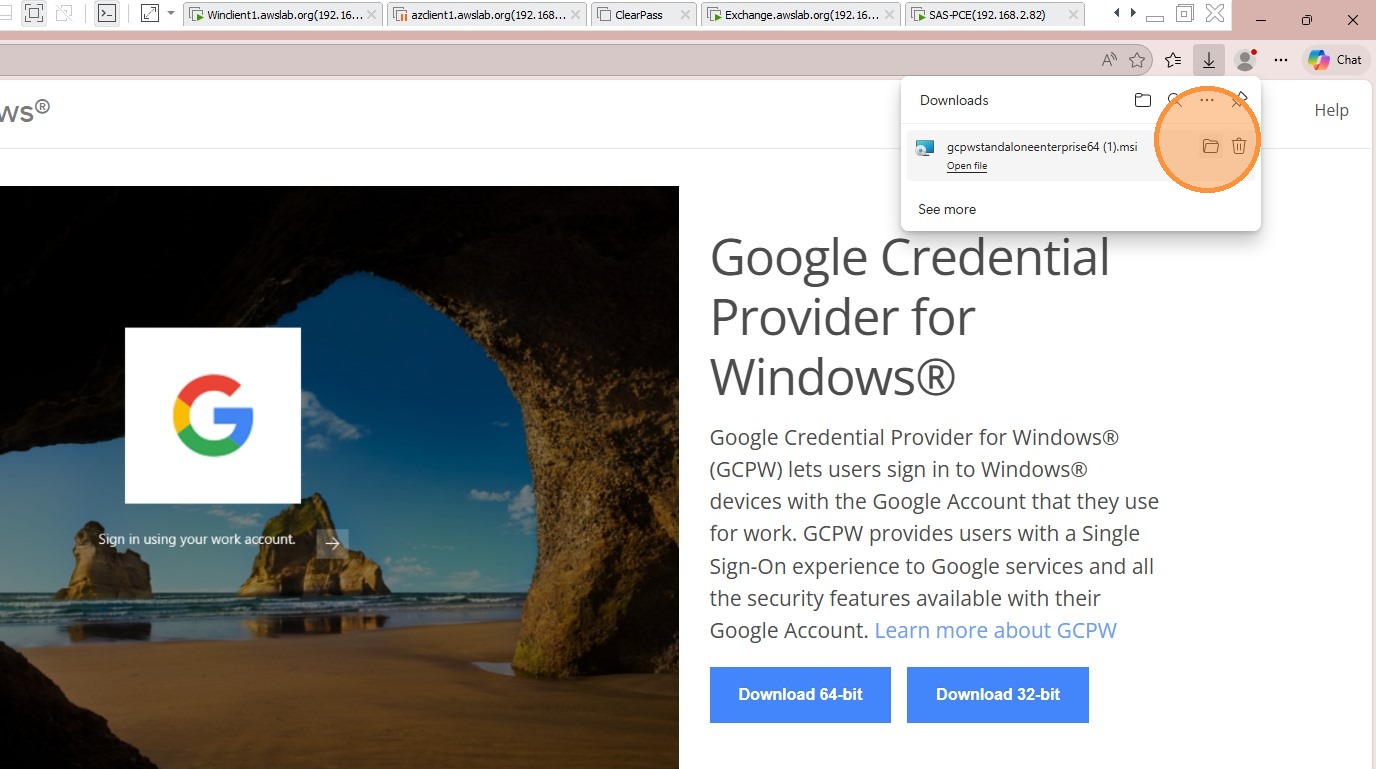
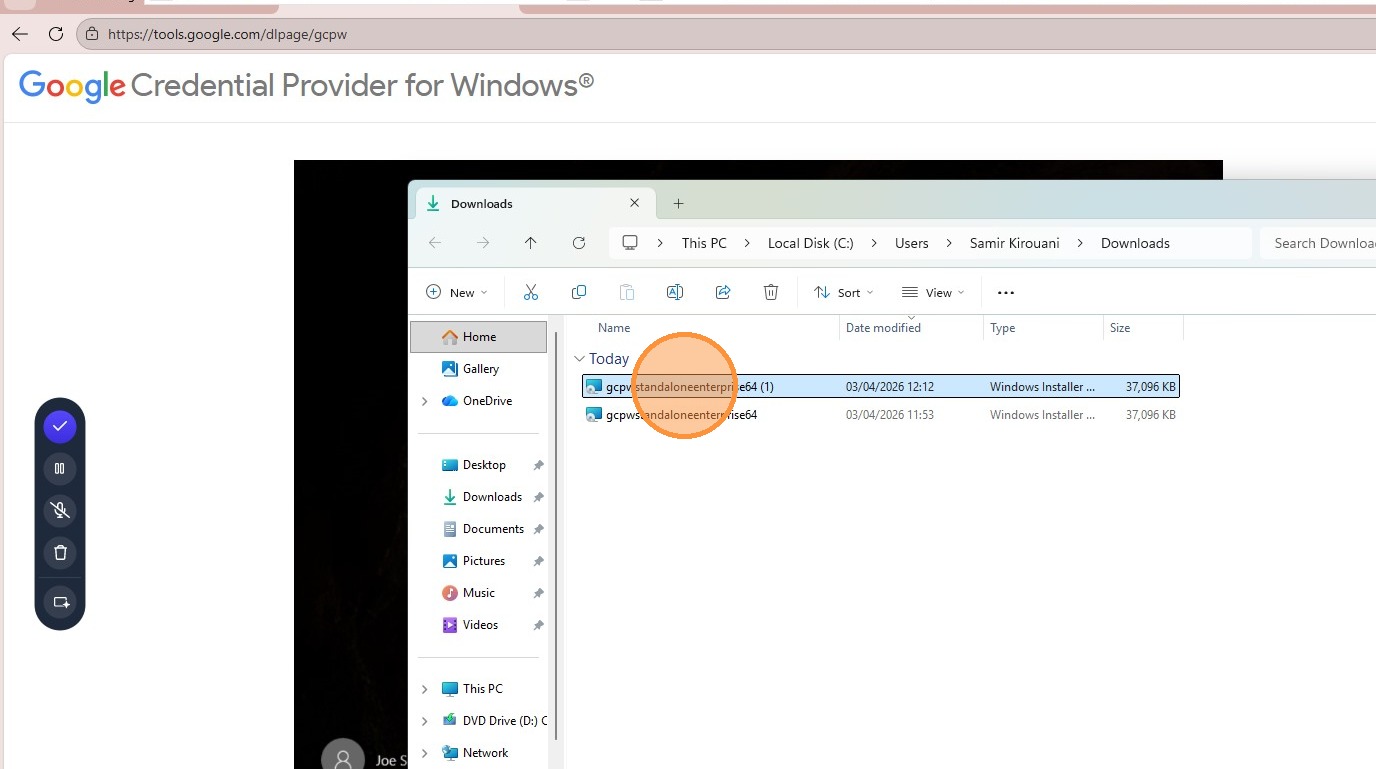
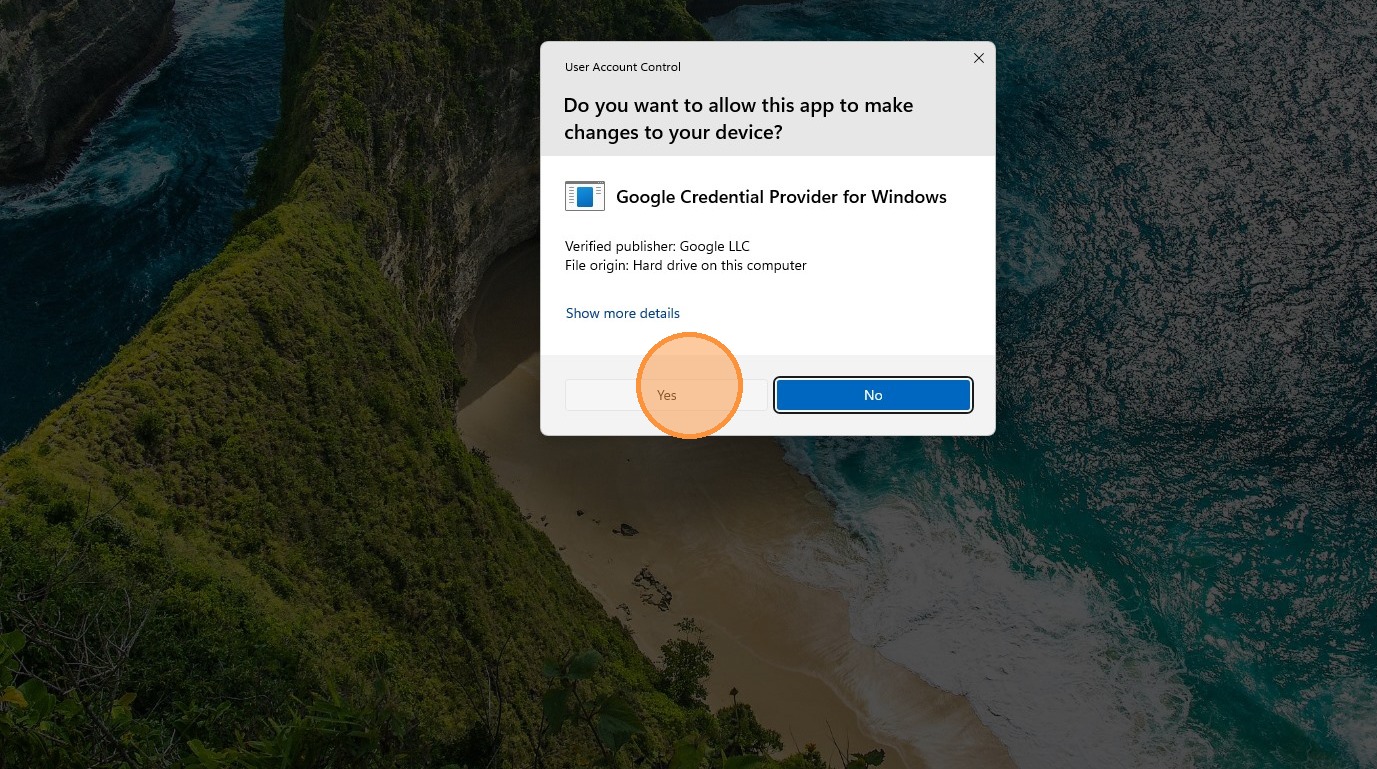
Open the downloaded installer, right-click it, and select Run as Administrator. Approve the UAC prompt by clicking Yes. You'll also need to download
Step 5: Add a work account at the Windows sign-in screen
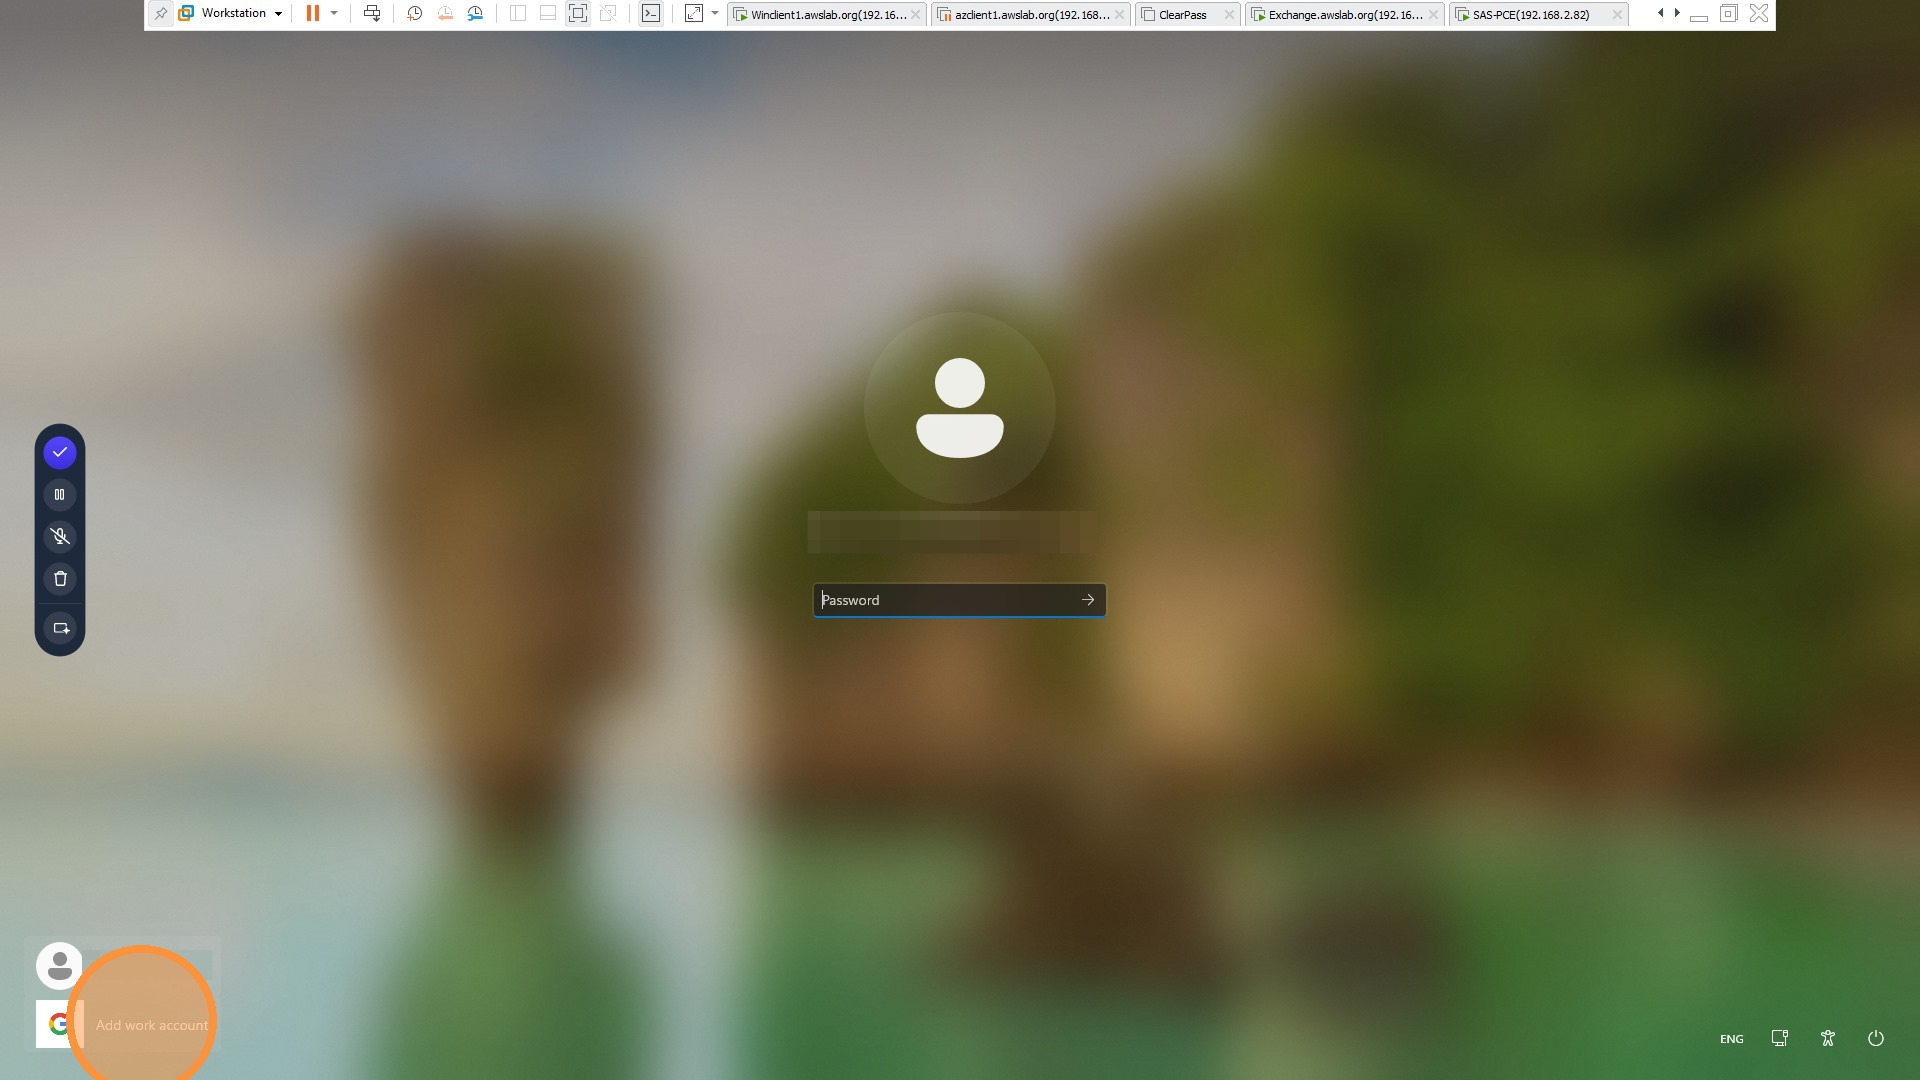
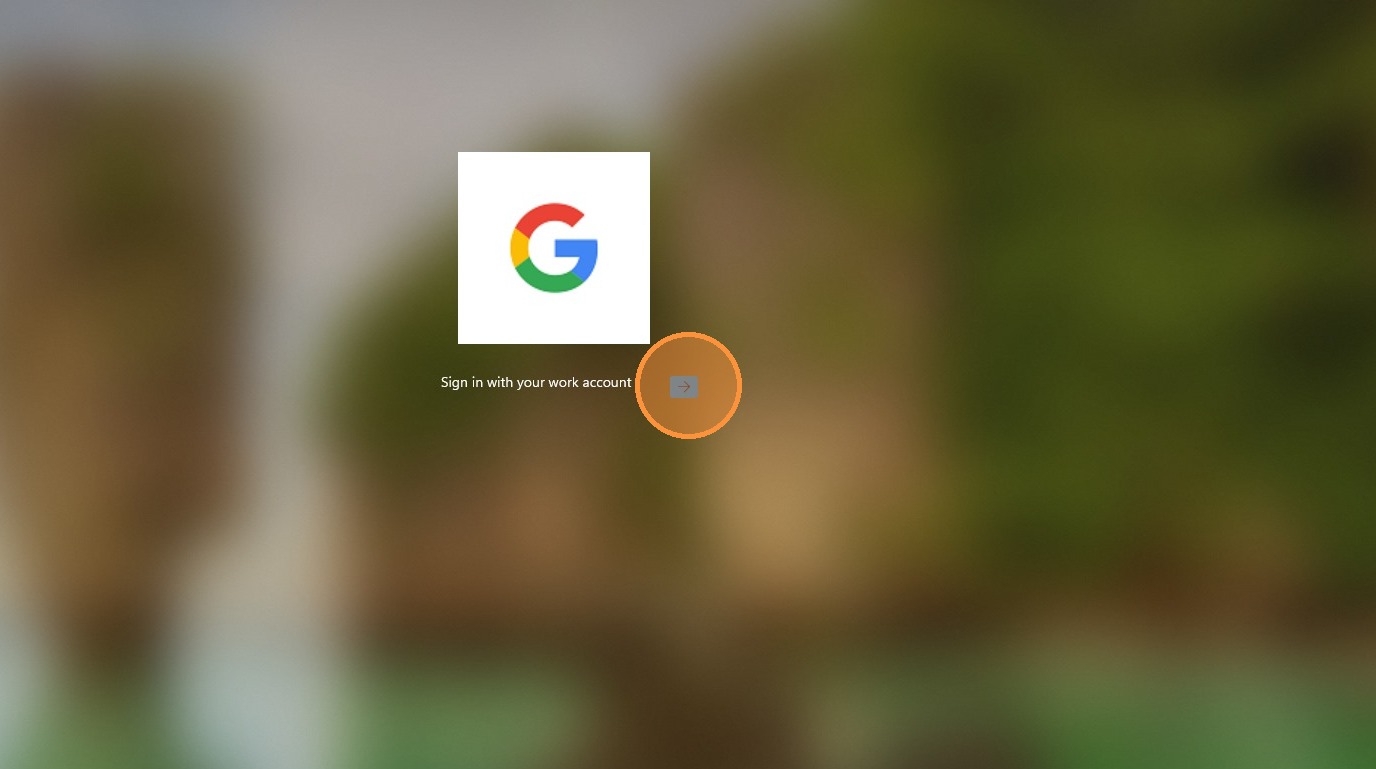
After the device restarts, click Add Work Account with the Google logo, then click the arrow to begin sign-in.
Step 6: Enter the user email
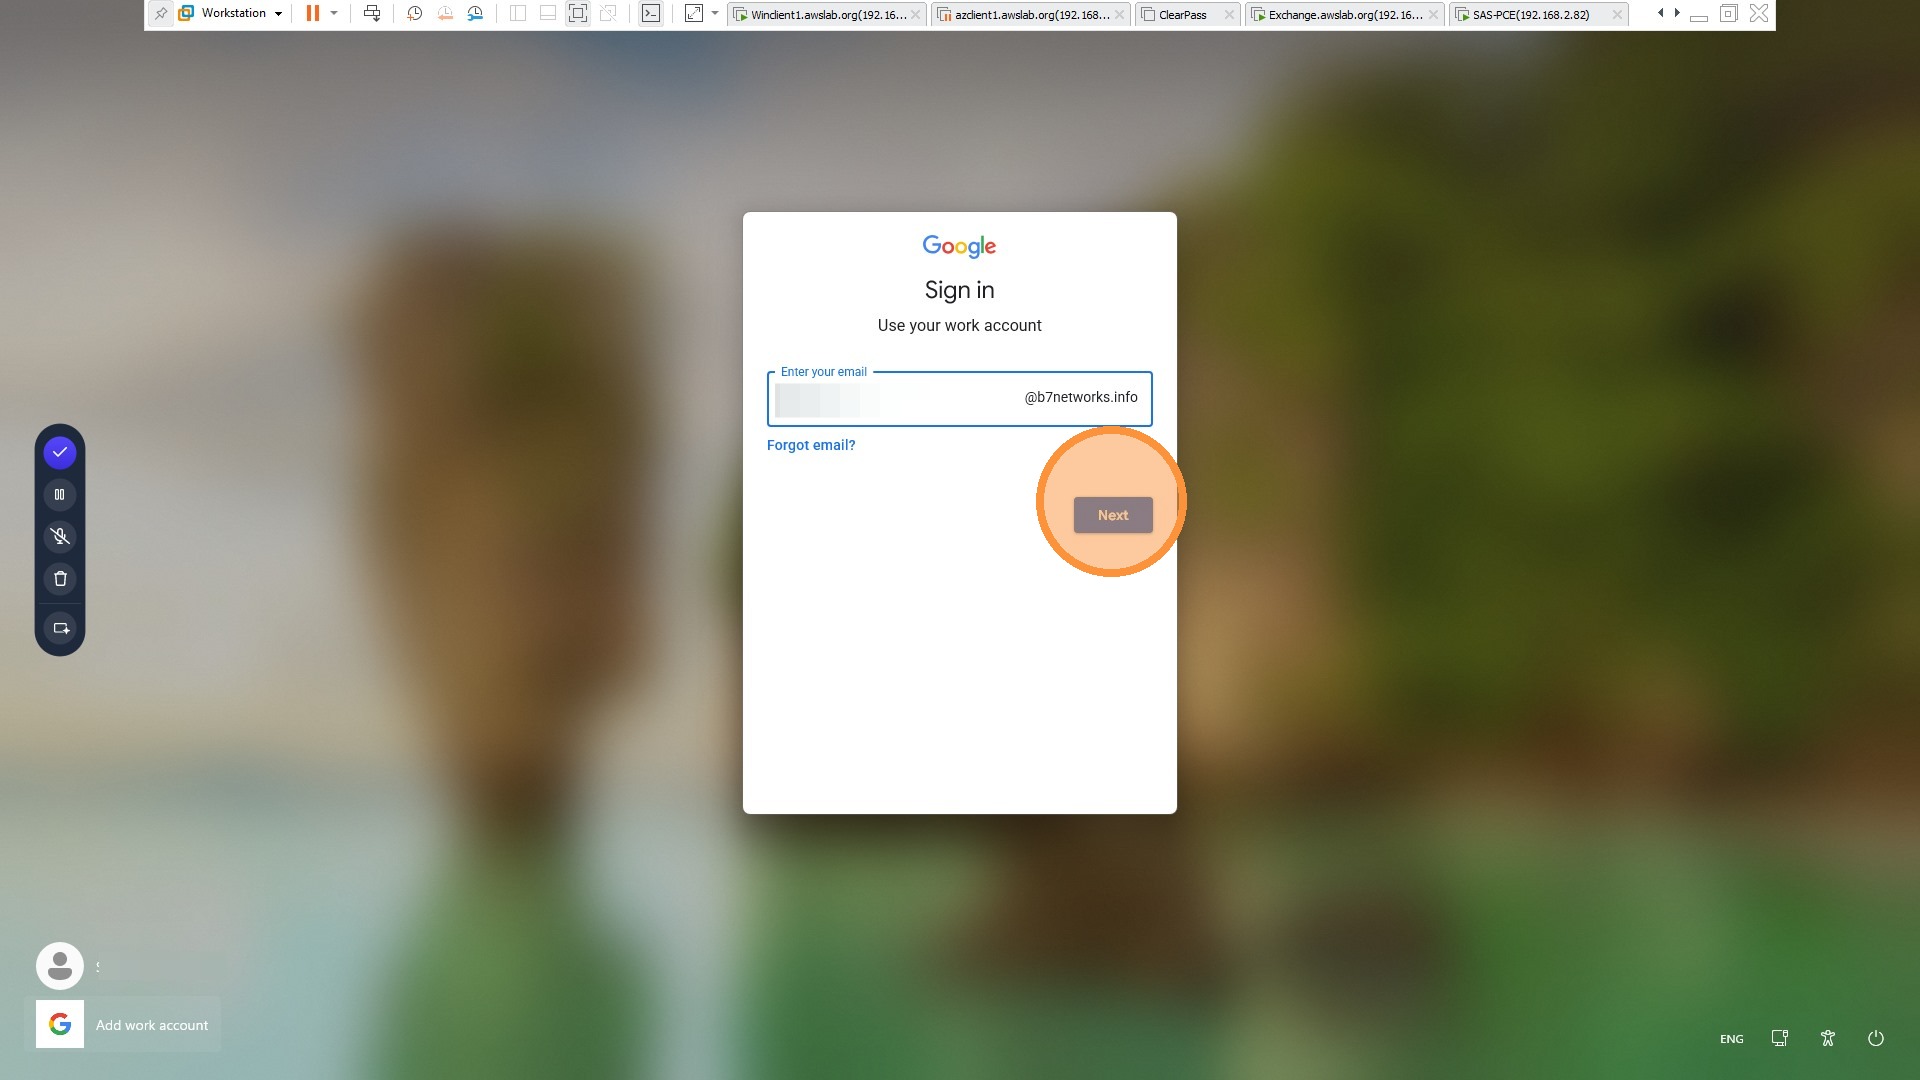
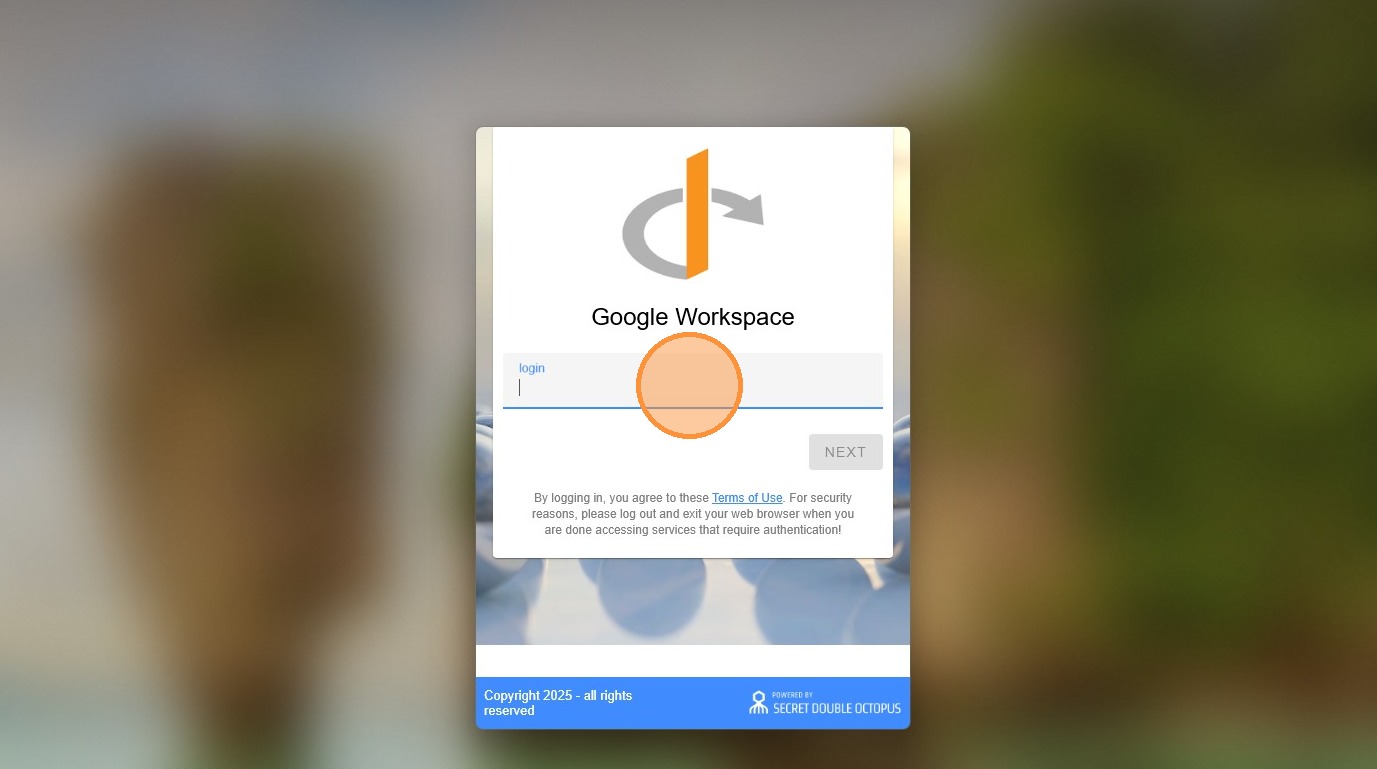
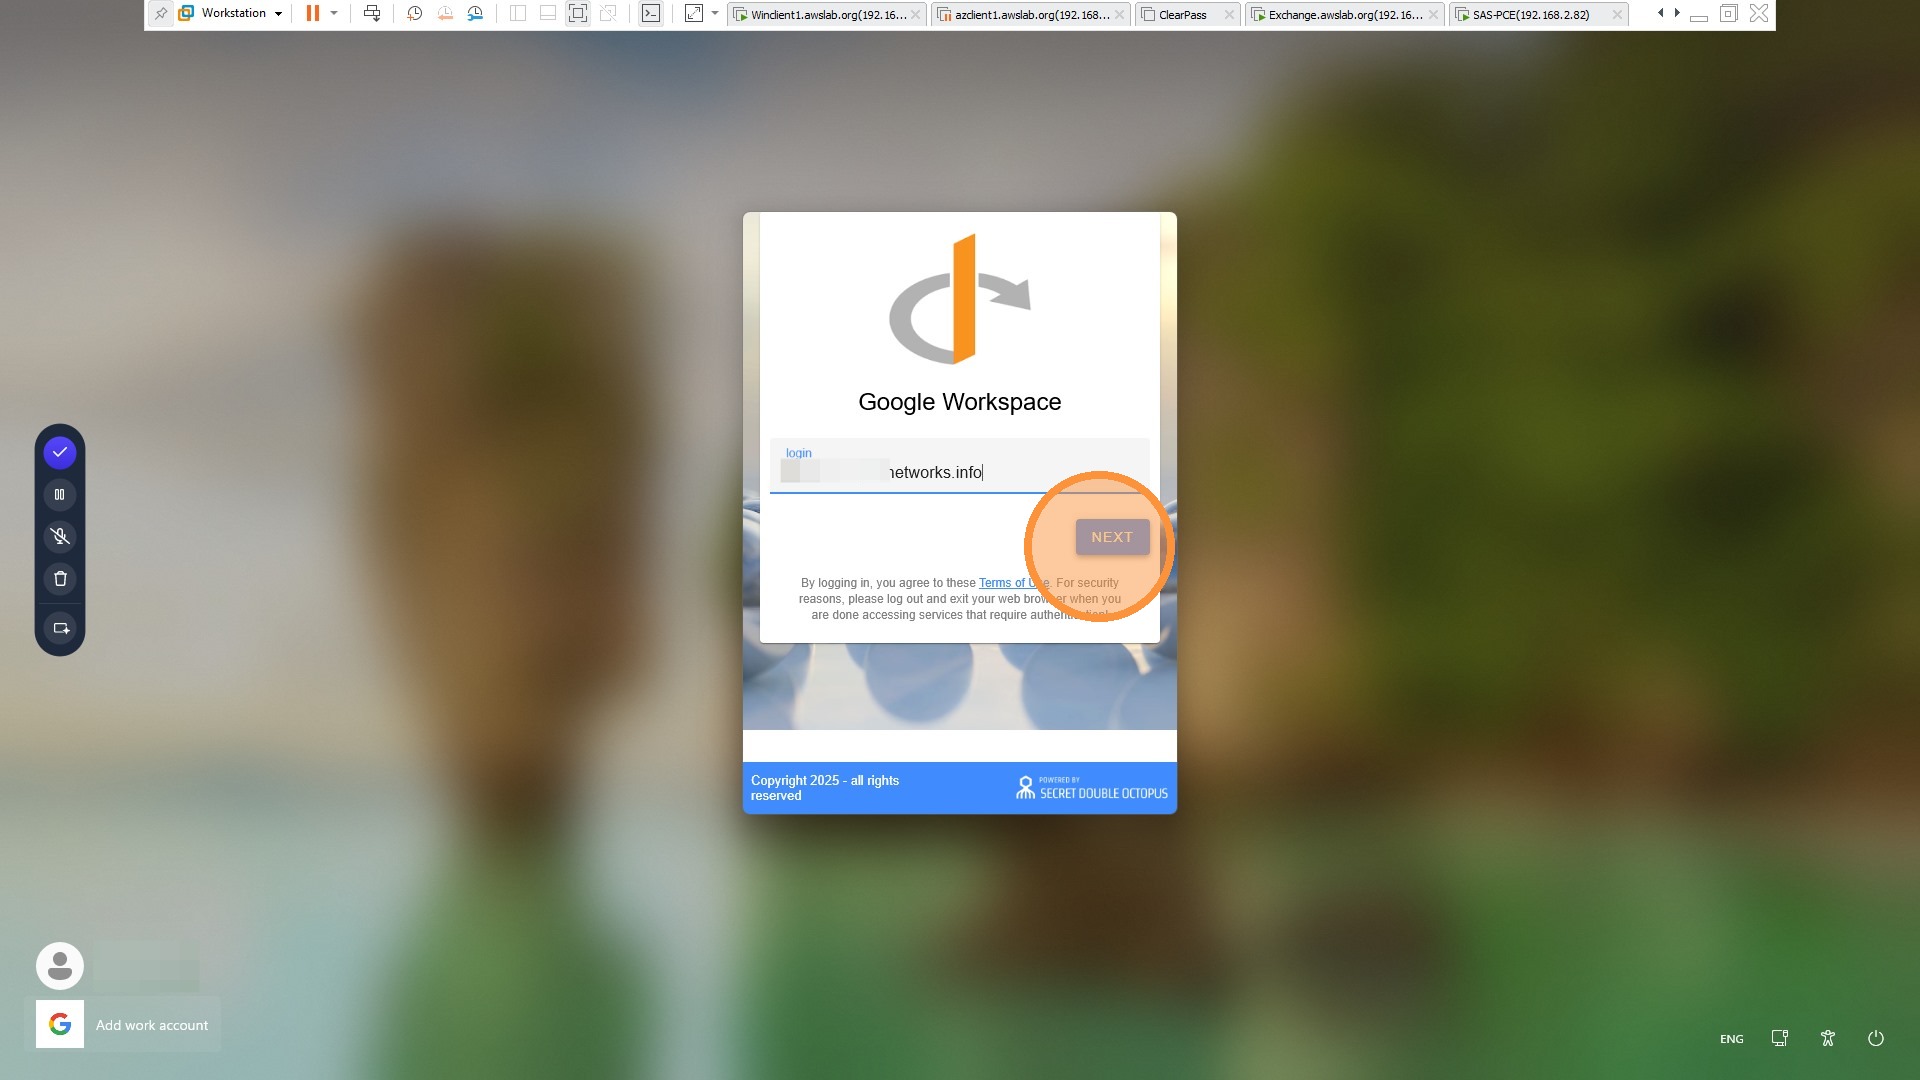
Enter the user’s Google email address. When redirected to the SDO screen, enter the same Google email address again and click NEXT.
Step 7: Complete SDO authentication
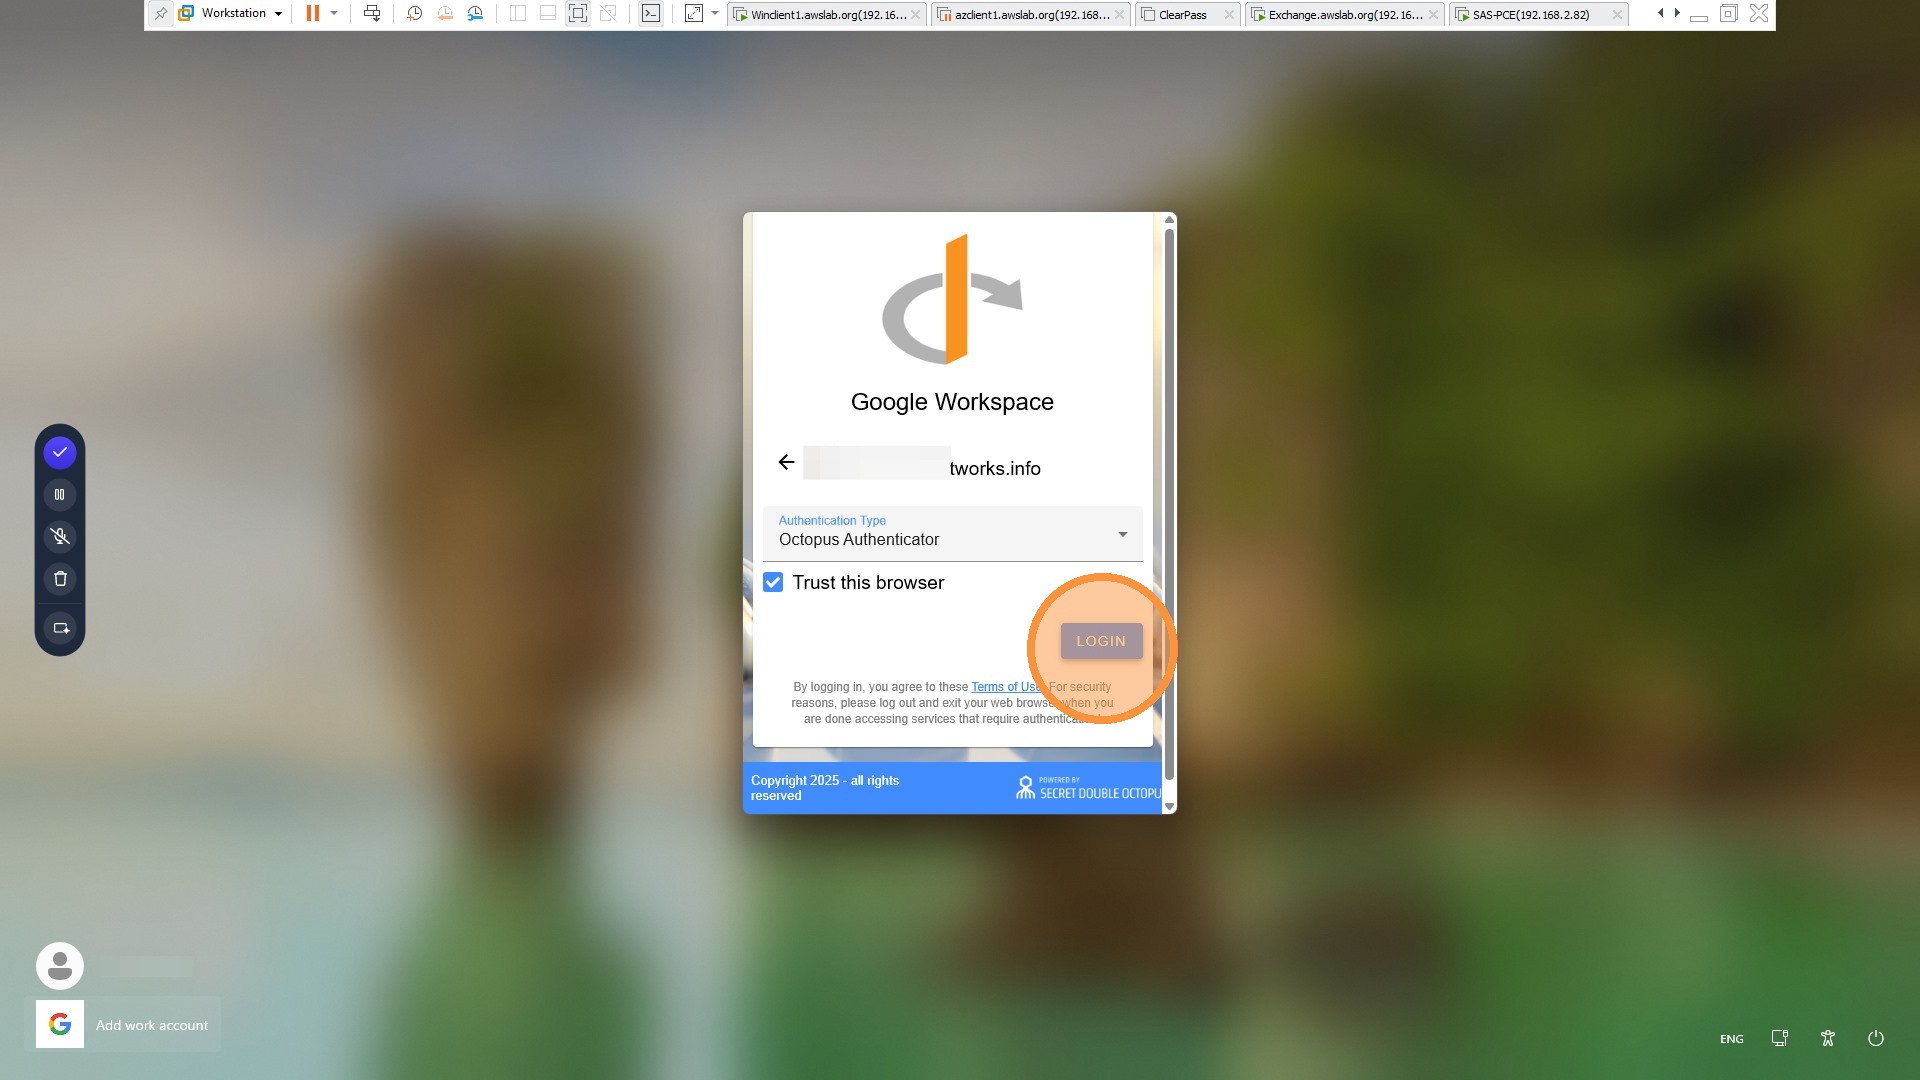
Approve the SDO push notification on the enrolled mobile device, then click LOGIN.
Step 8: Accept and finish sign-in
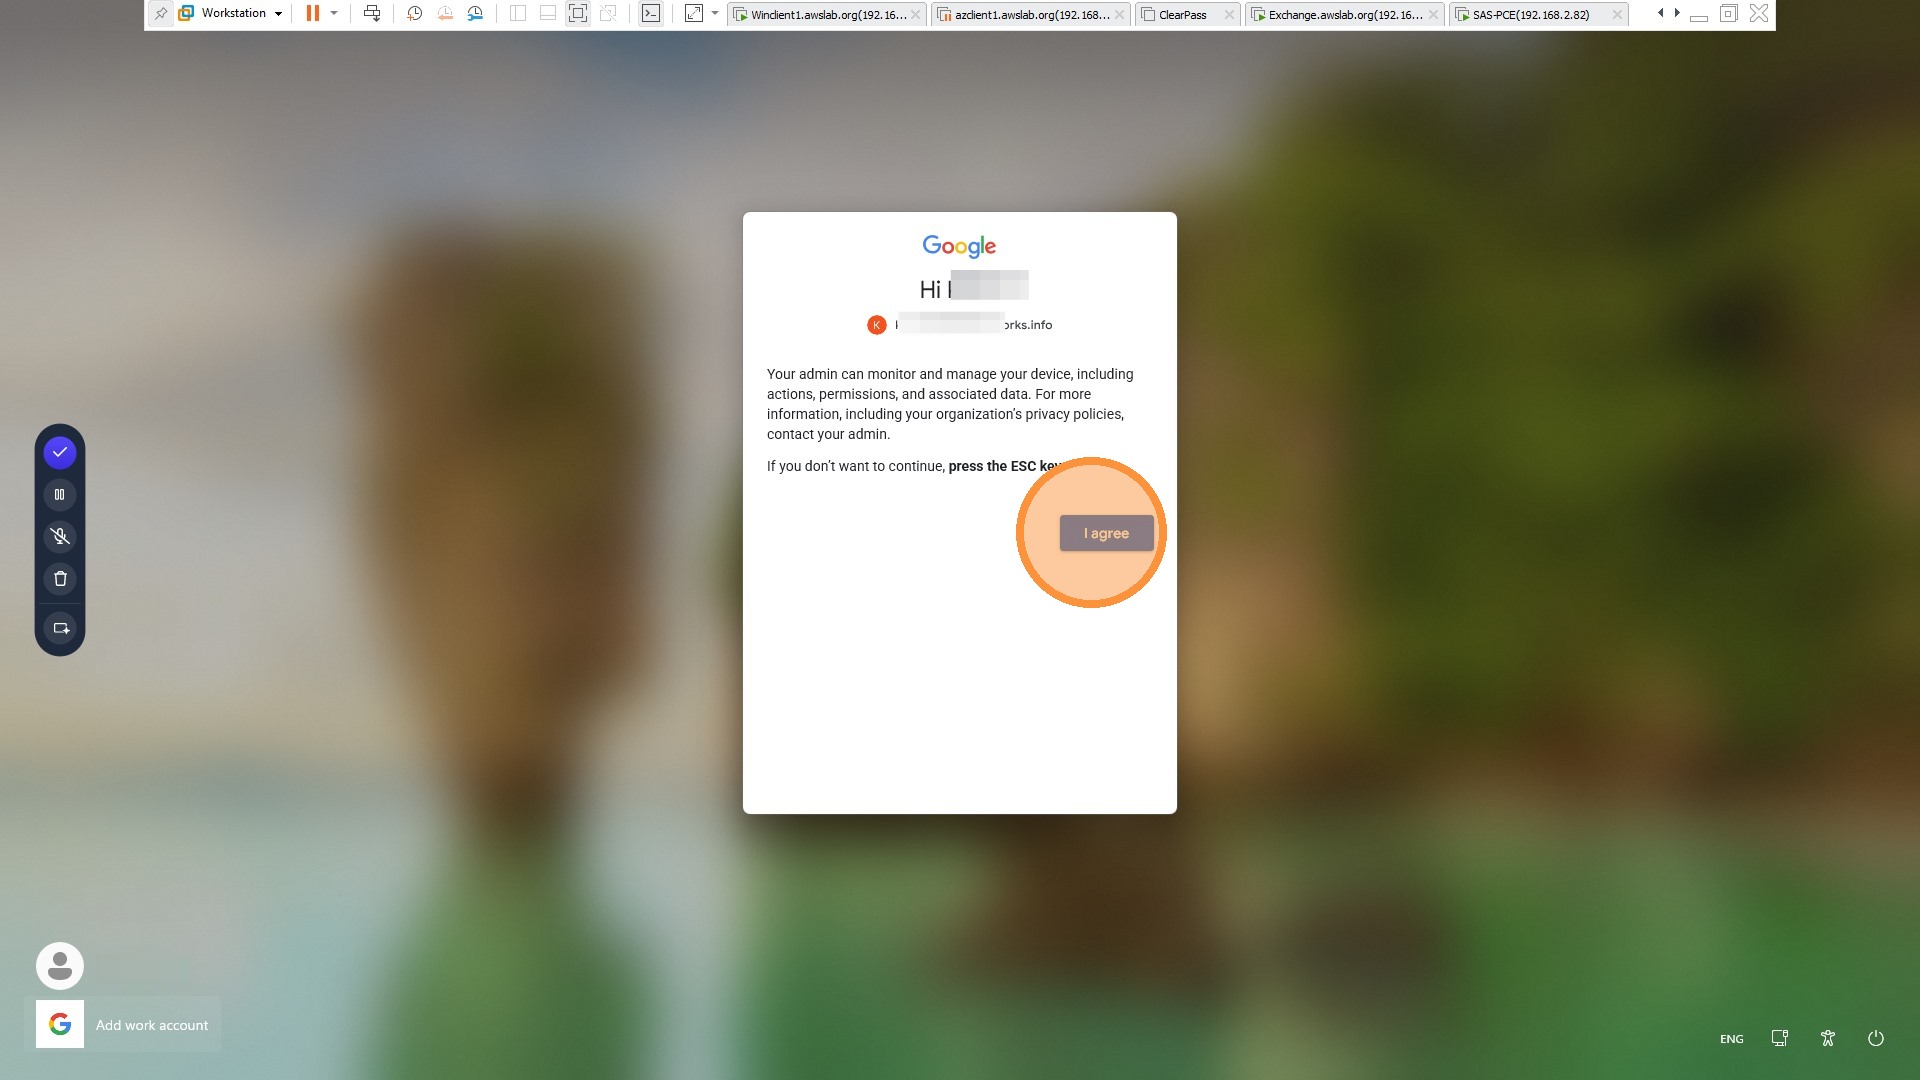
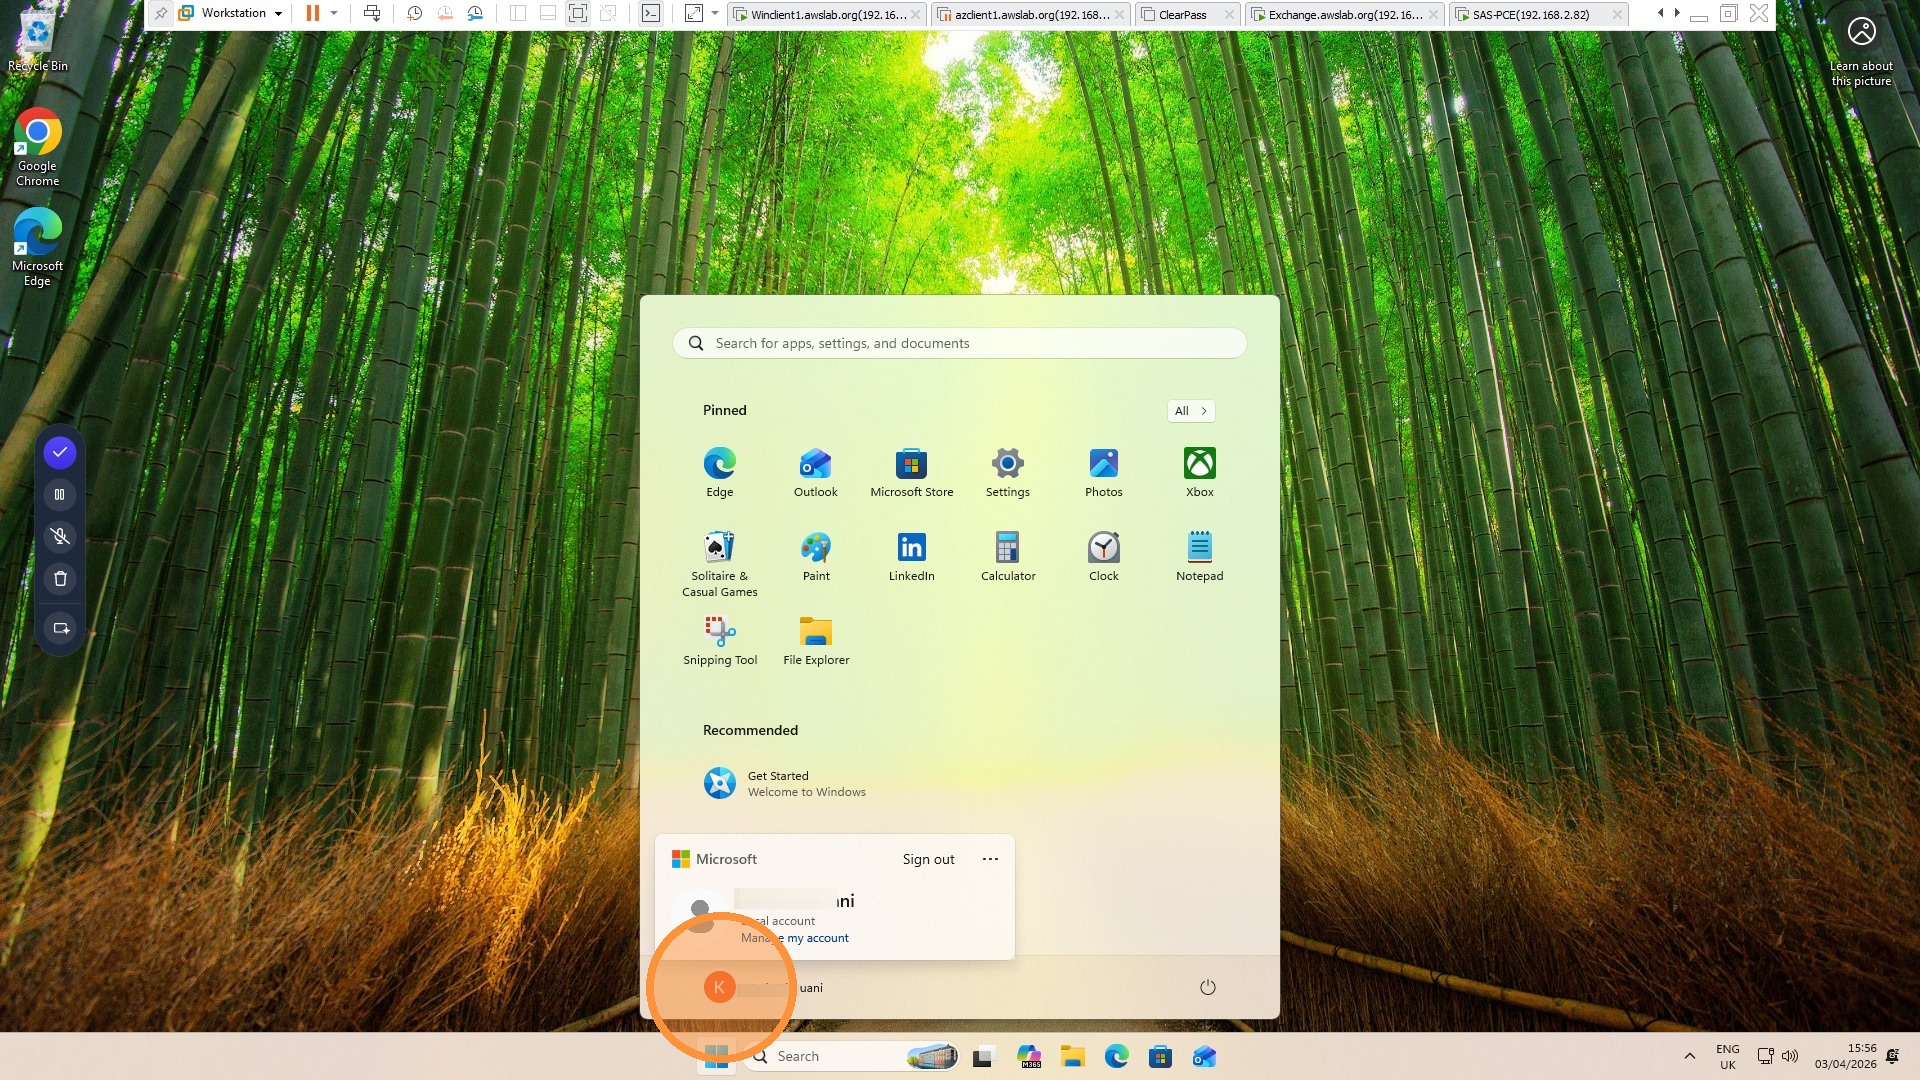
Click I agree to complete the sign-in flow. The user is now logged in.
Important notes
- Make sure the correct Google directory is selected in SDO before assigning users.
- Only users assigned to the published service will be able to use the integration.
- The user must be enrolled in SDO and able to approve the mobile push notification during authentication.
- Install GCPW with administrator privileges on the Windows endpoint.