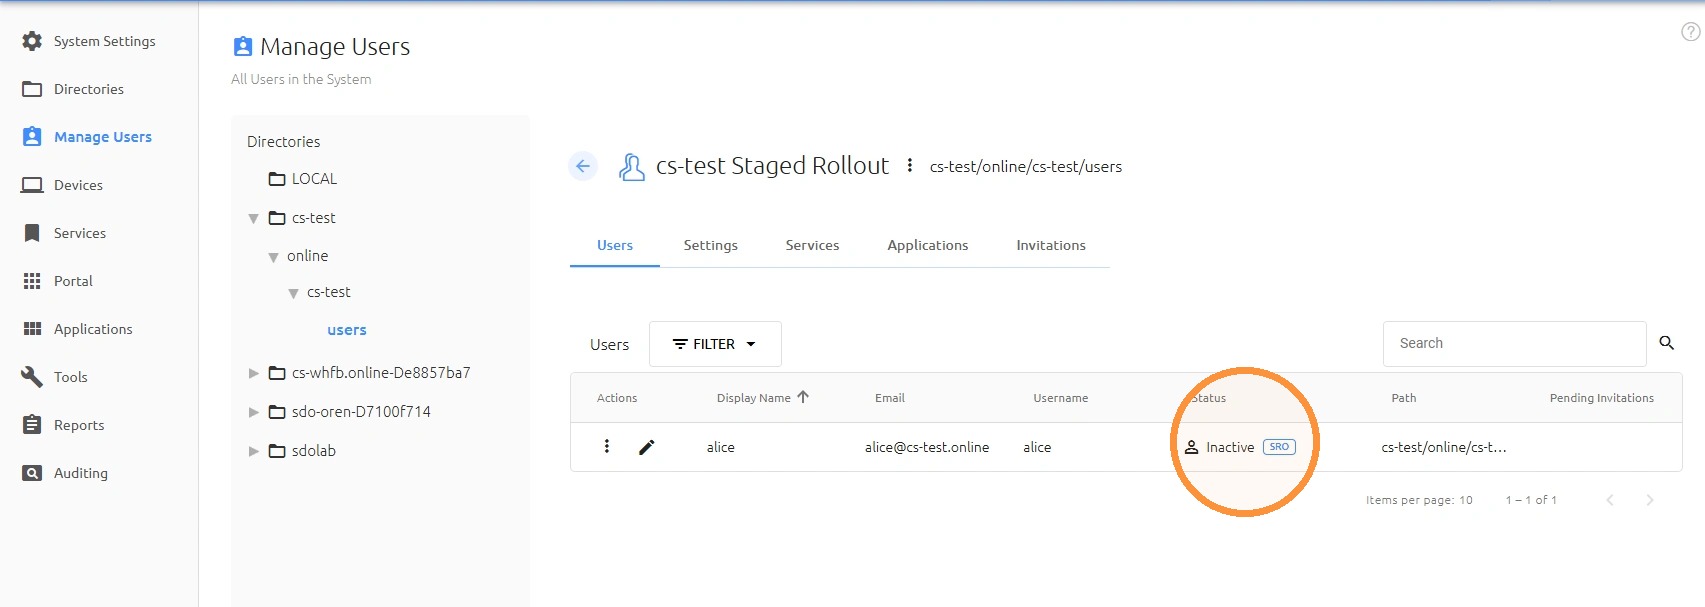
Video Walkthrough
Entra Pre-Configuration
Validate that Staged Rollout is enabled in Entra
1. Click "Microsoft Entra Connect"
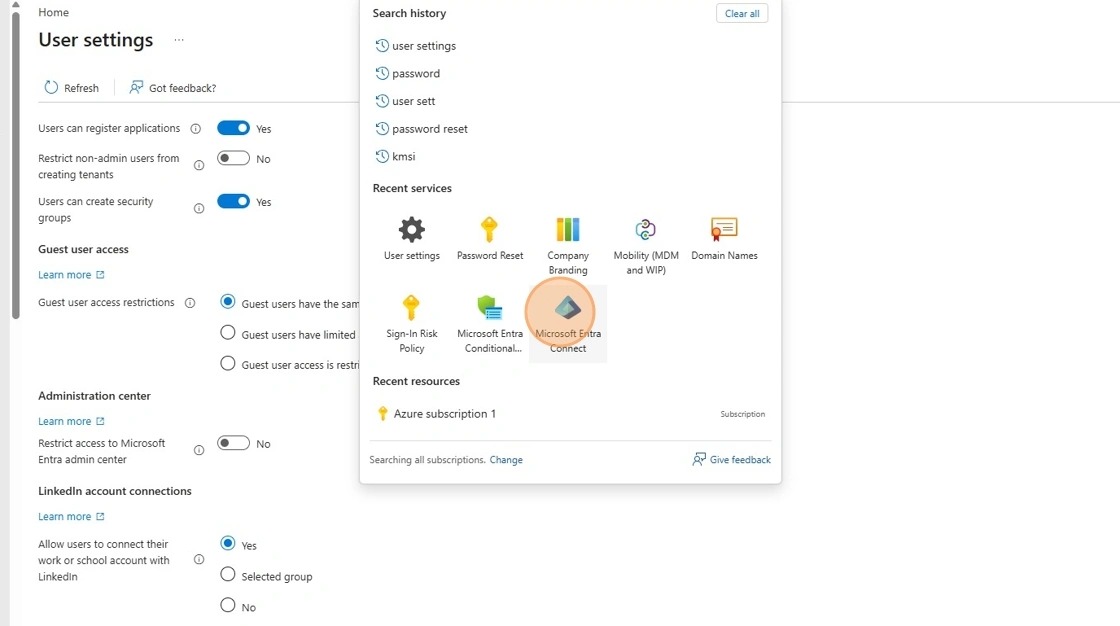
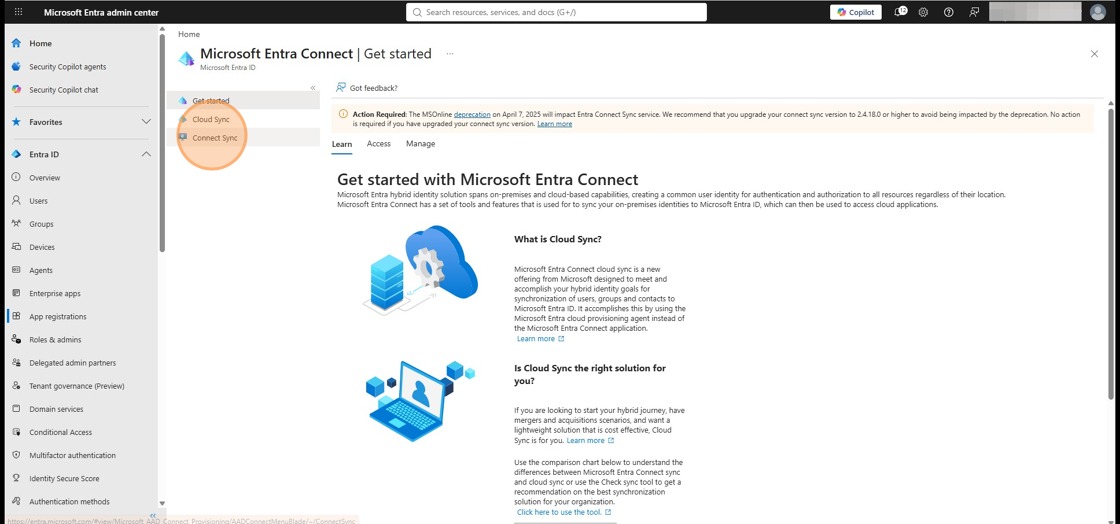
2. Select "Connect Sync" from the navigation menu.
3. Click "Enable staged rollout for managed user sign-in"
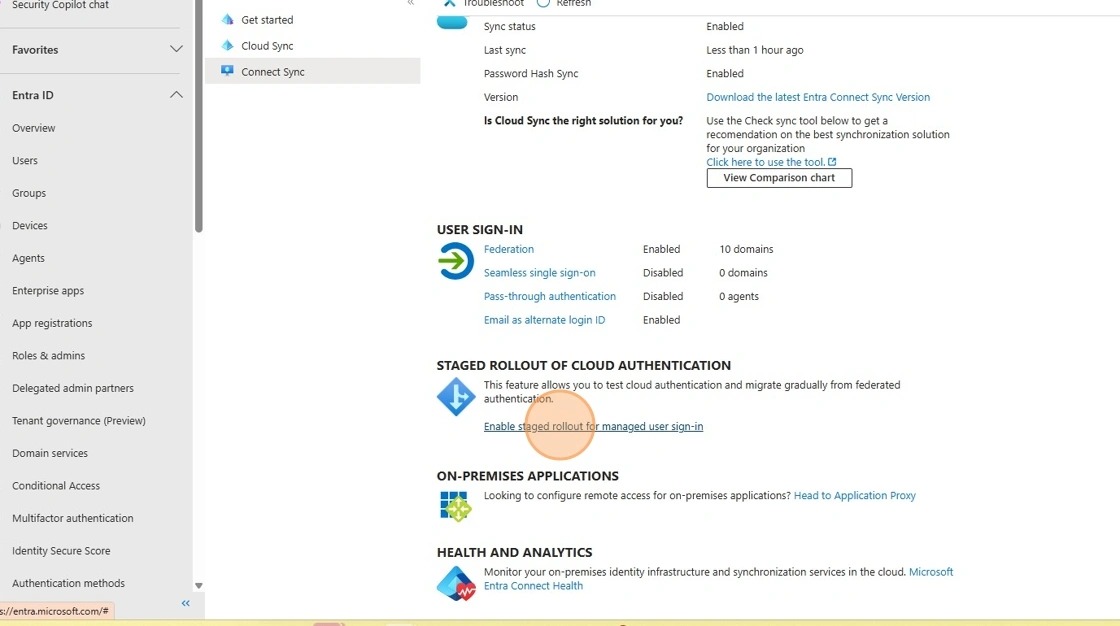
4. Click "Manage groups" - Make sure the staged rollout group is configured
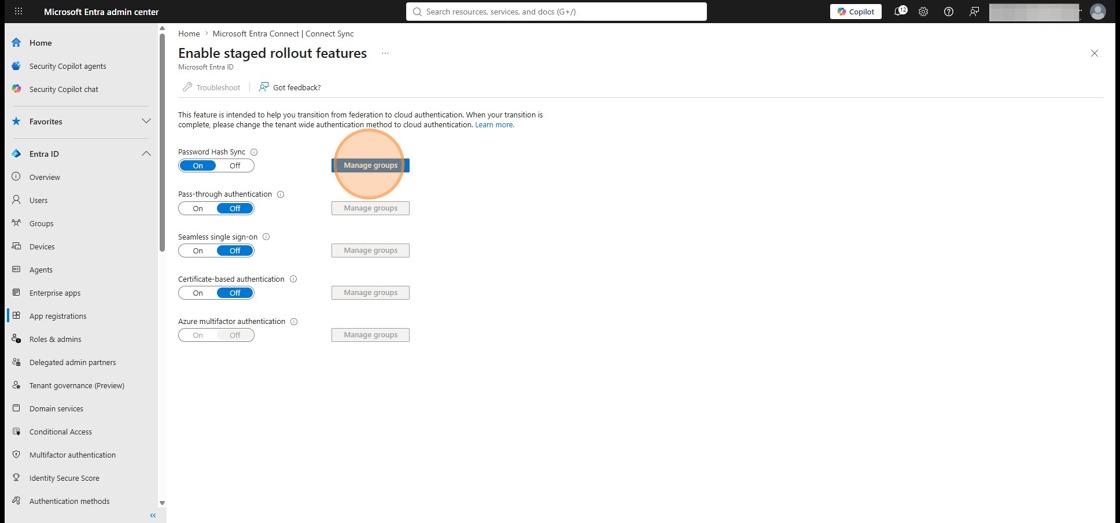
Entra Configuration
5. Click "Search resources, services"
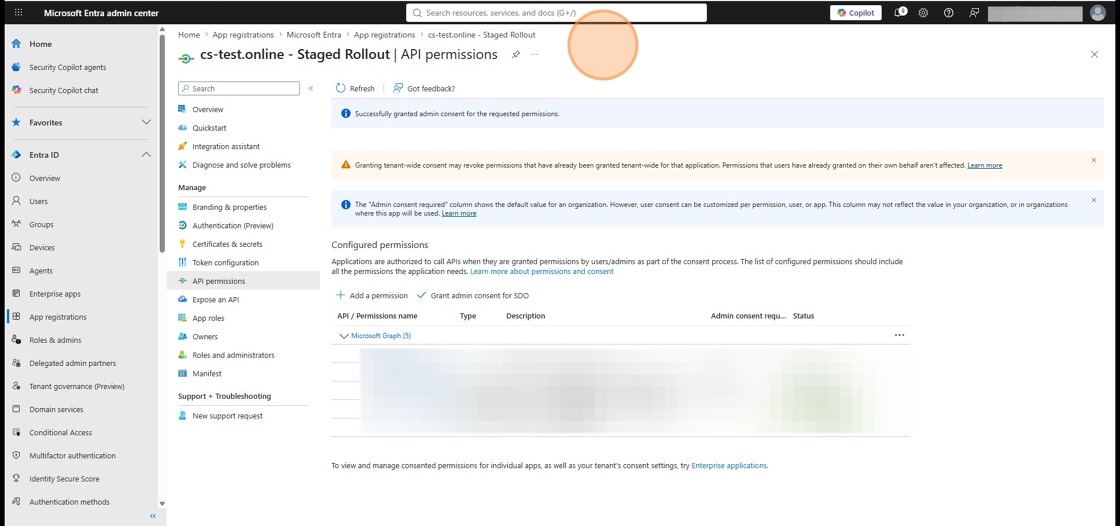
6. Select "Password Reset" from the search results.
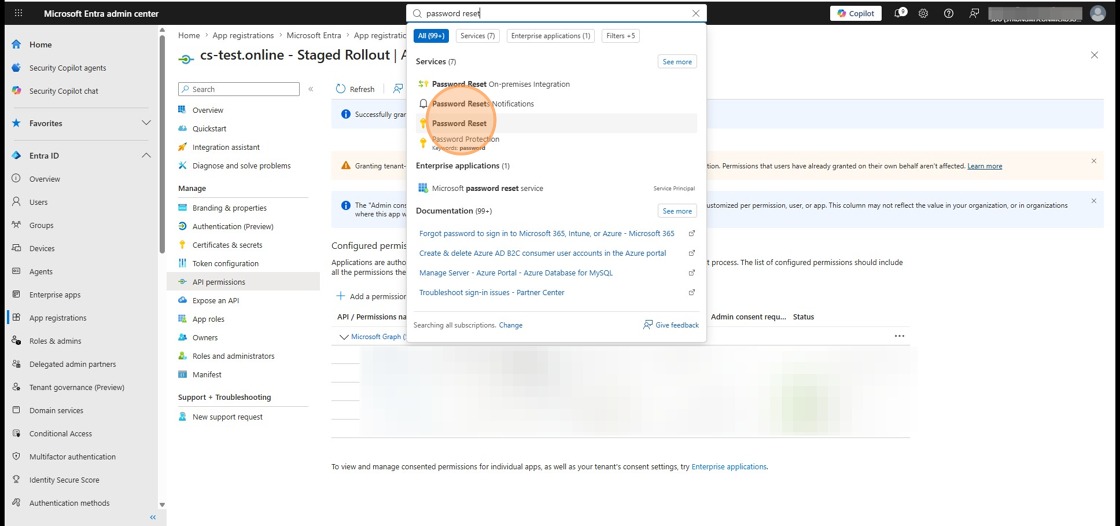
7. Click "Registration"
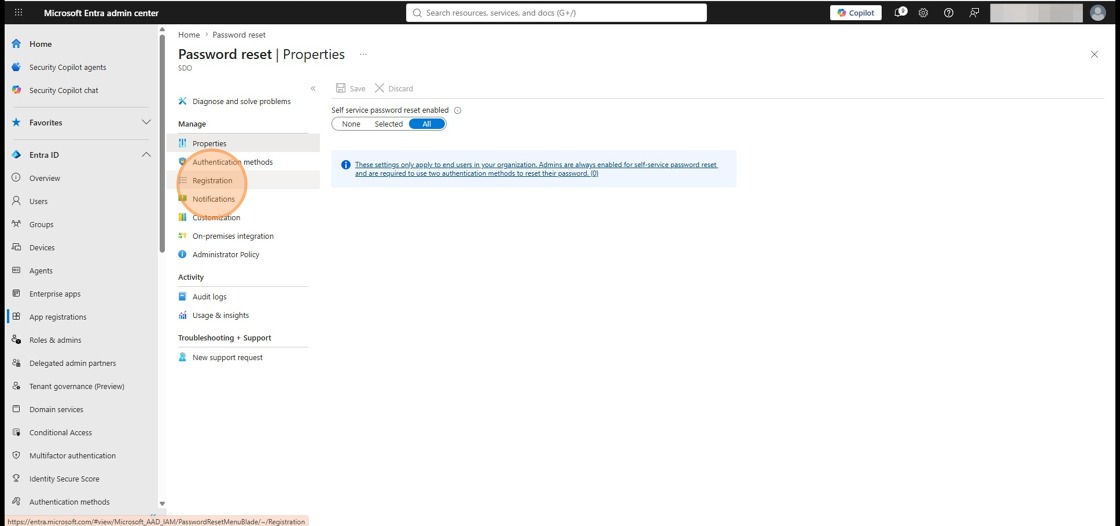
8. Click "No"
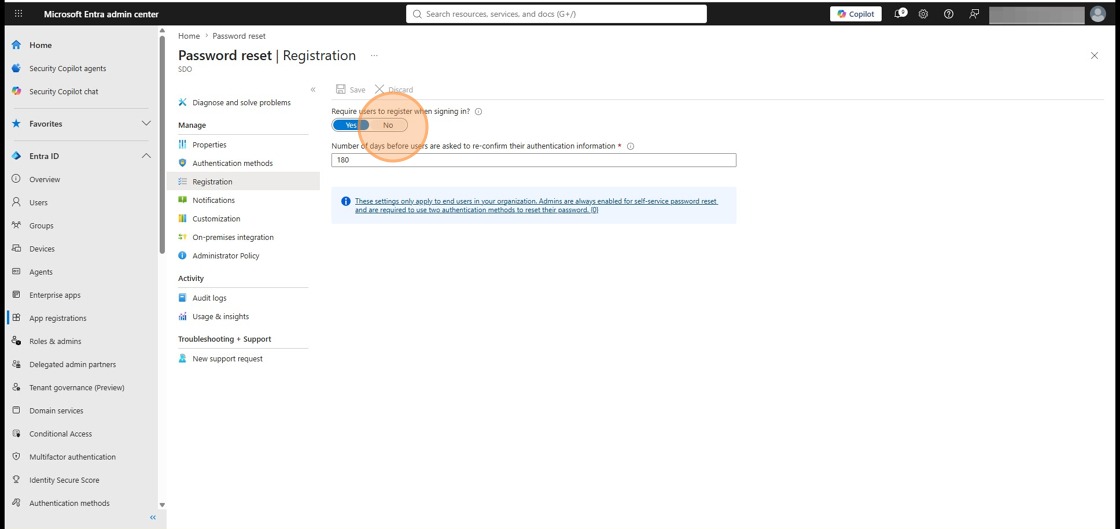
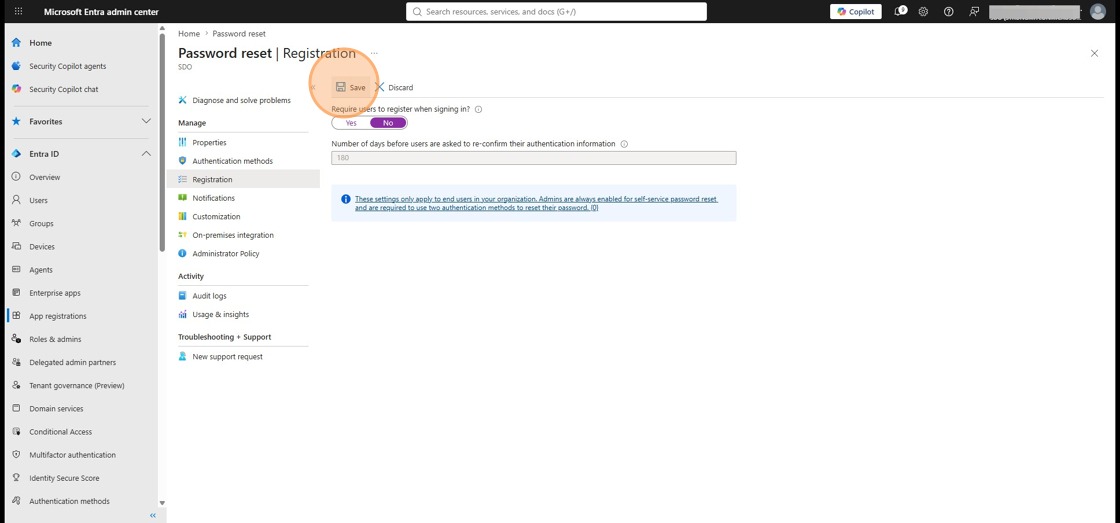
9. Click "Save"
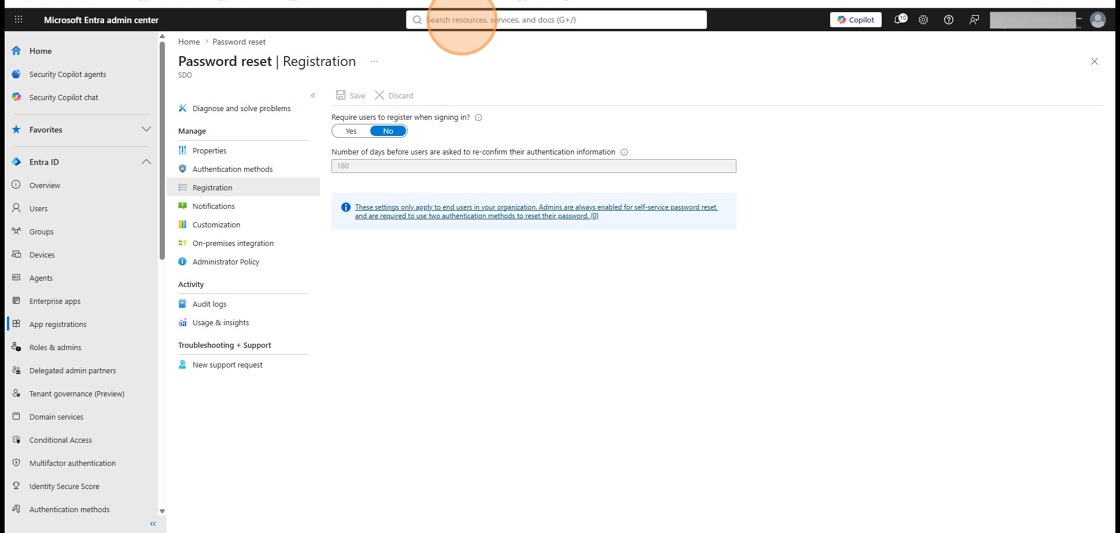
10. Click "Search resources, services"
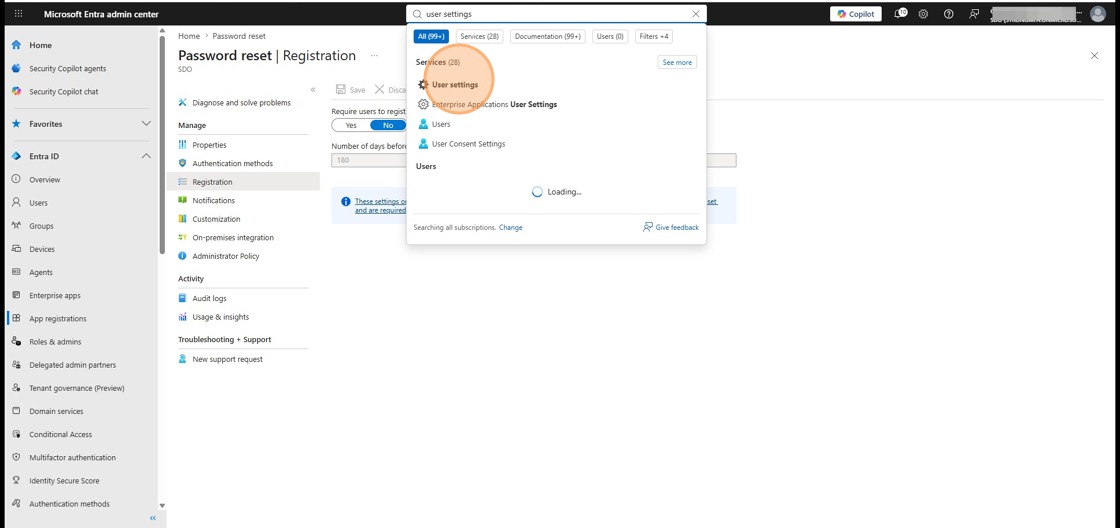
11. Select "User settings" from the search results.
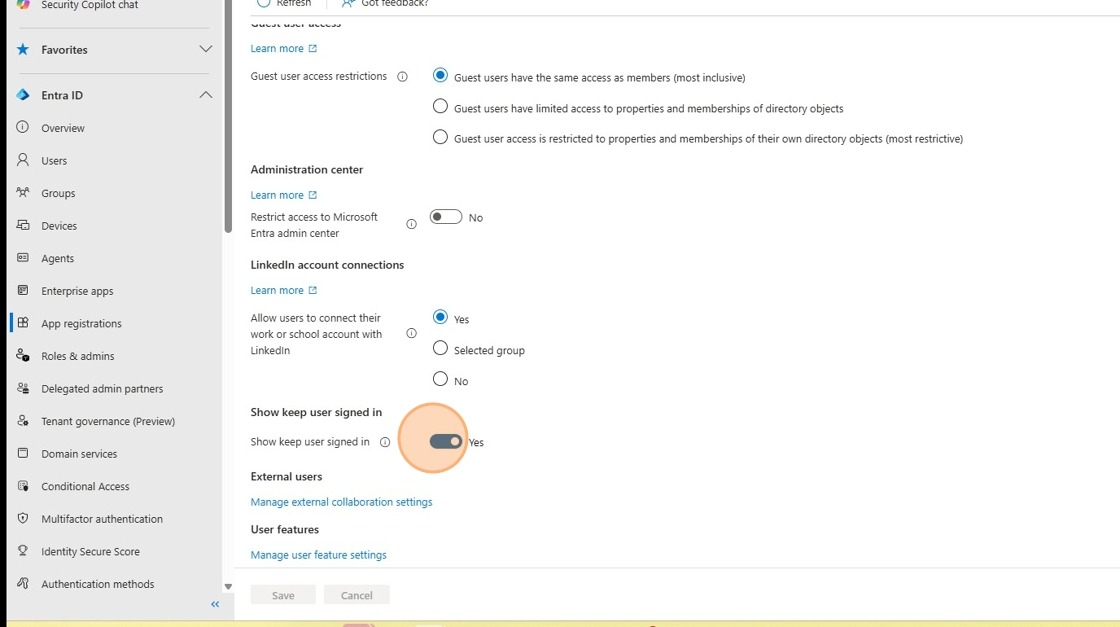
12. Click "Show keep user signed in" and toggle it OFF
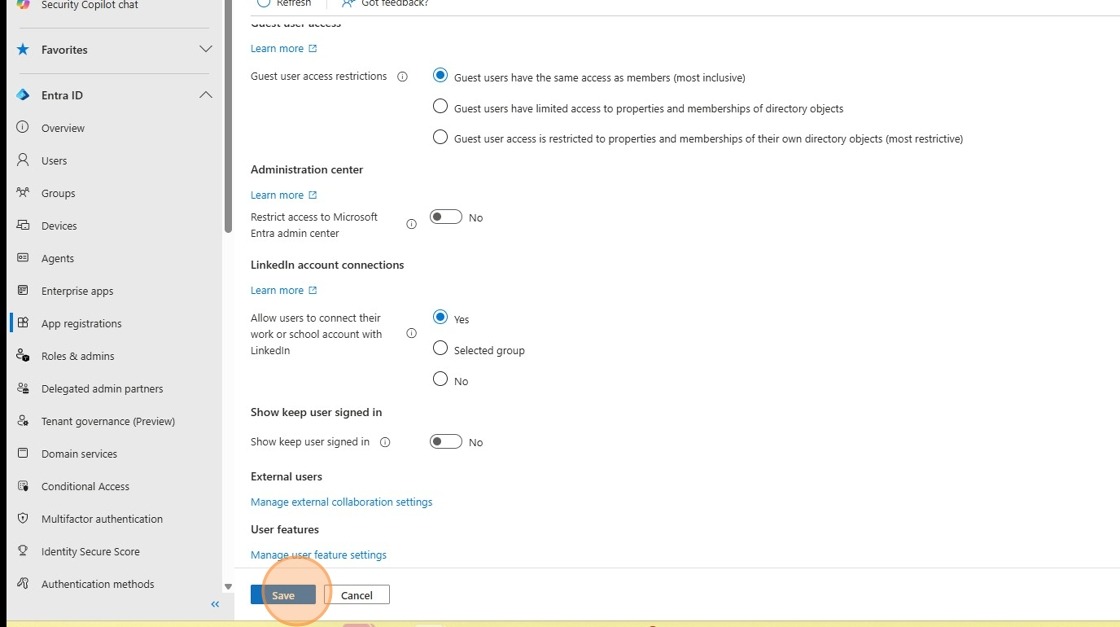
13. Click "Save"
App Registration
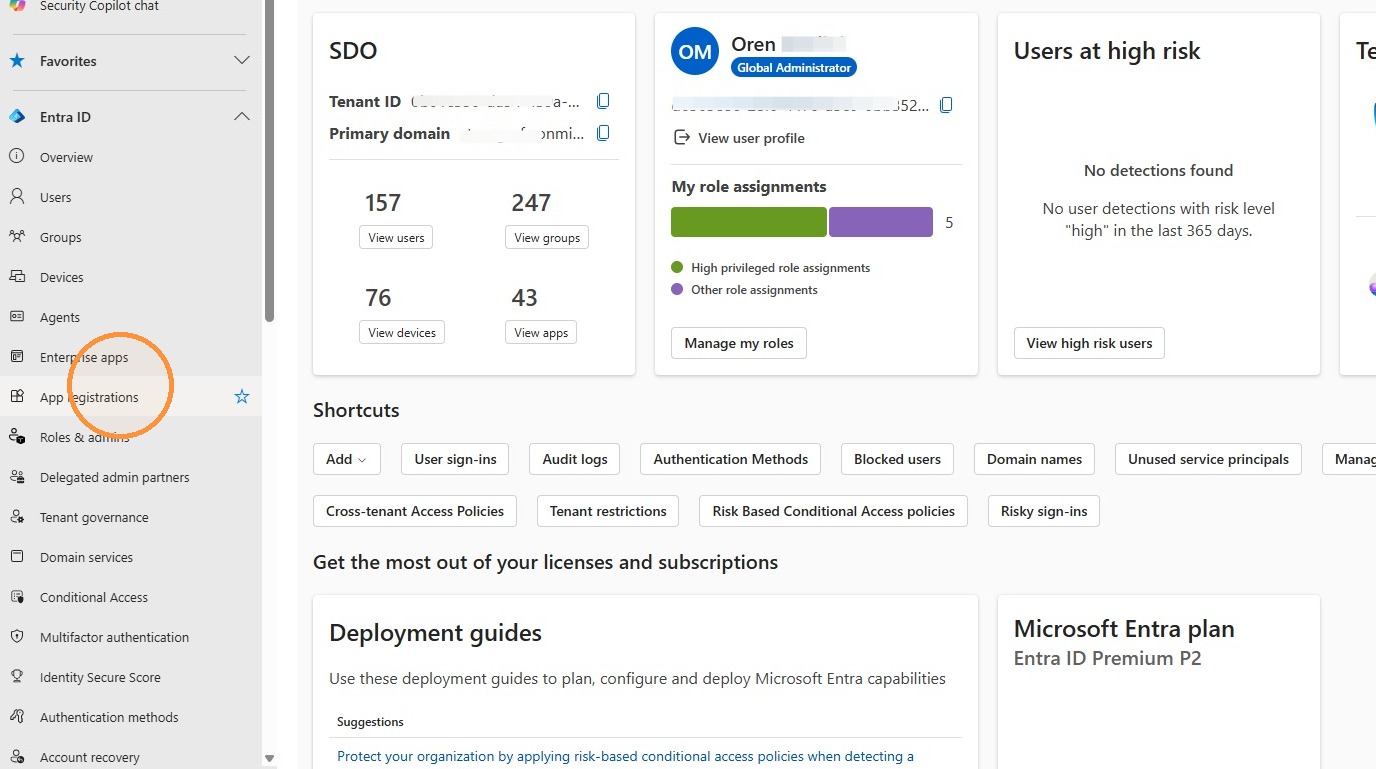
14. Click "App registrations"
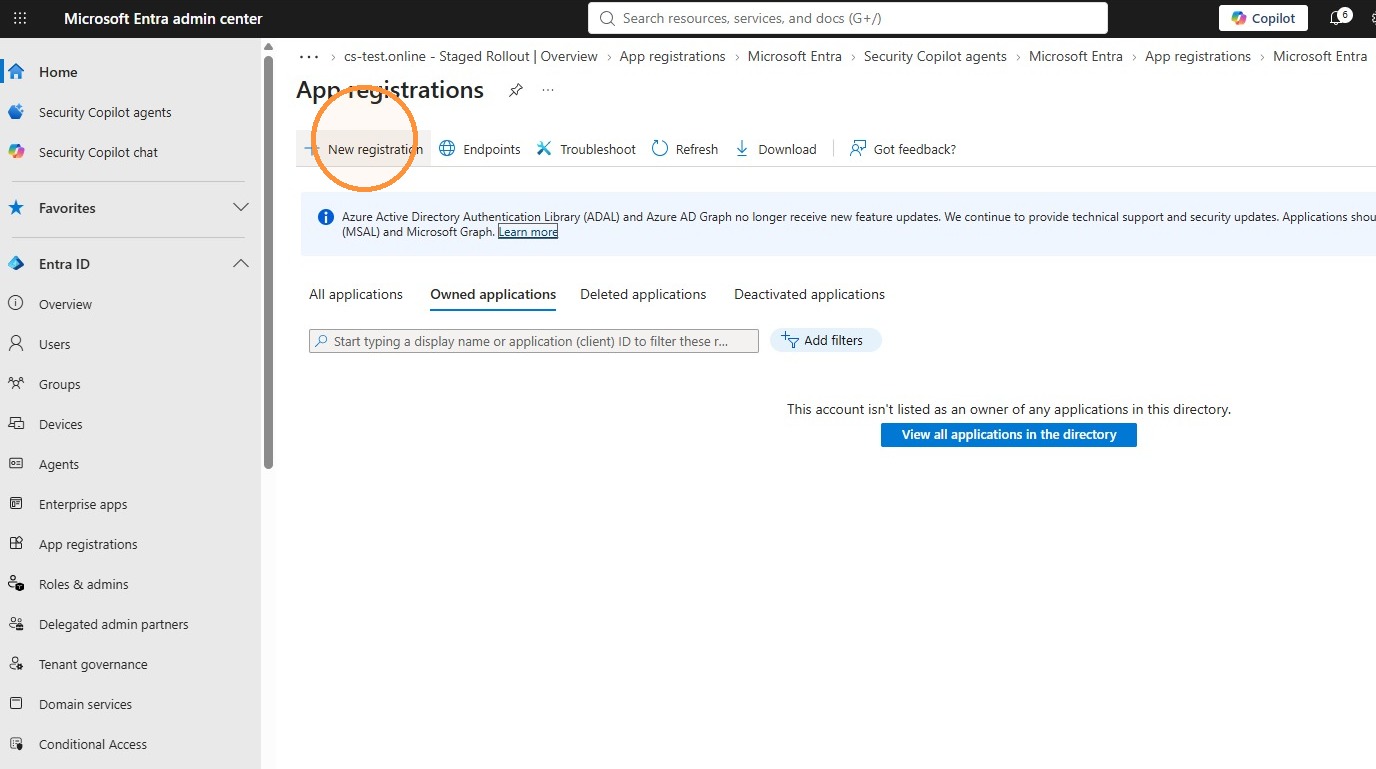
15. Click "New registration"
16. Give the app Name
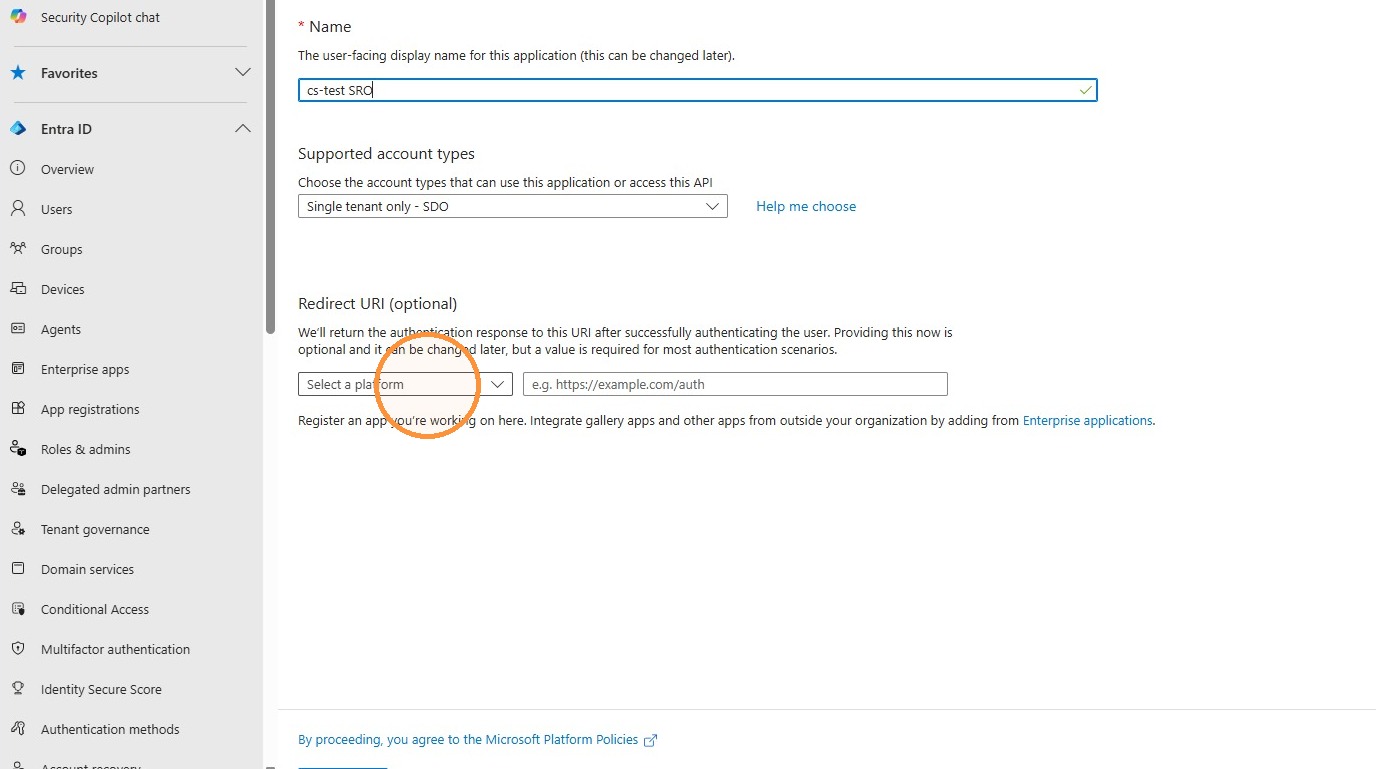
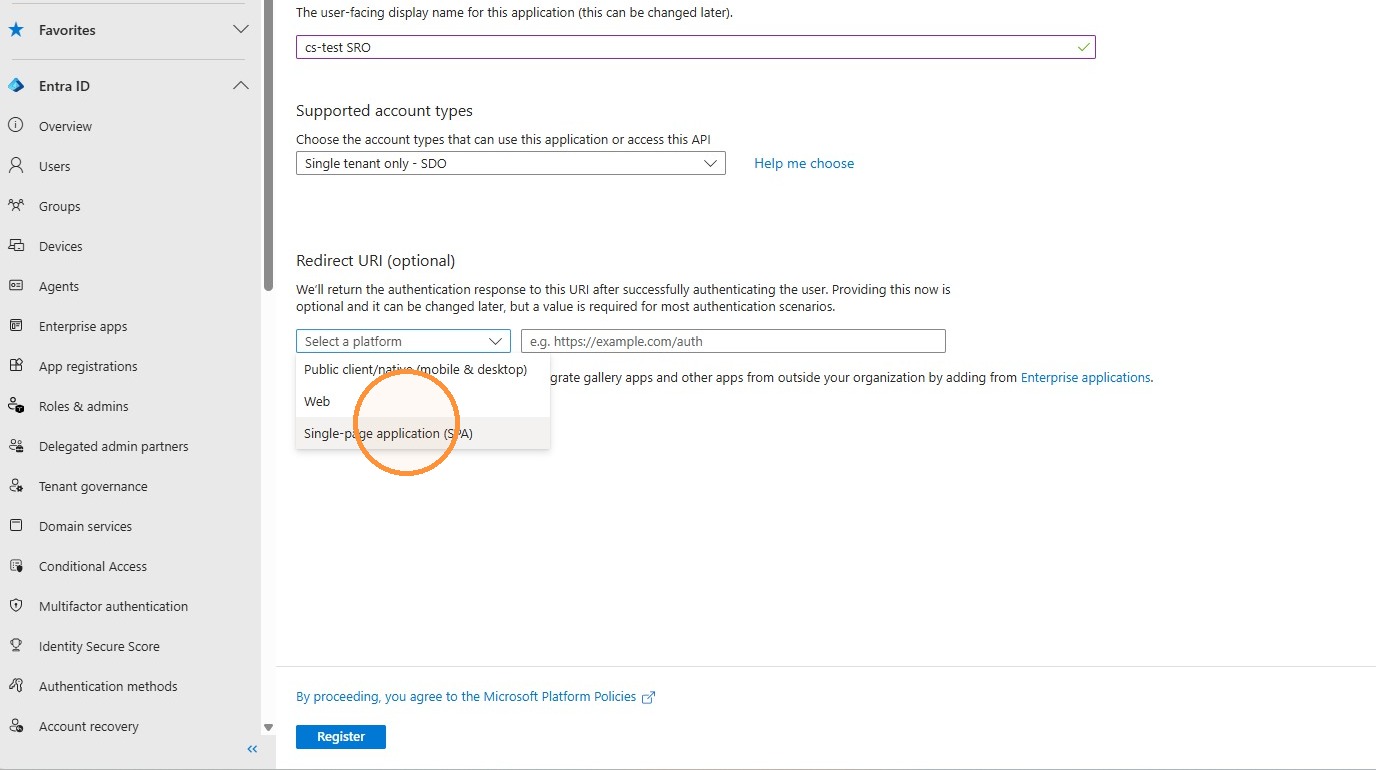
17. Select "Single-page application (SPA)"
18. Click "Redirect URI (optional)"
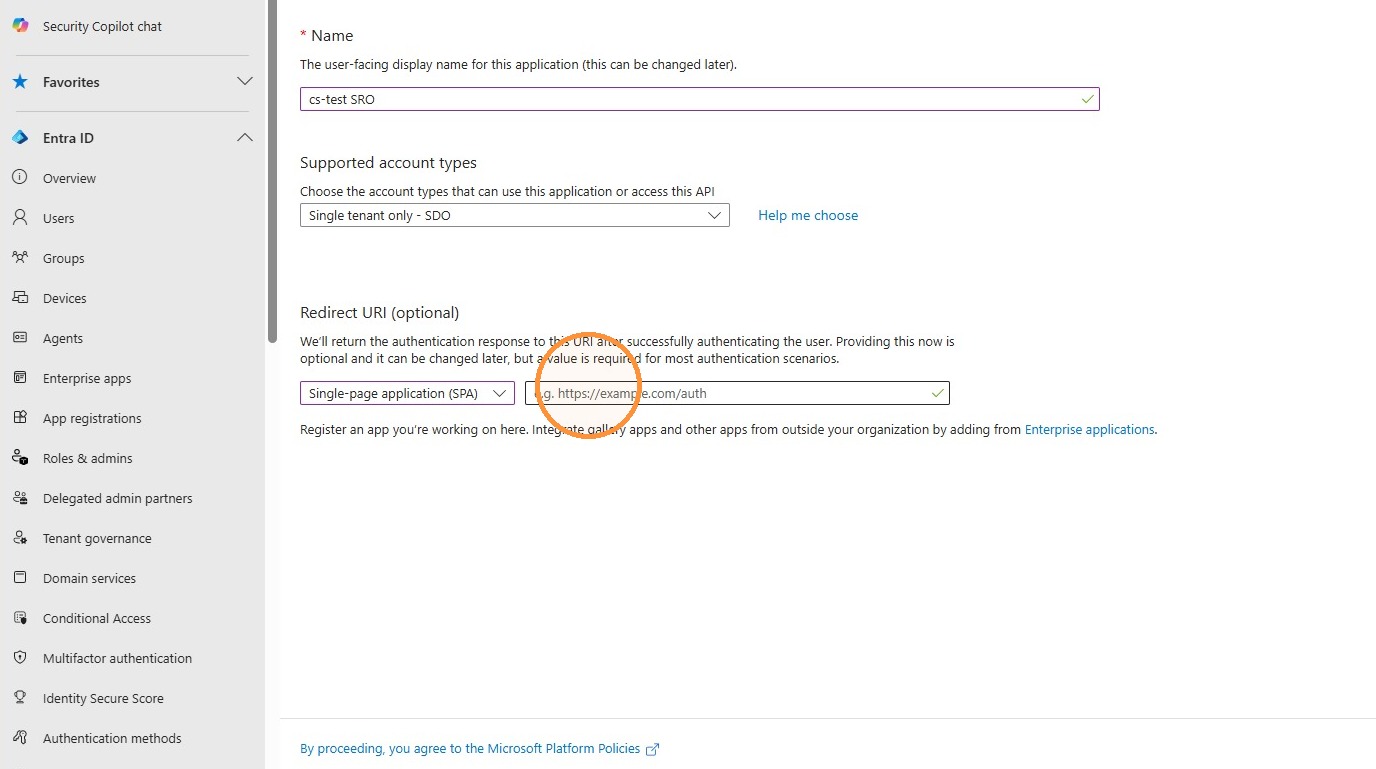
19. Paste the redirect URI: https://login.microsoftonline.com/common/oauth2/logout
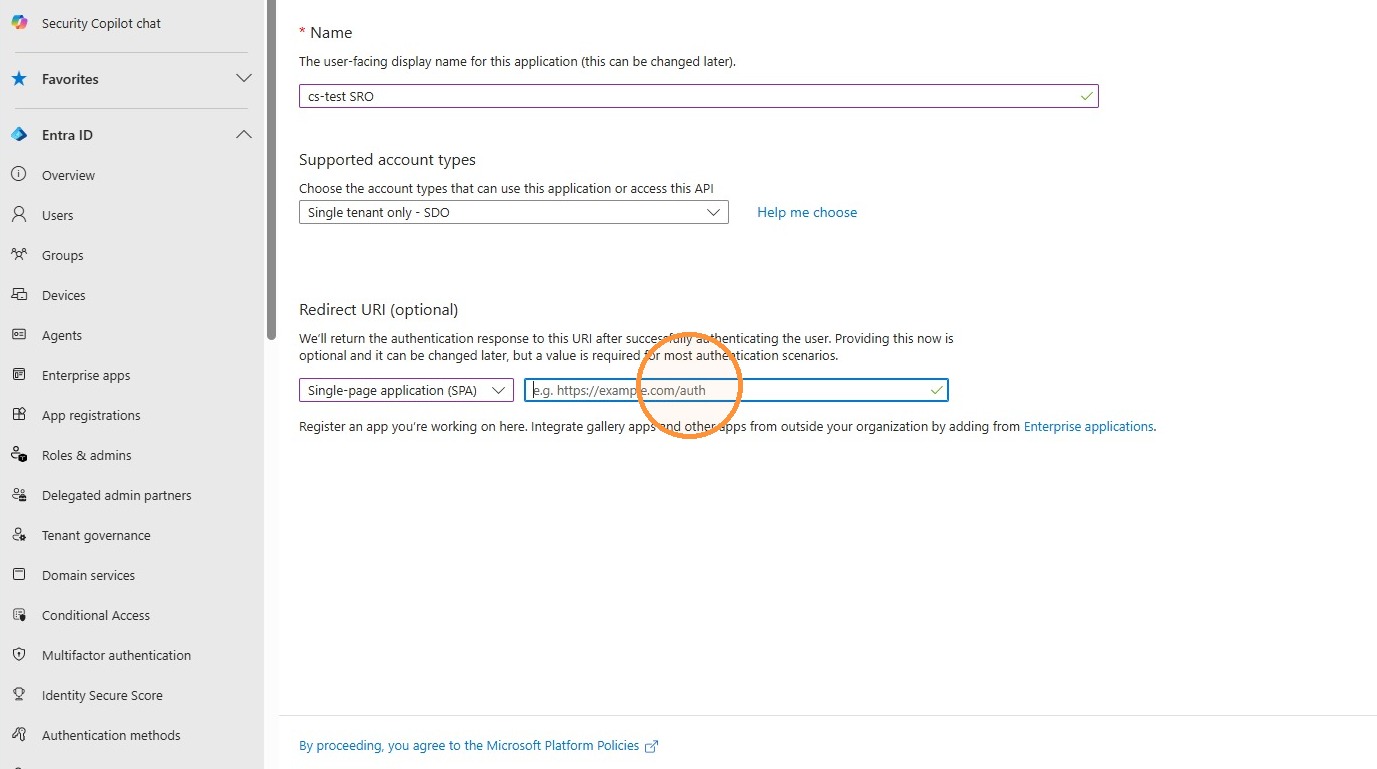
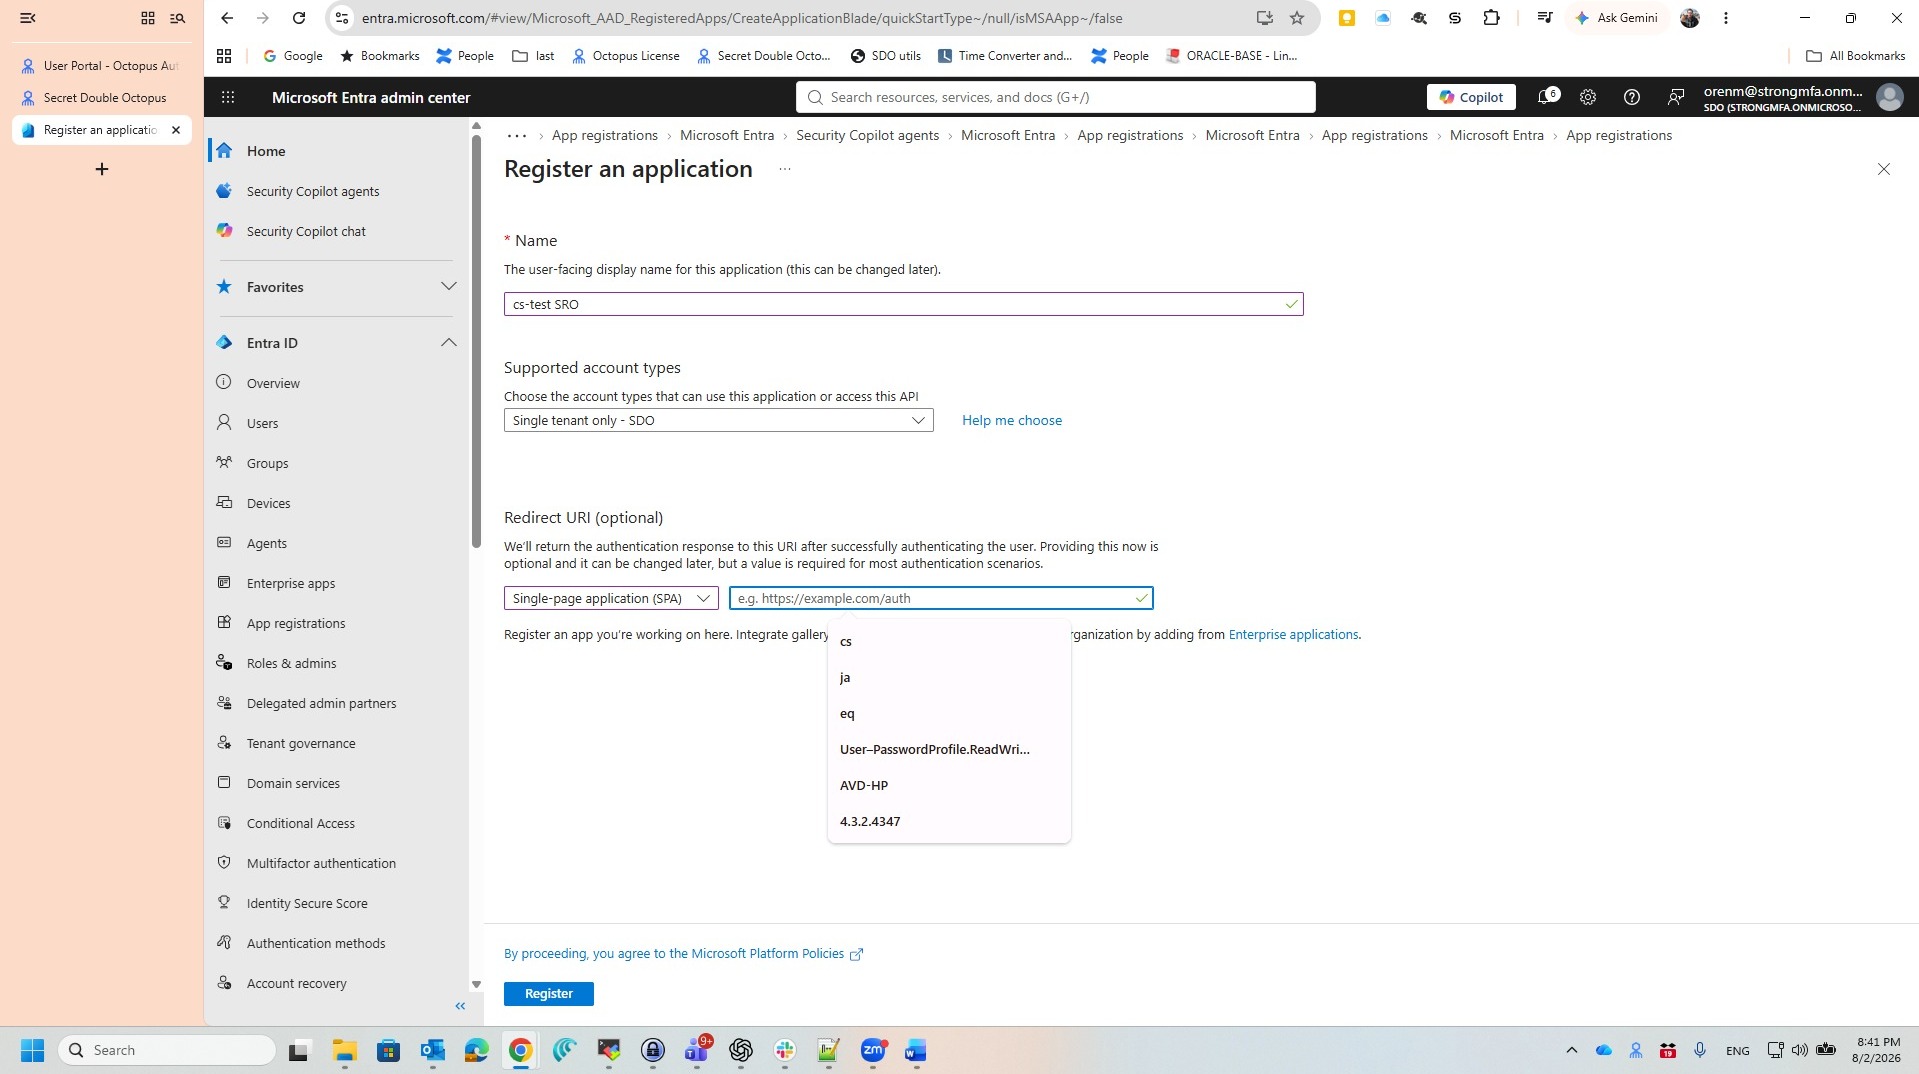
20. Click "Register"
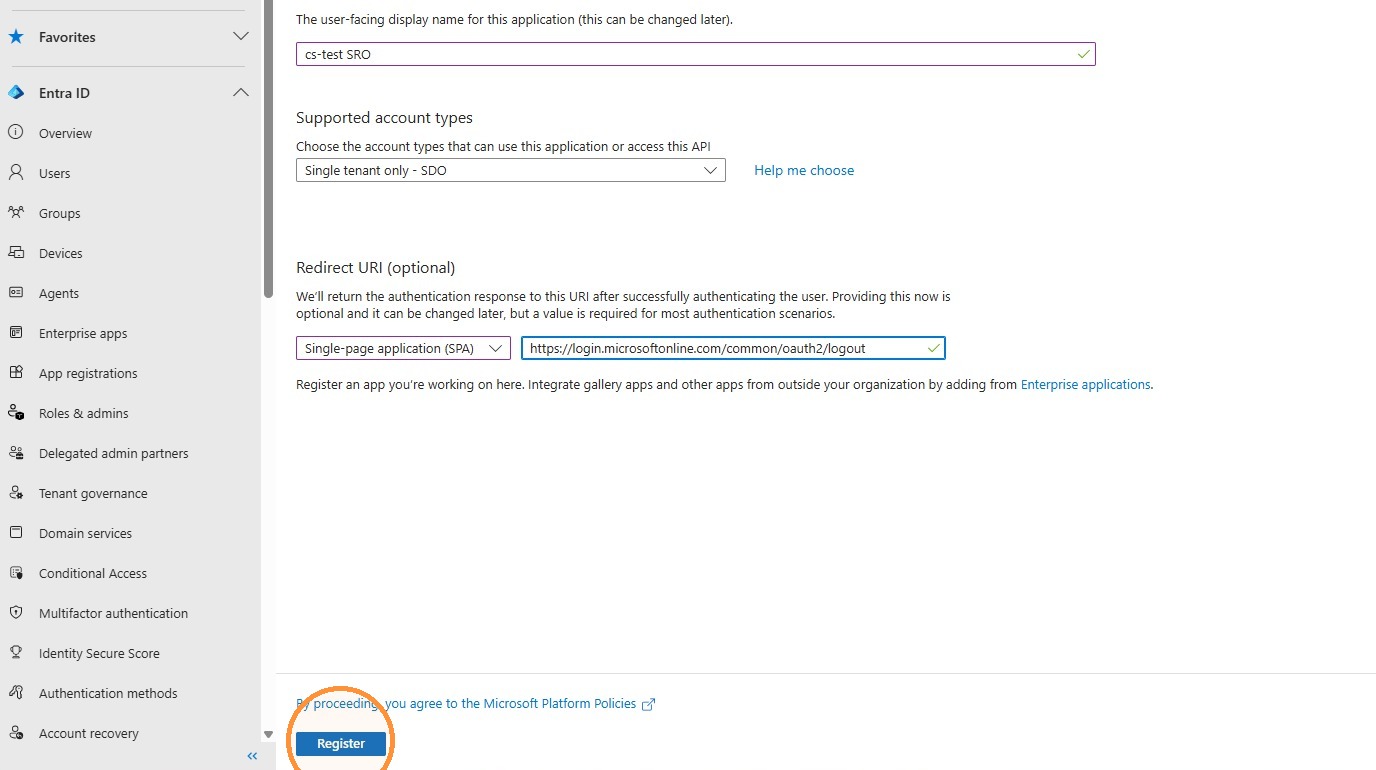
21. Click "Copy to clipboard the value for Application (client) ID"
Directory Configuration
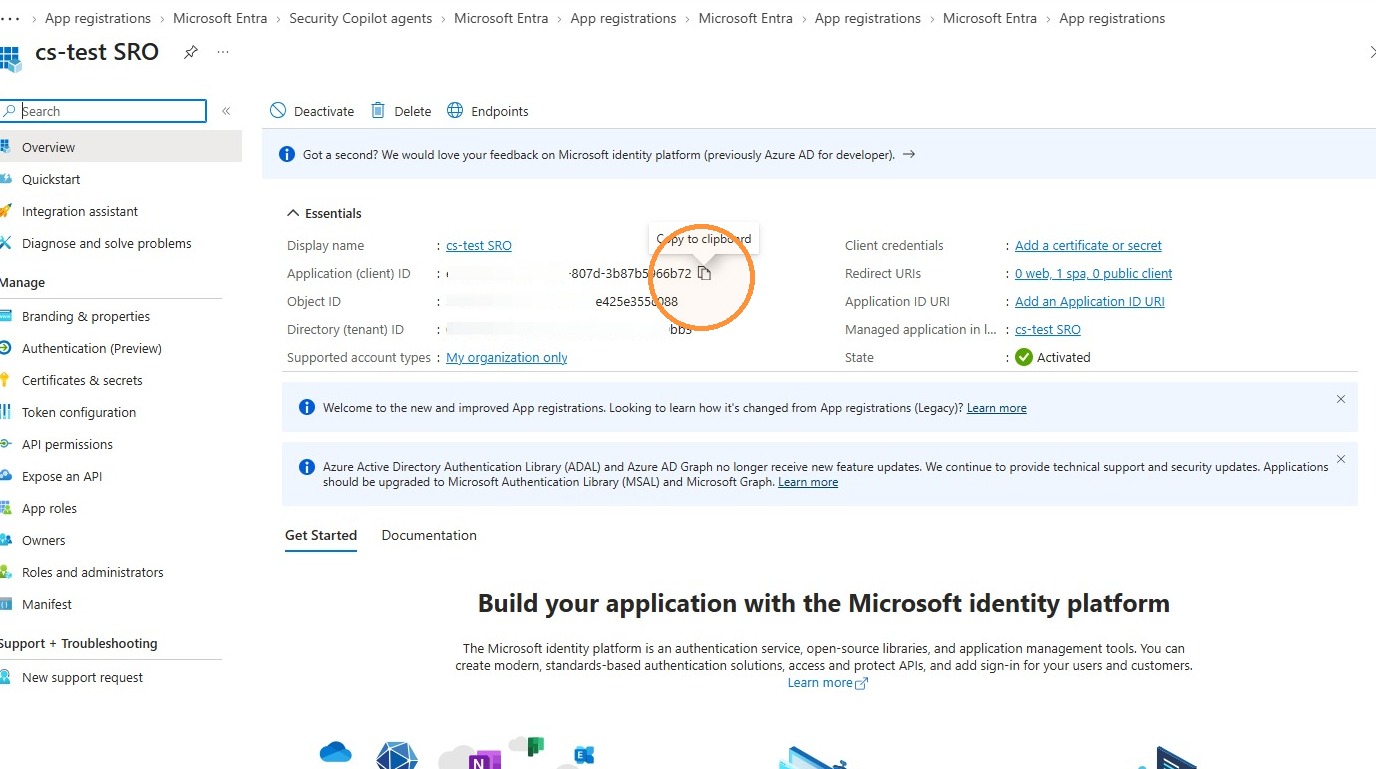
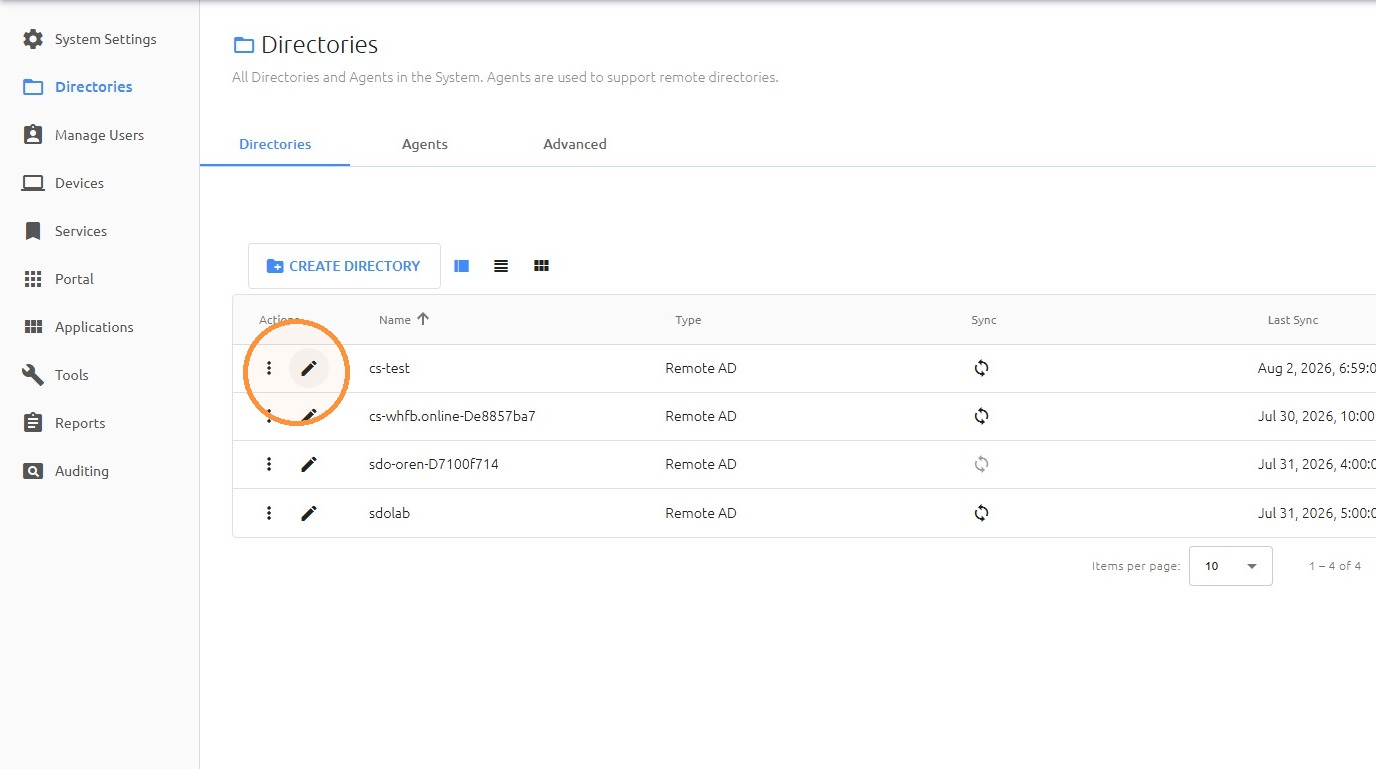
22. In SDO Management Console, click "Directories"
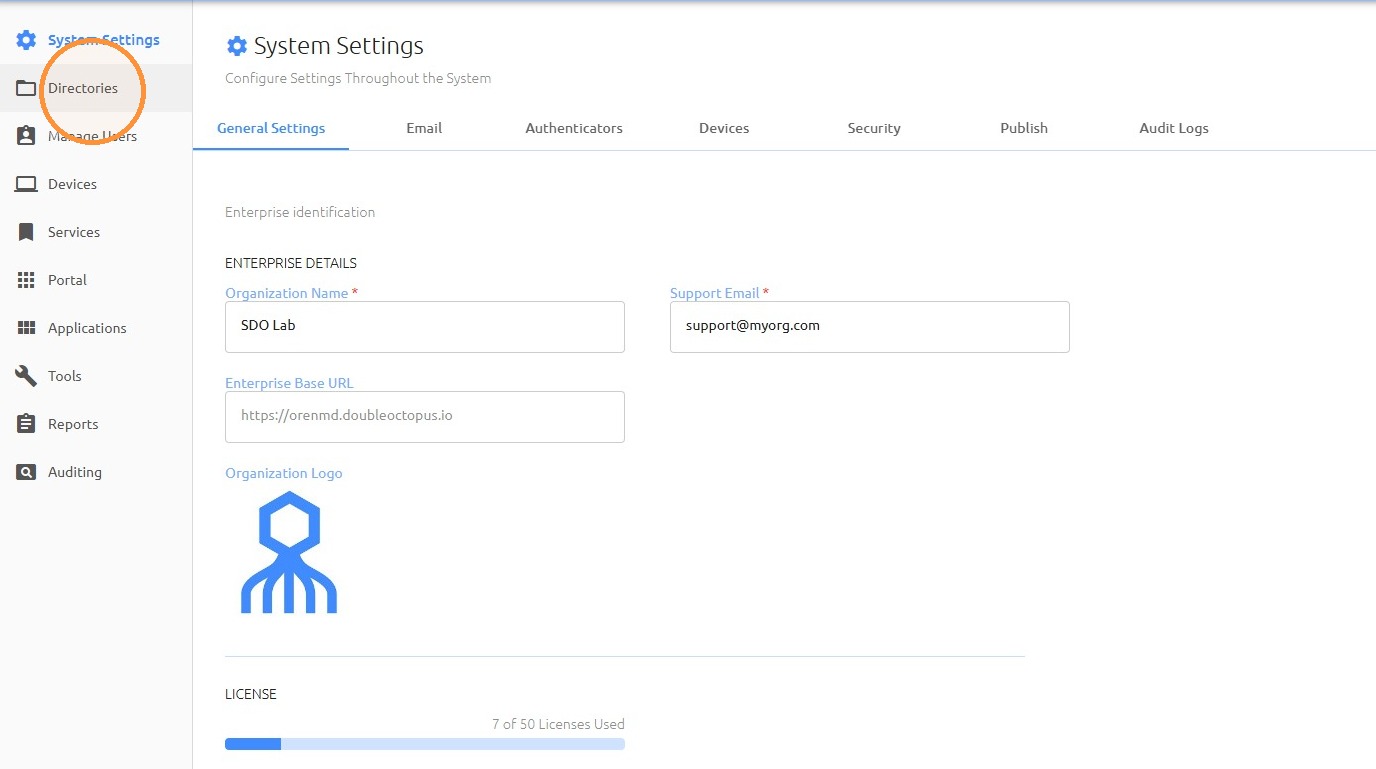
23. Edit the required directory
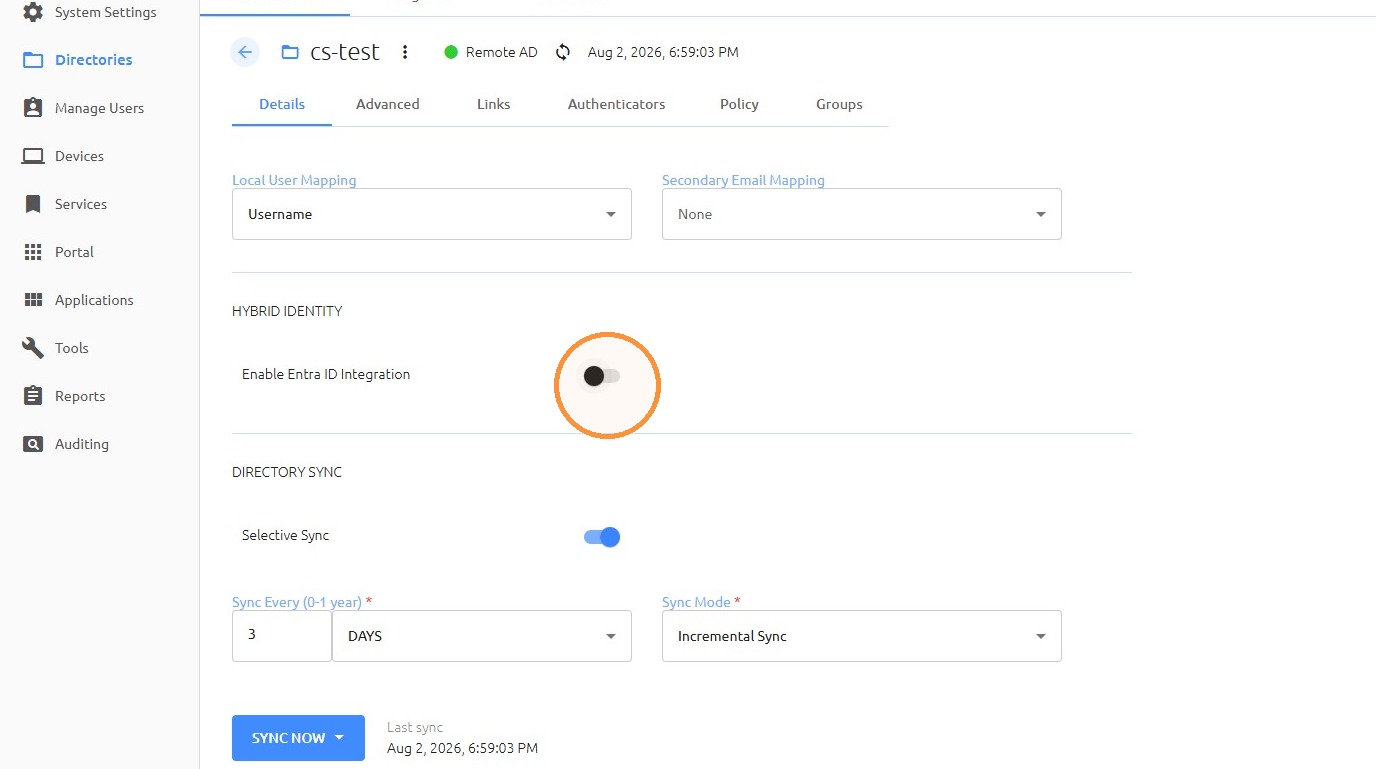
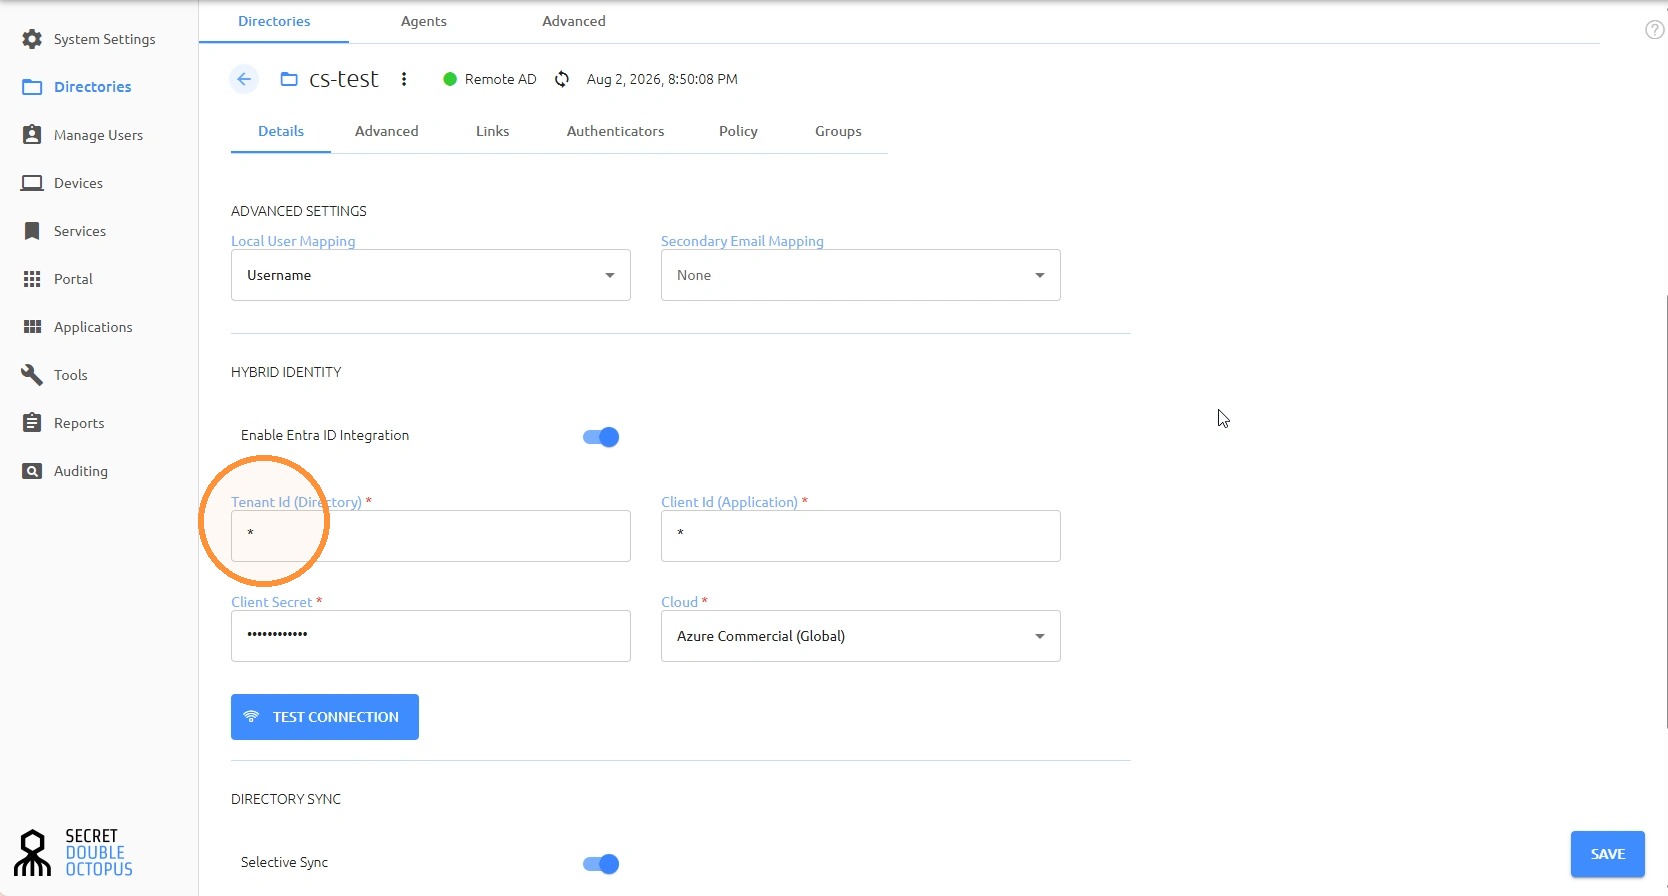
24. Toggle On the "Enable Entra ID Integration"
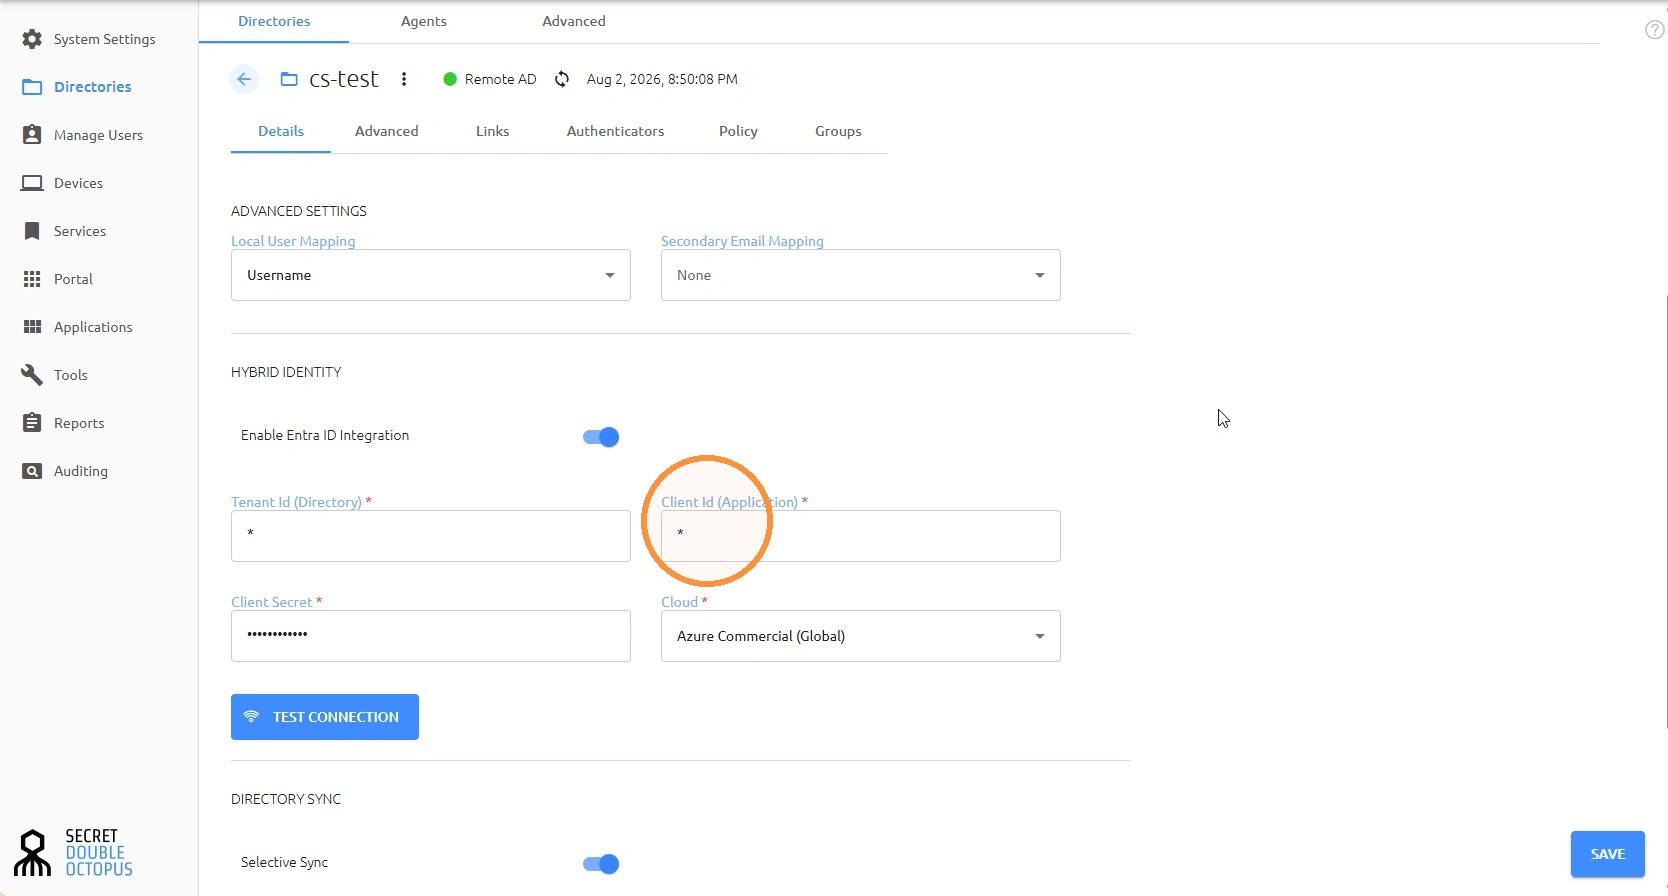
25. Paste the "Application (client) ID"
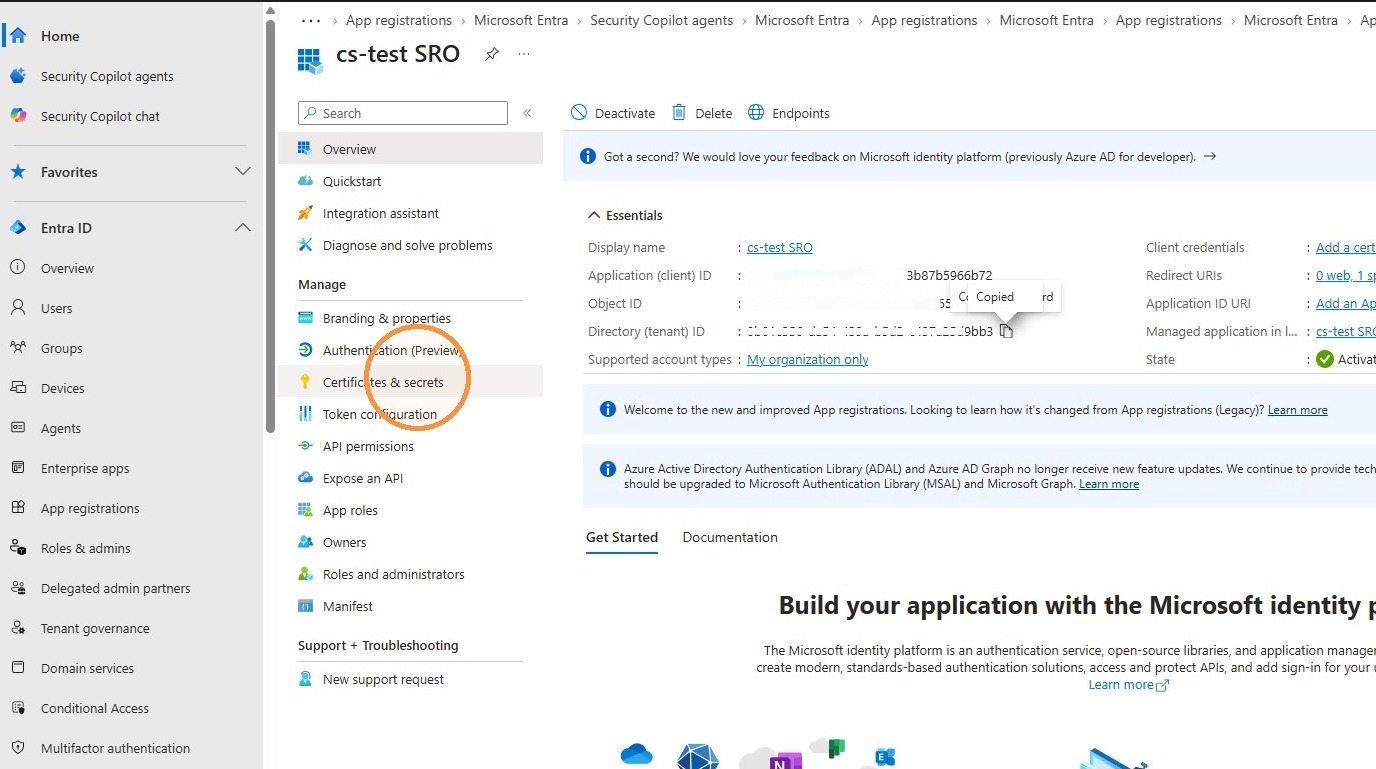
26. Click "Copy to clipboard the value for Directory (tenant) ID "
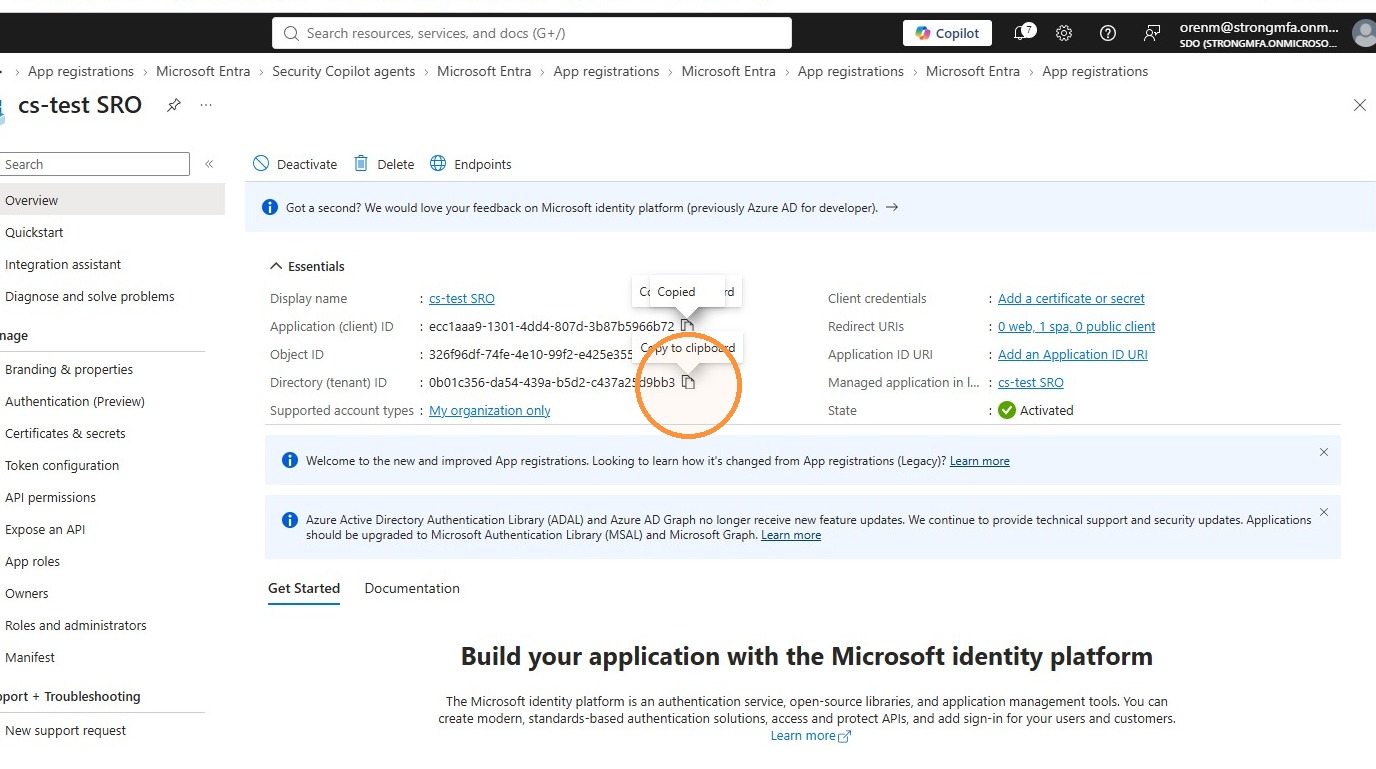
27. Paste the tenant ID
API Permissions
28. Click "Certificates & secrets"
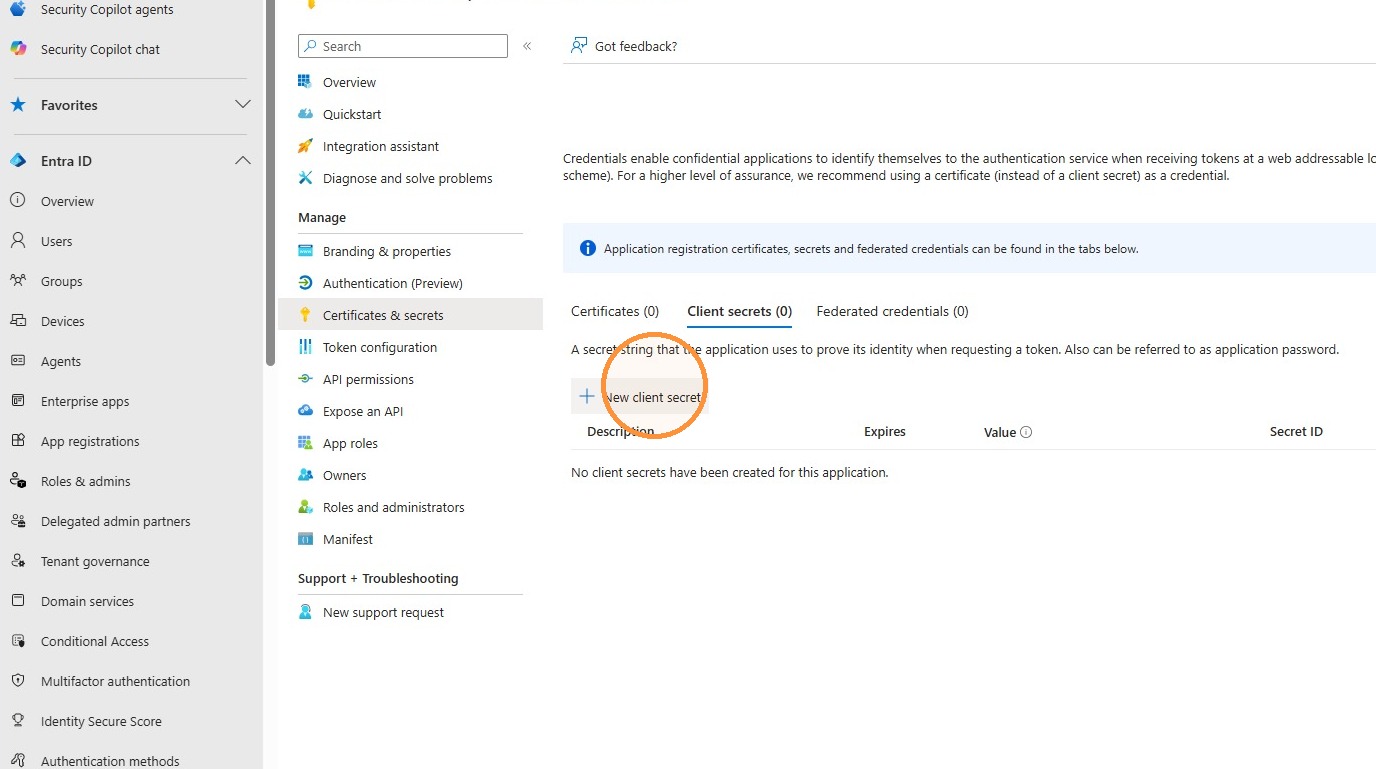
29. Click "New client secret"
30. Enter SDO as the client secret description
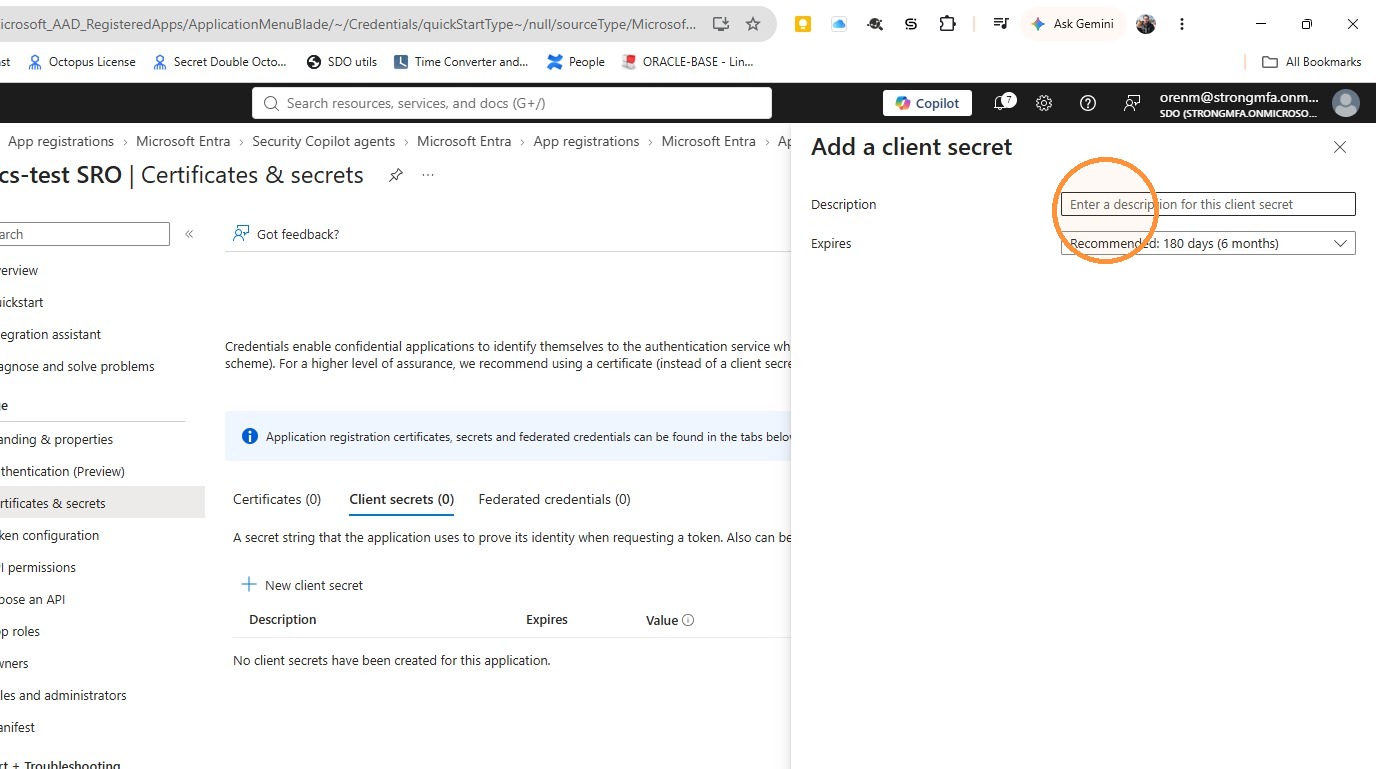
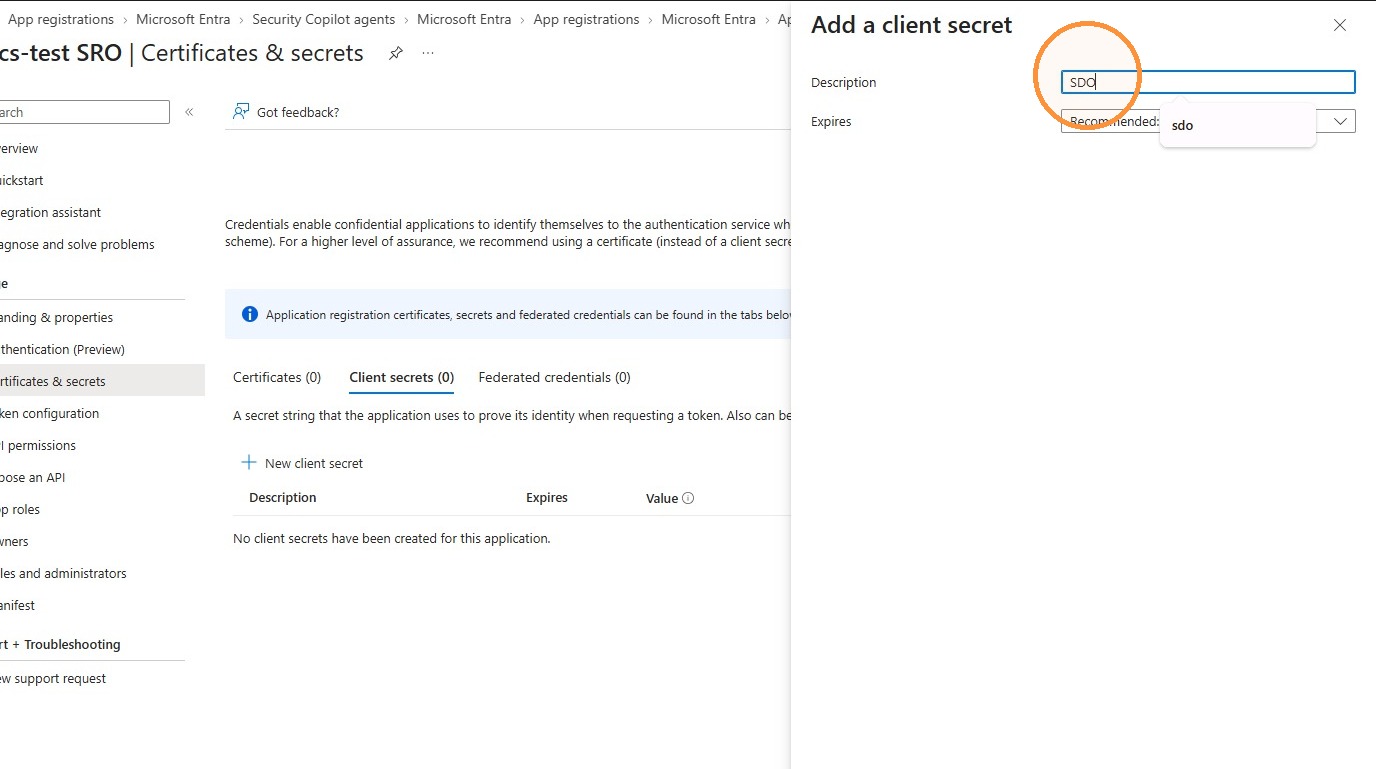
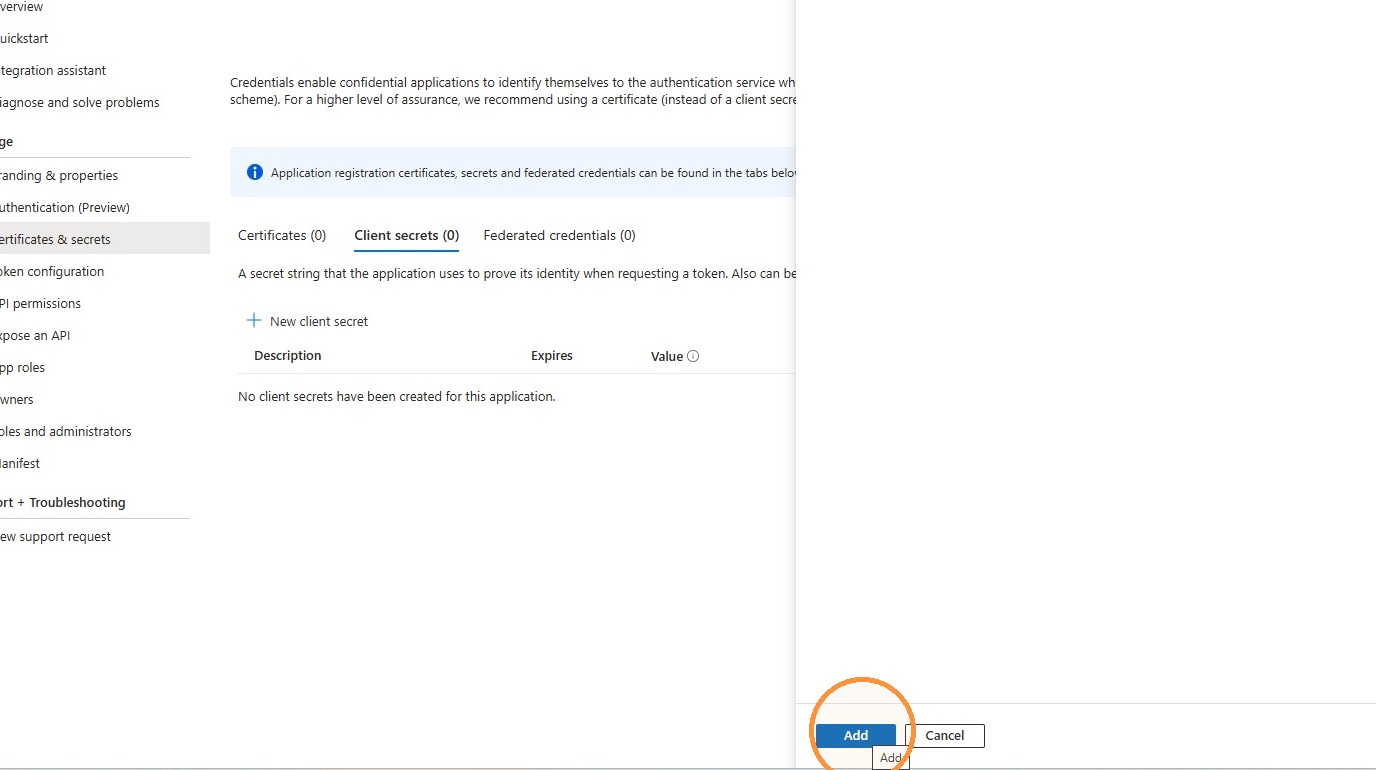
31. Click Add
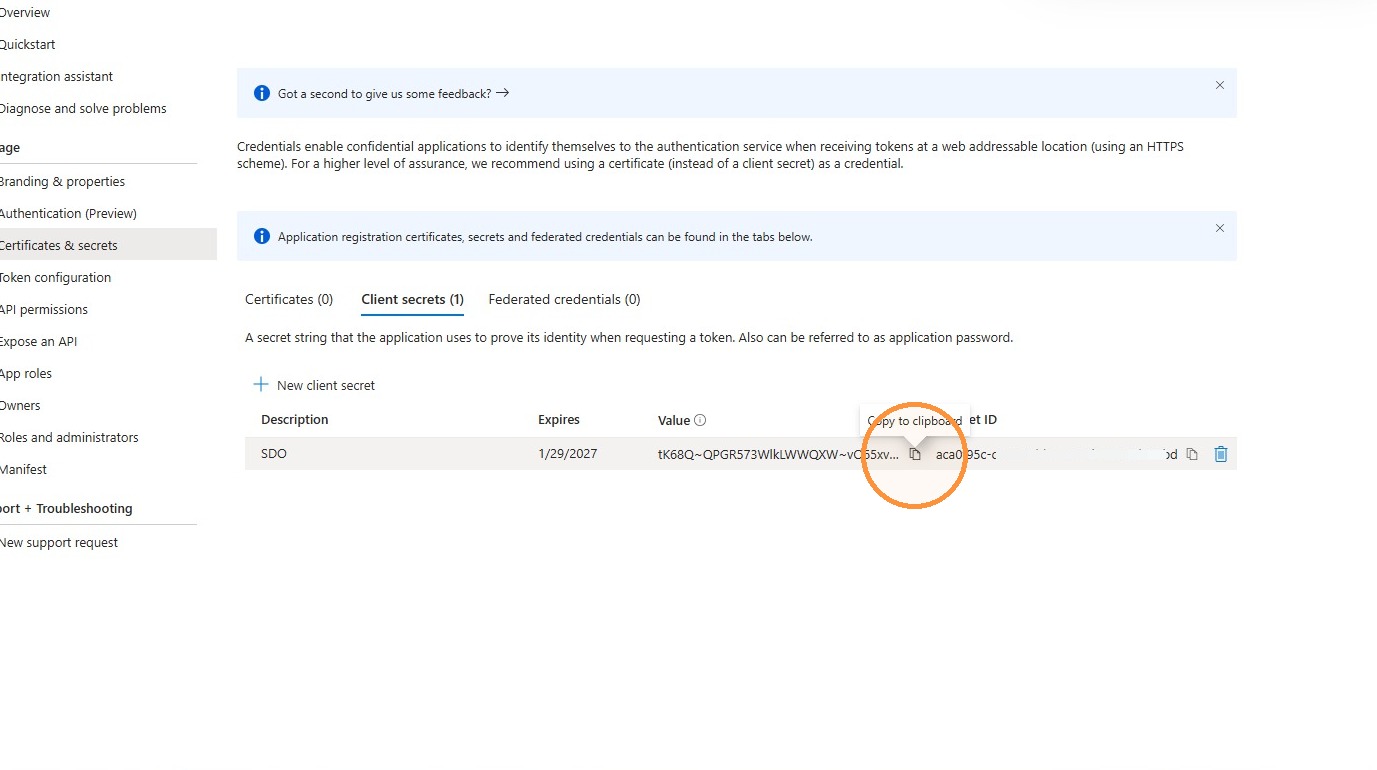
32. Click "Copy to clipboard" and copy the secret value
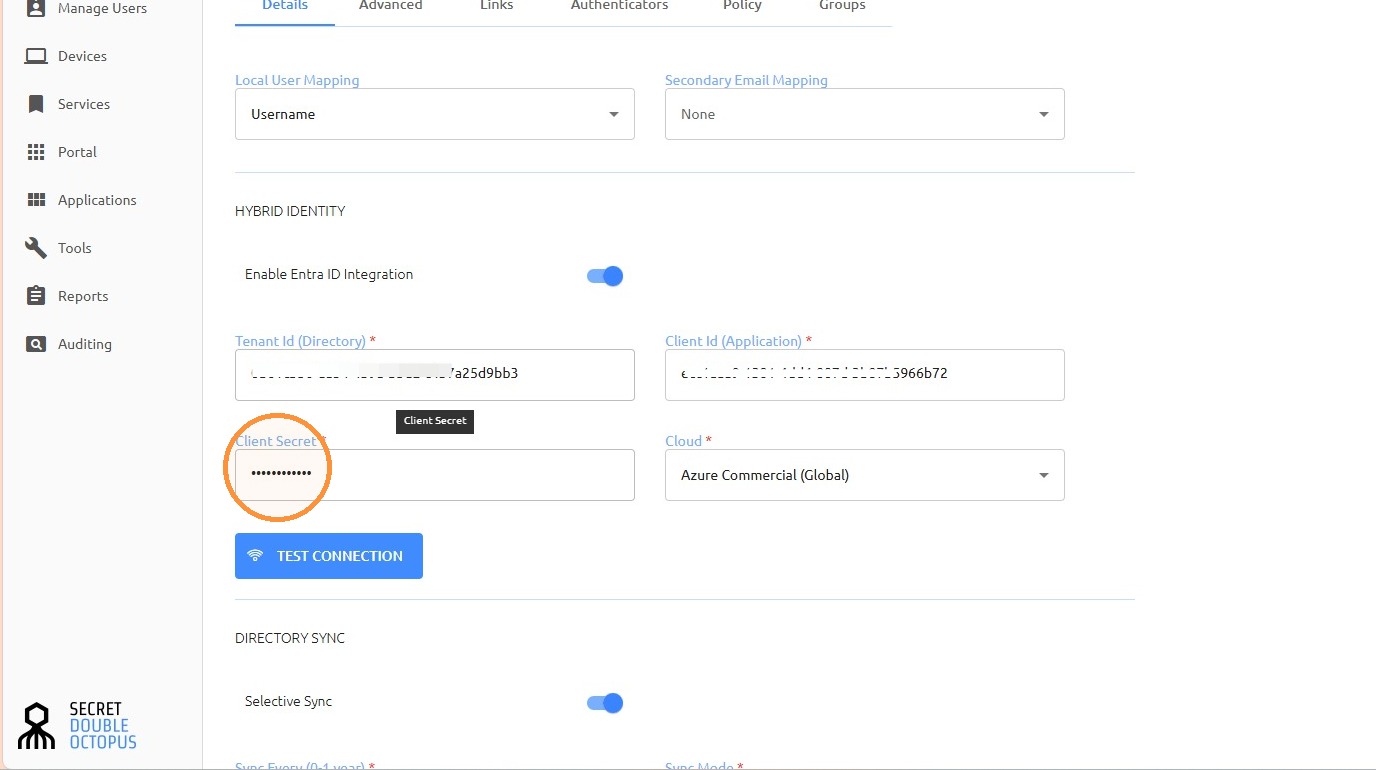
33. Paste the client secret in the Client Secret text box
34. Click "API permissions"
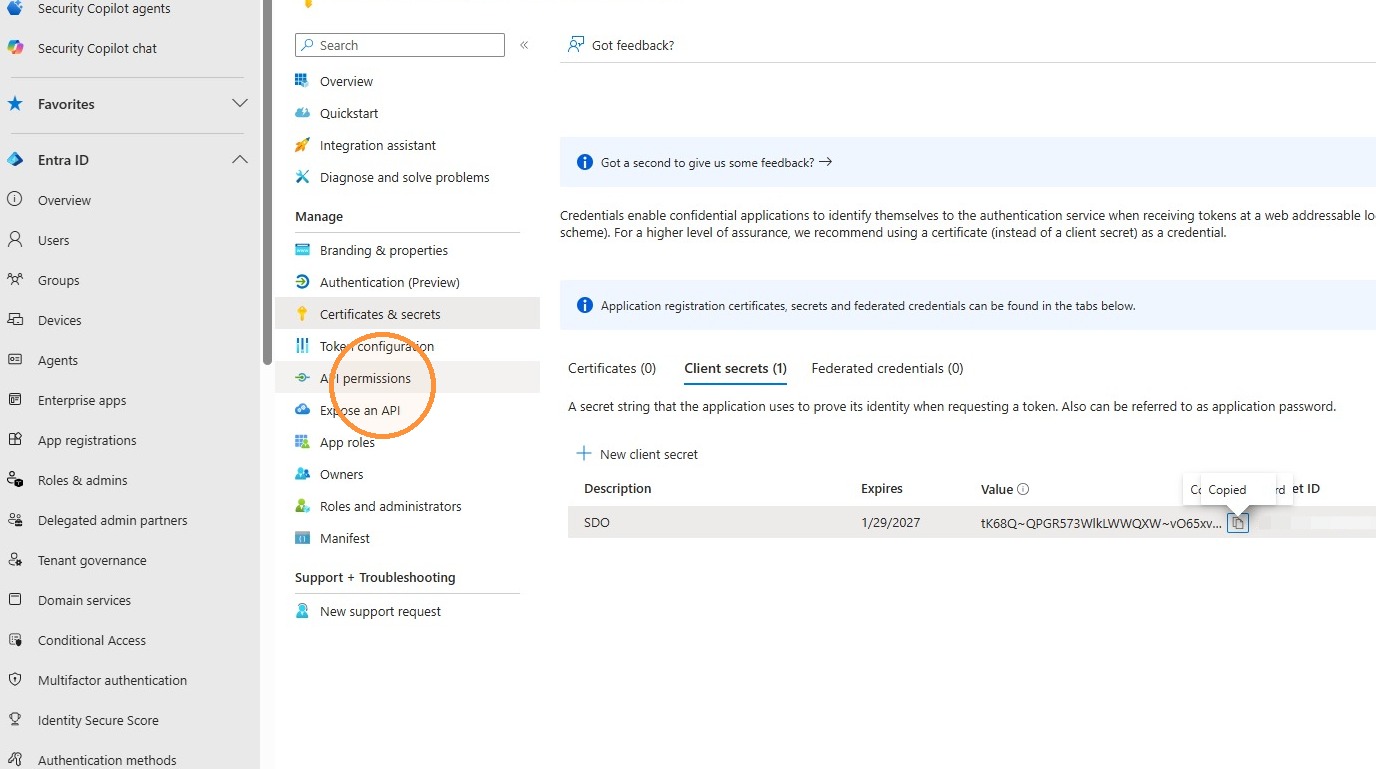
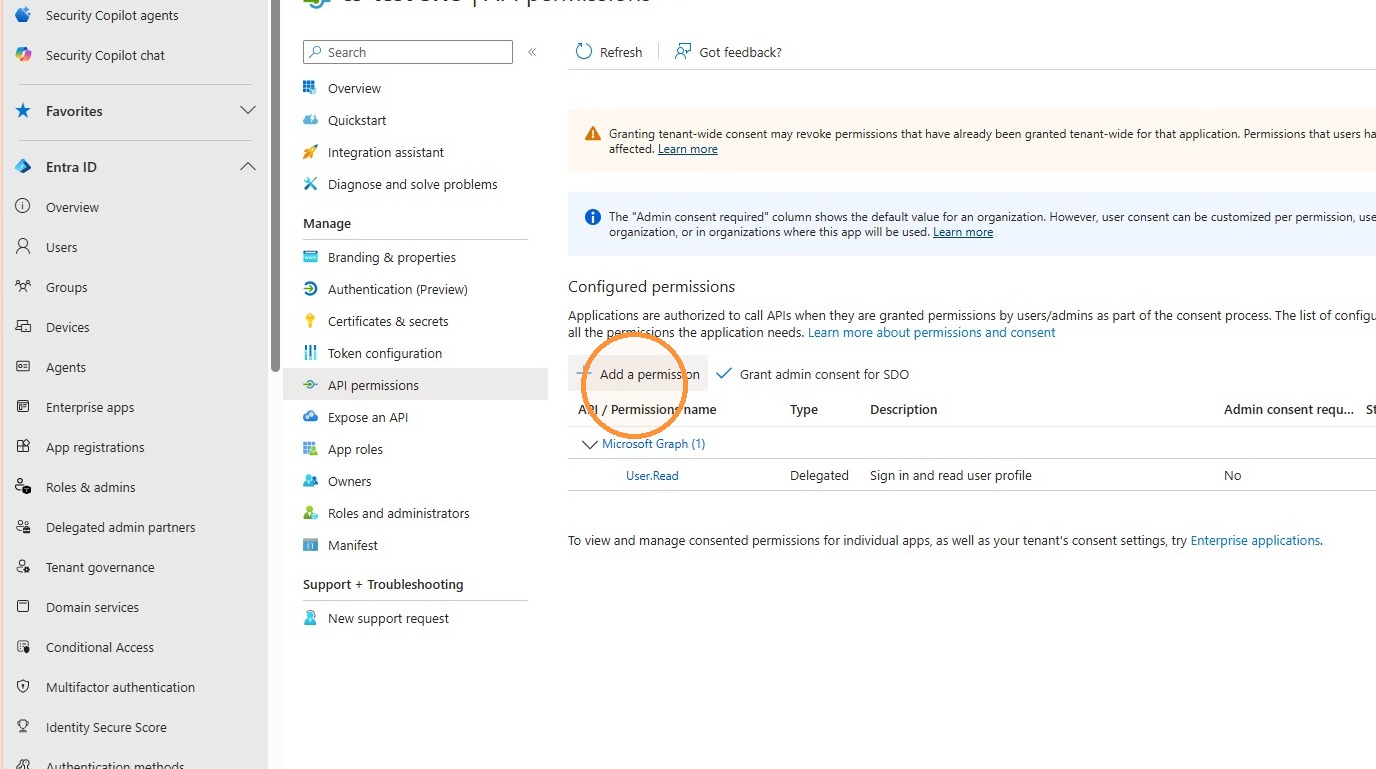
35. Click "Add a permission"
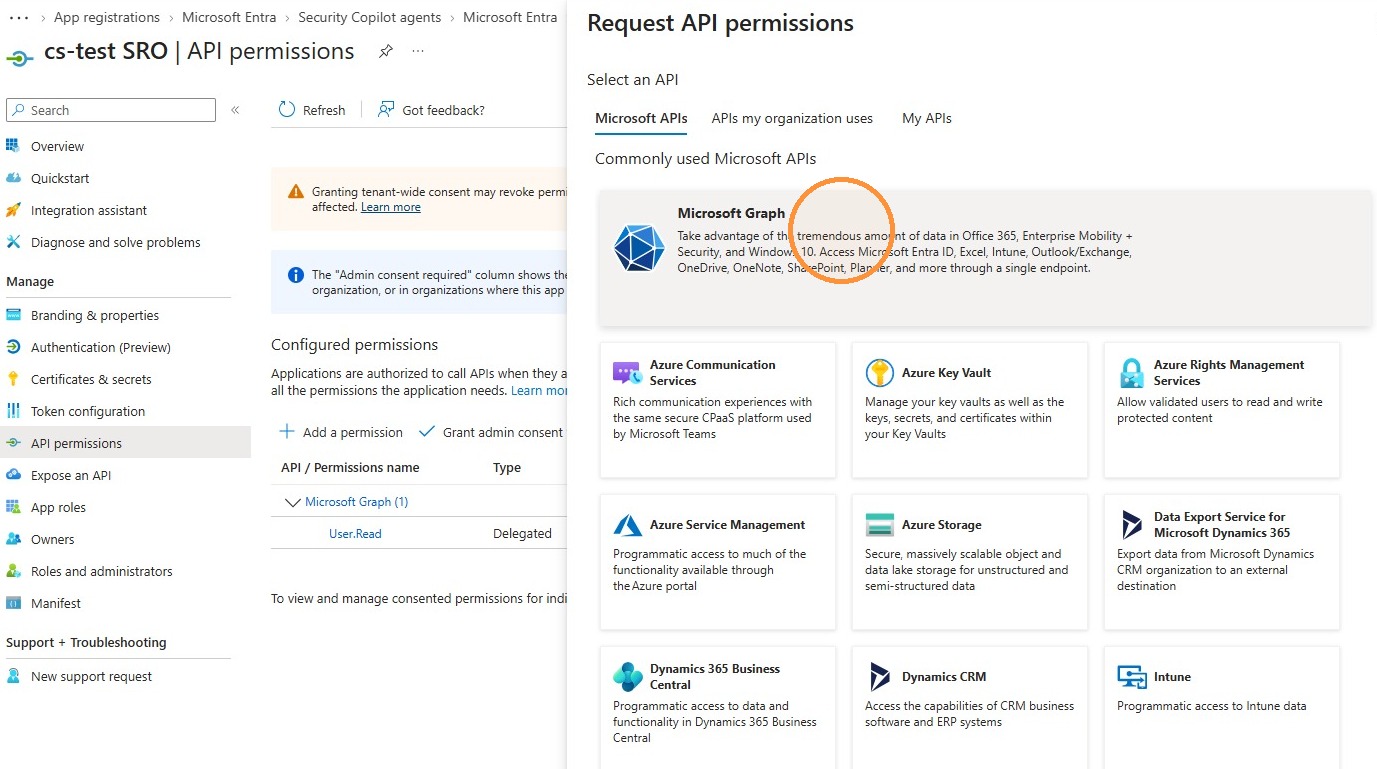
36. Click "Microsoft Graph Microsoft Graph"
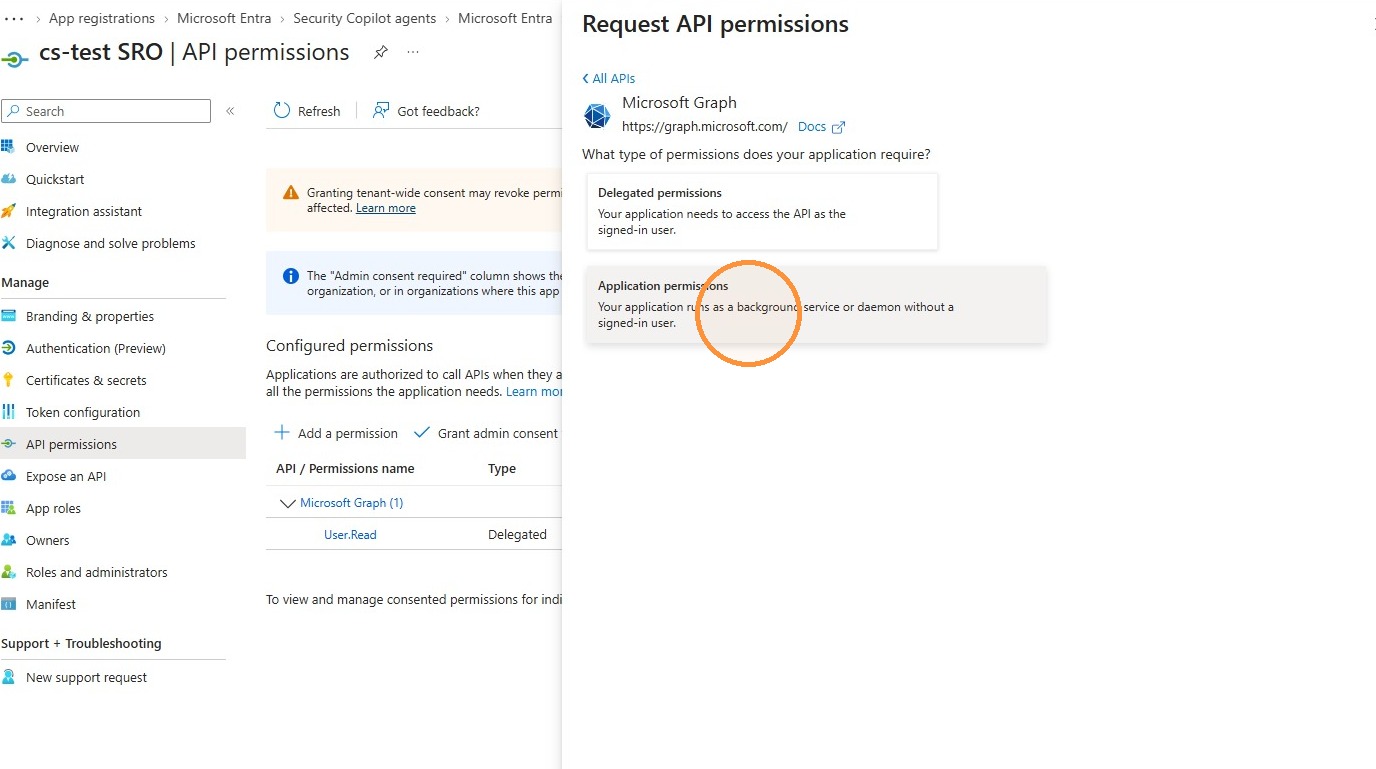
37. Click "Application Permission"
38. Click "Search permissions"
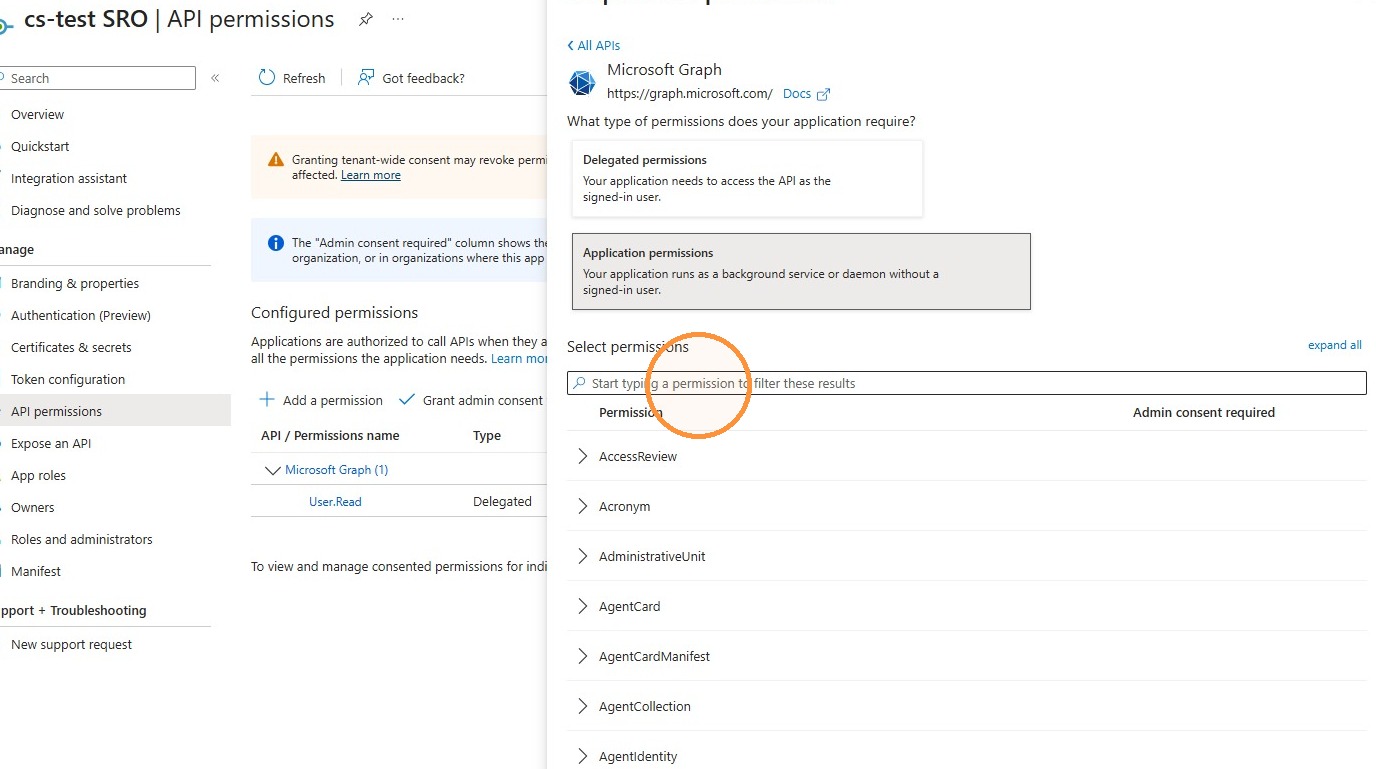
39. Search for user.
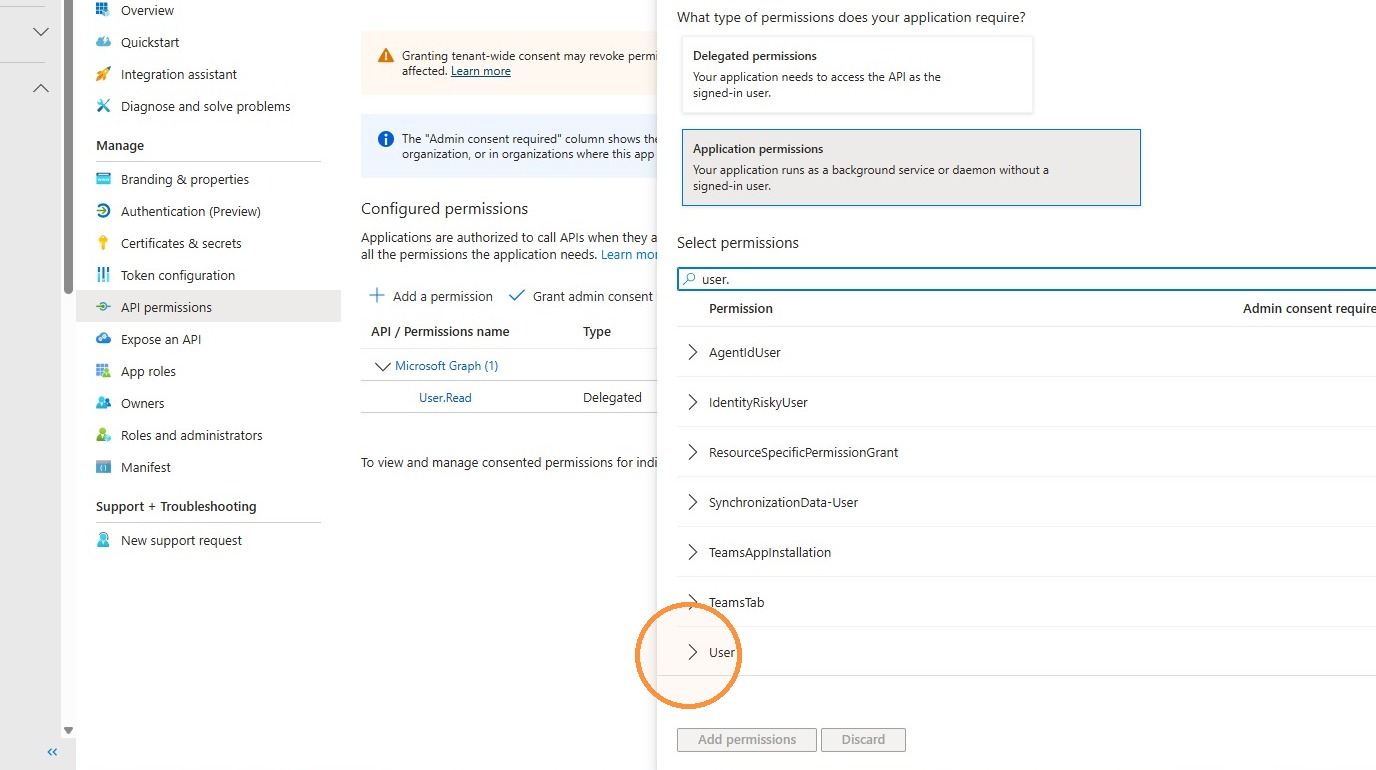
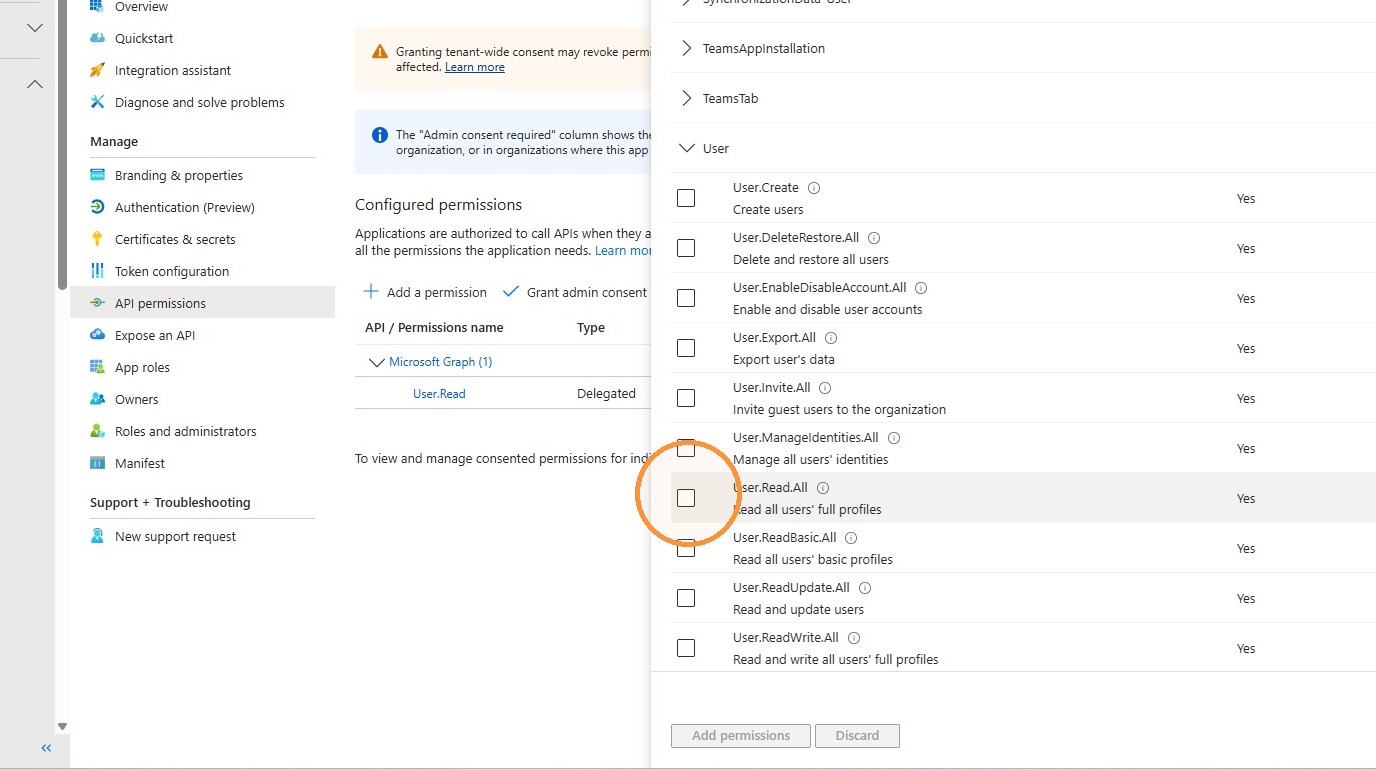
40. Select User.Read.All
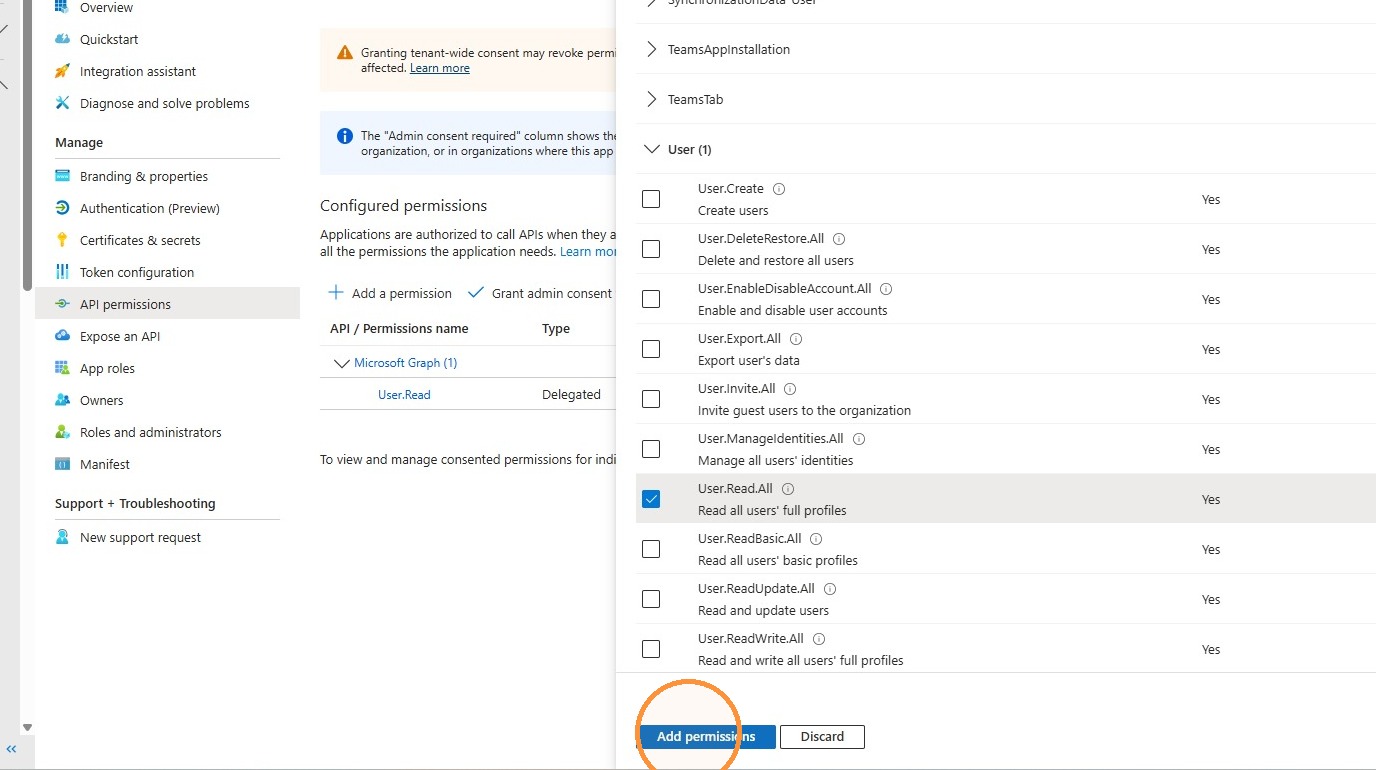
41. Click "Add permissions"
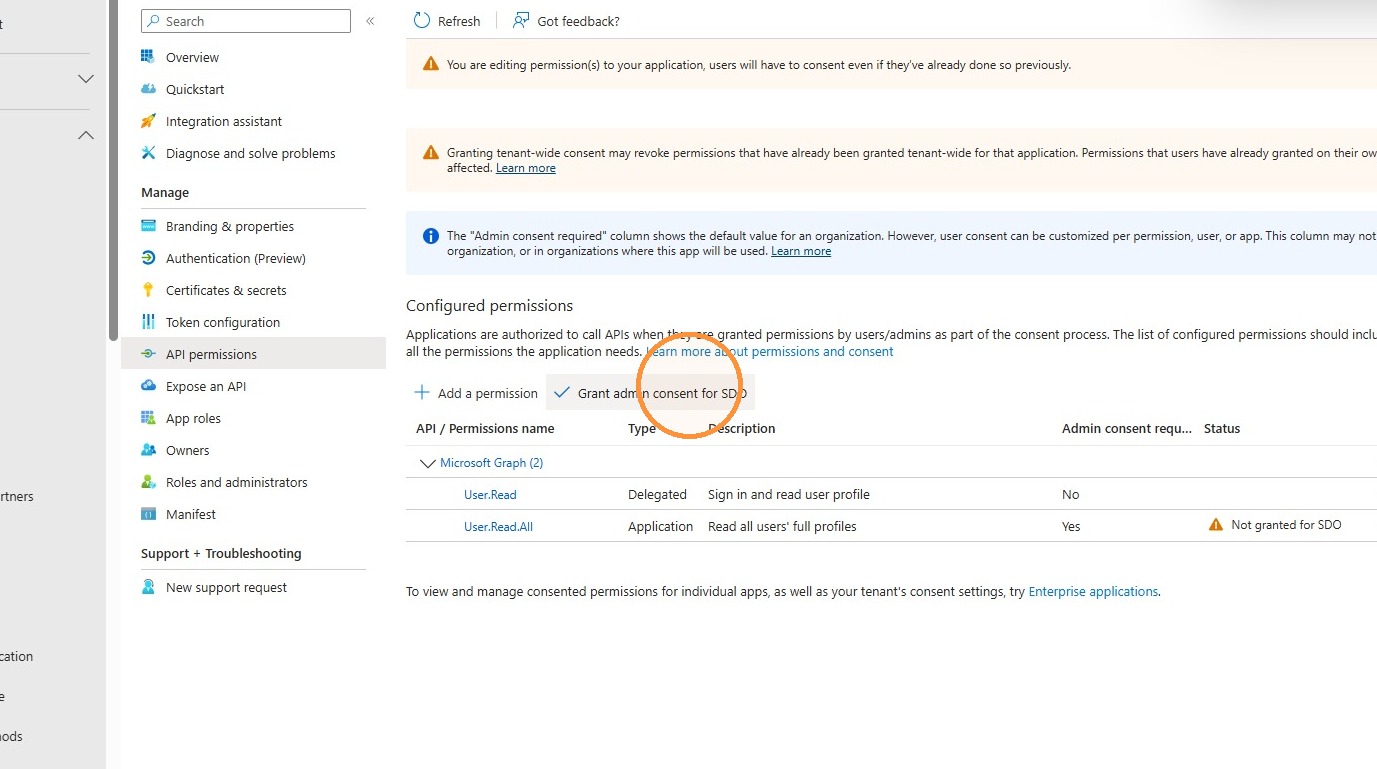
42. Click "Grant admin consent for SDO"
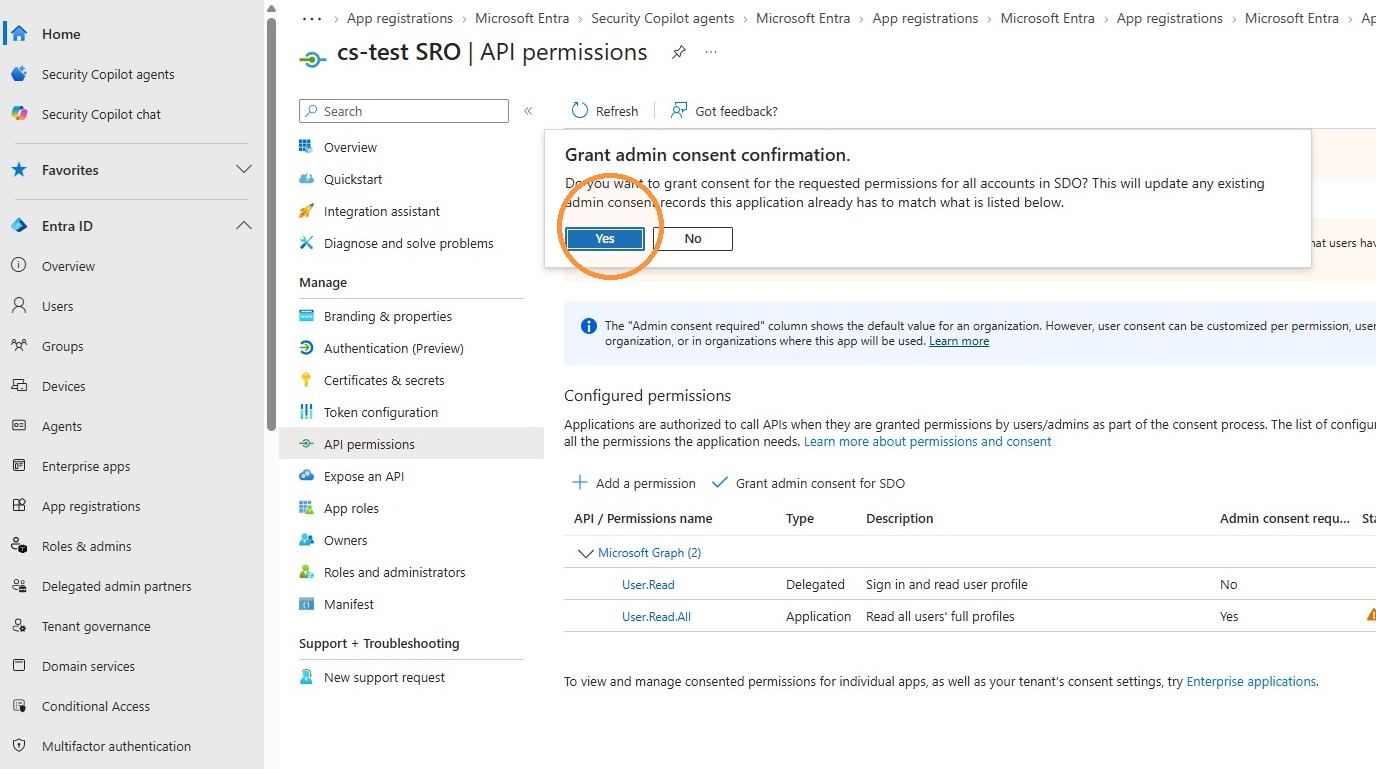
43. Approve "Grant admin consent"
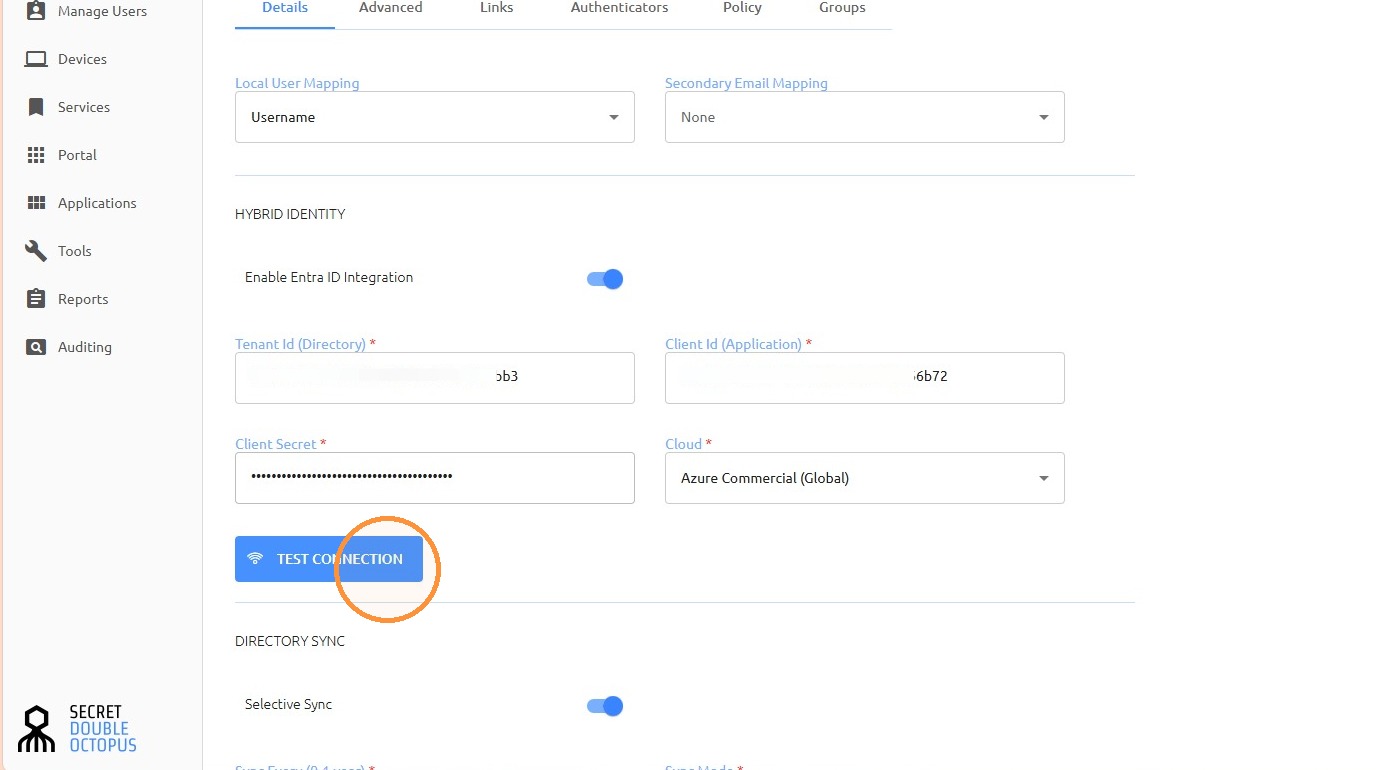
44. Click "TEST CONNECTION"
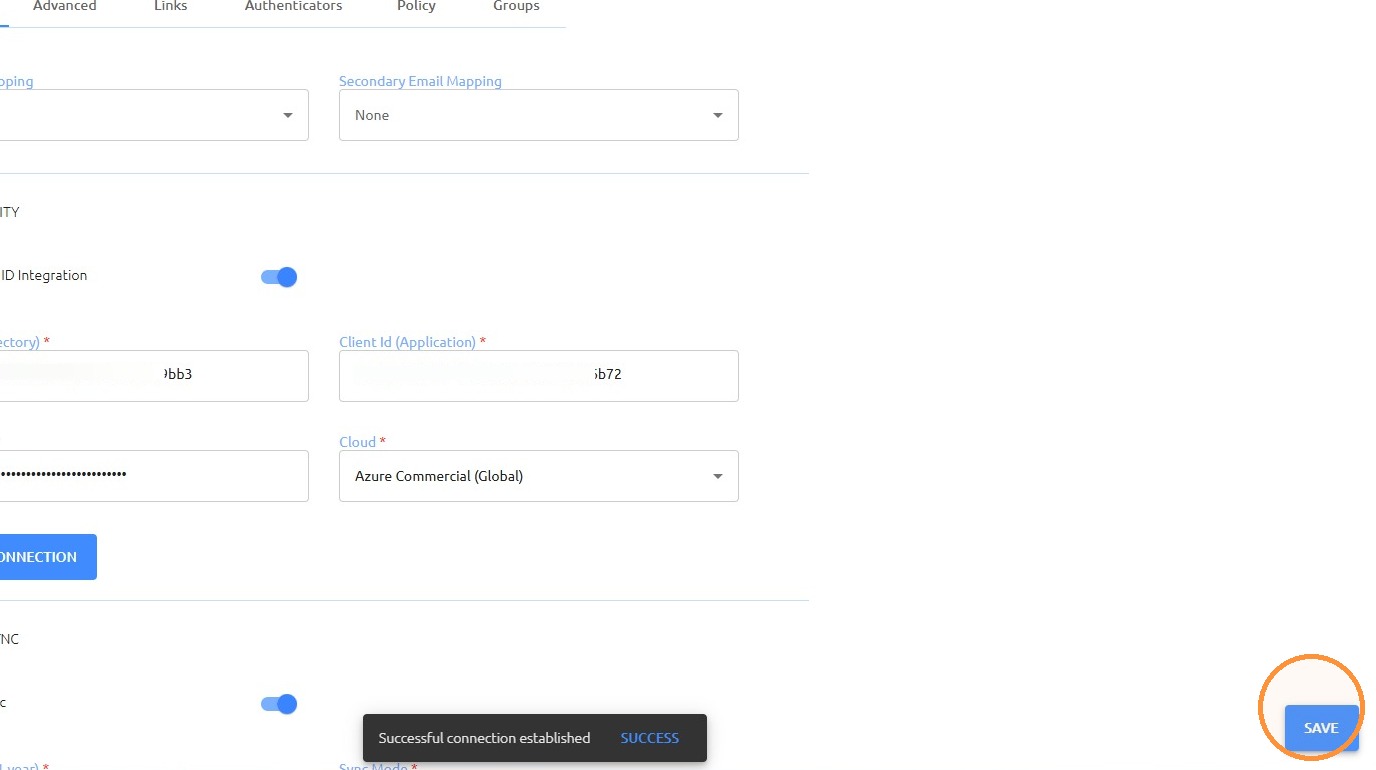
45. Press SAVE
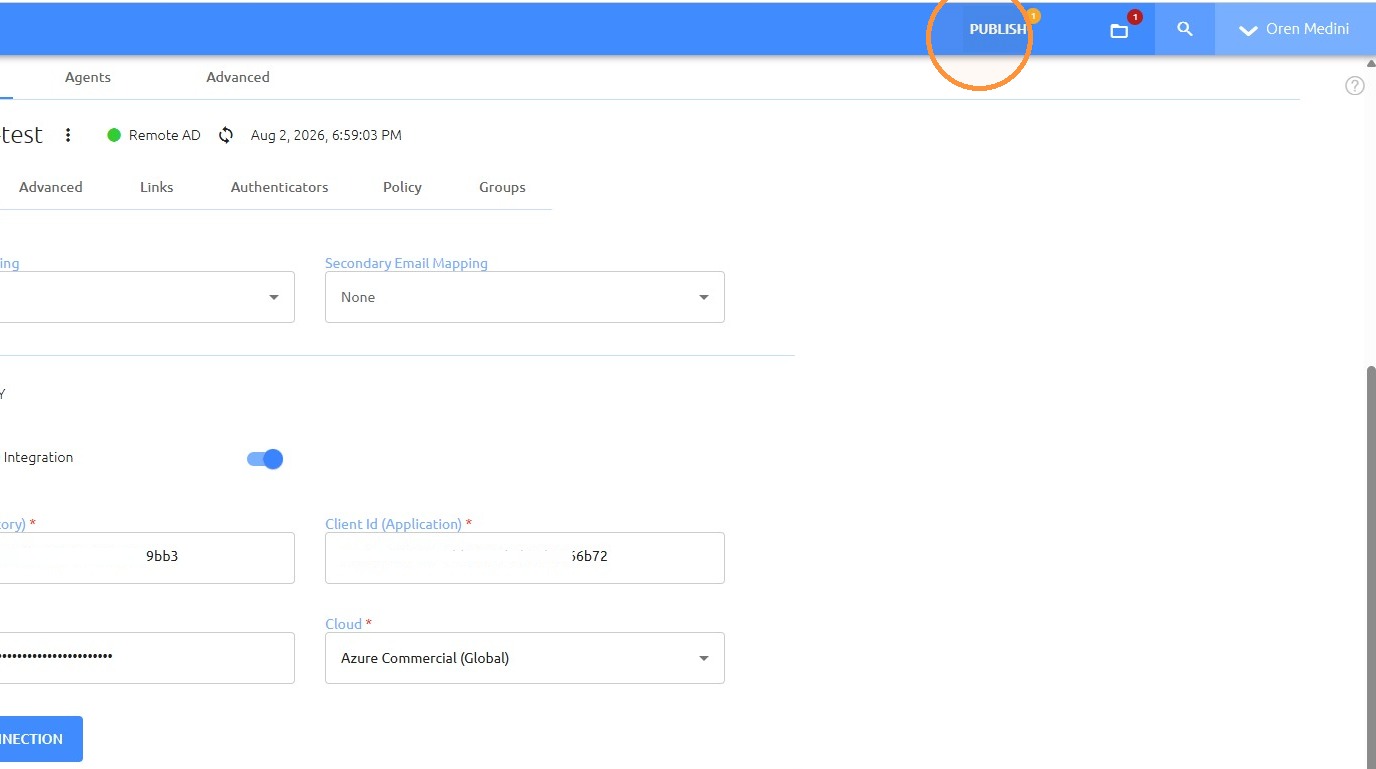
46. Click "PUBLISH"
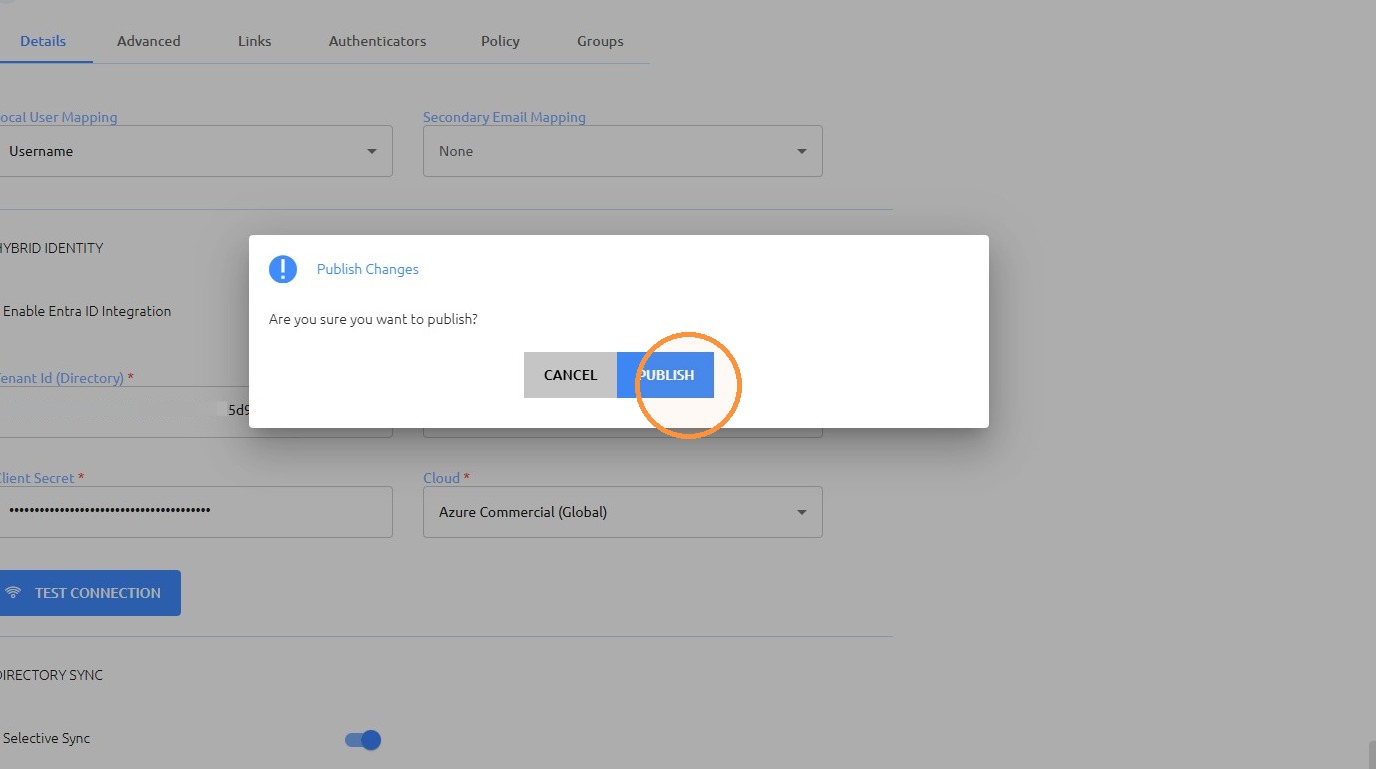
47. Click "PUBLISH"
Group Assignment
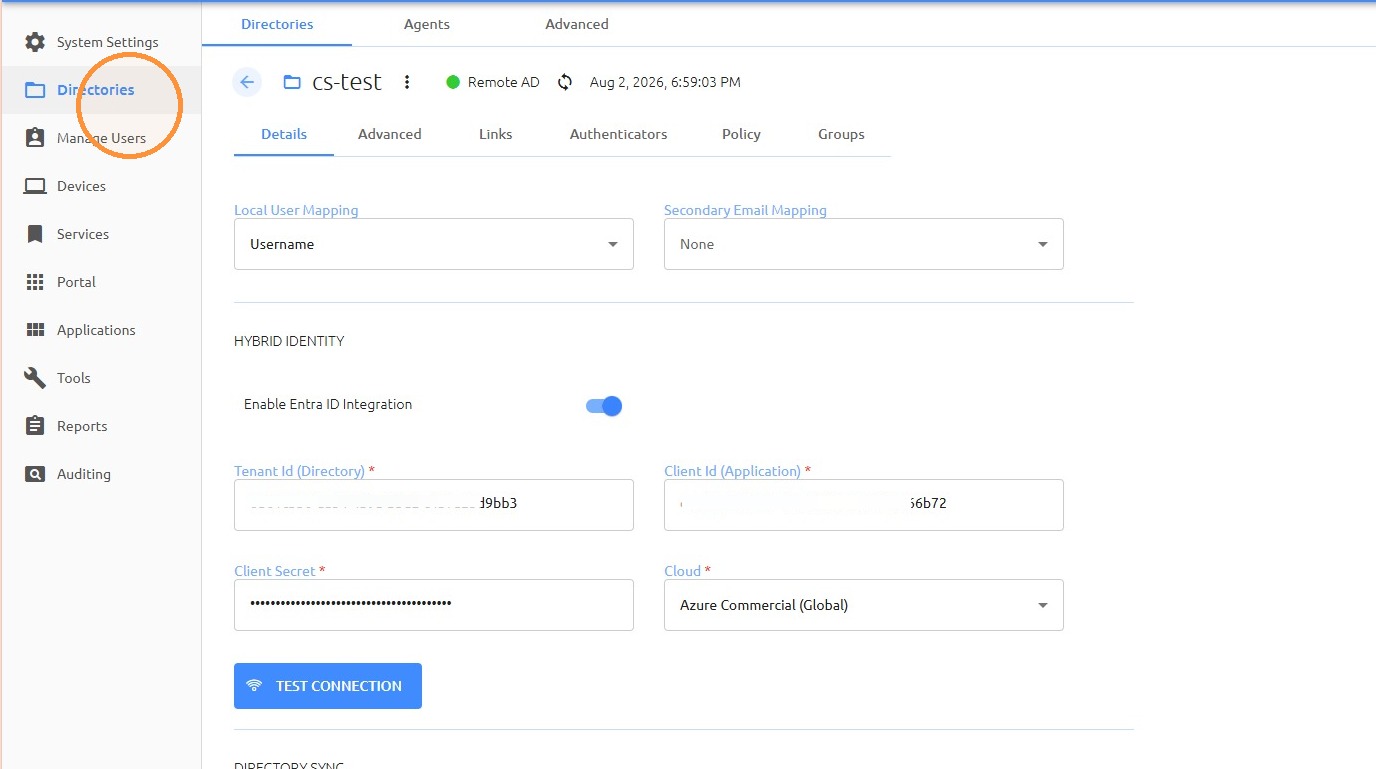
48. In the Management Console, click on DIRECTORIES
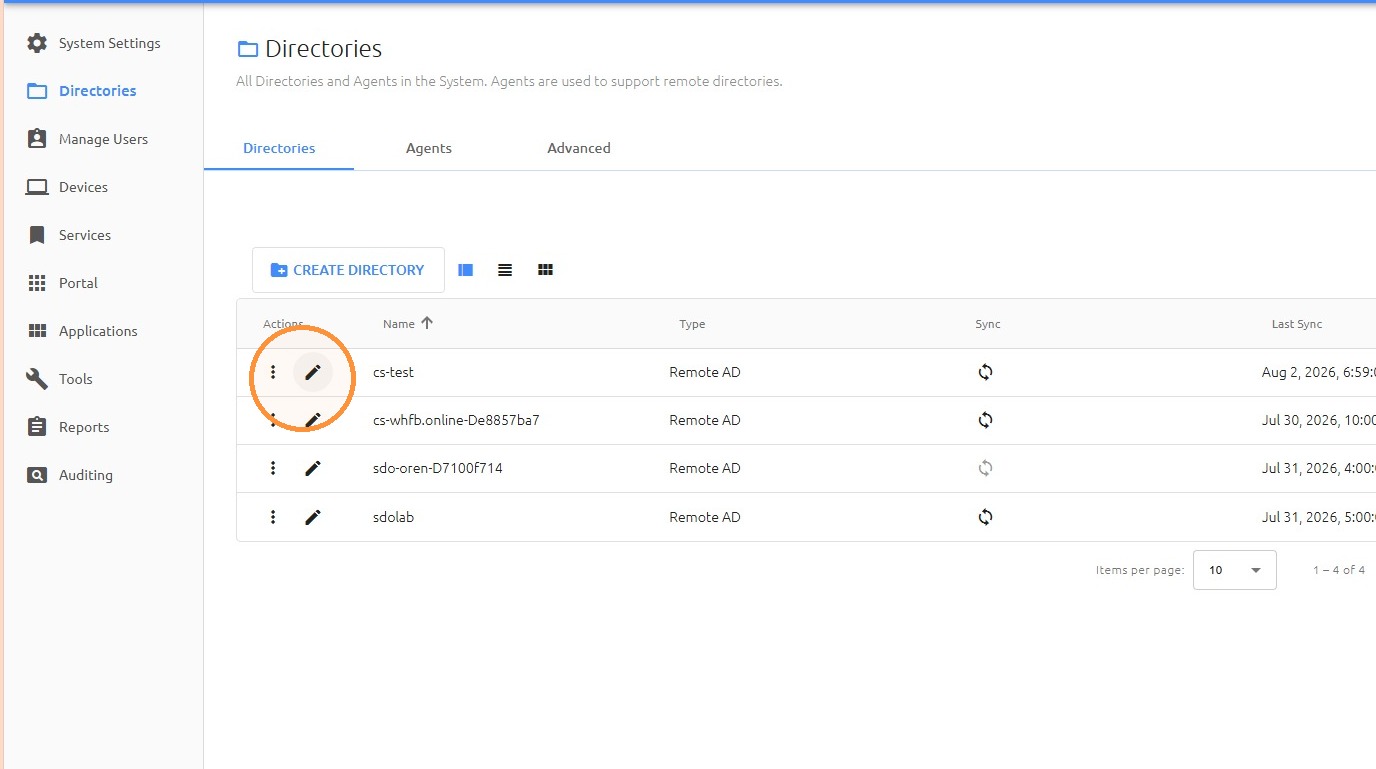
49. Edit the required directory
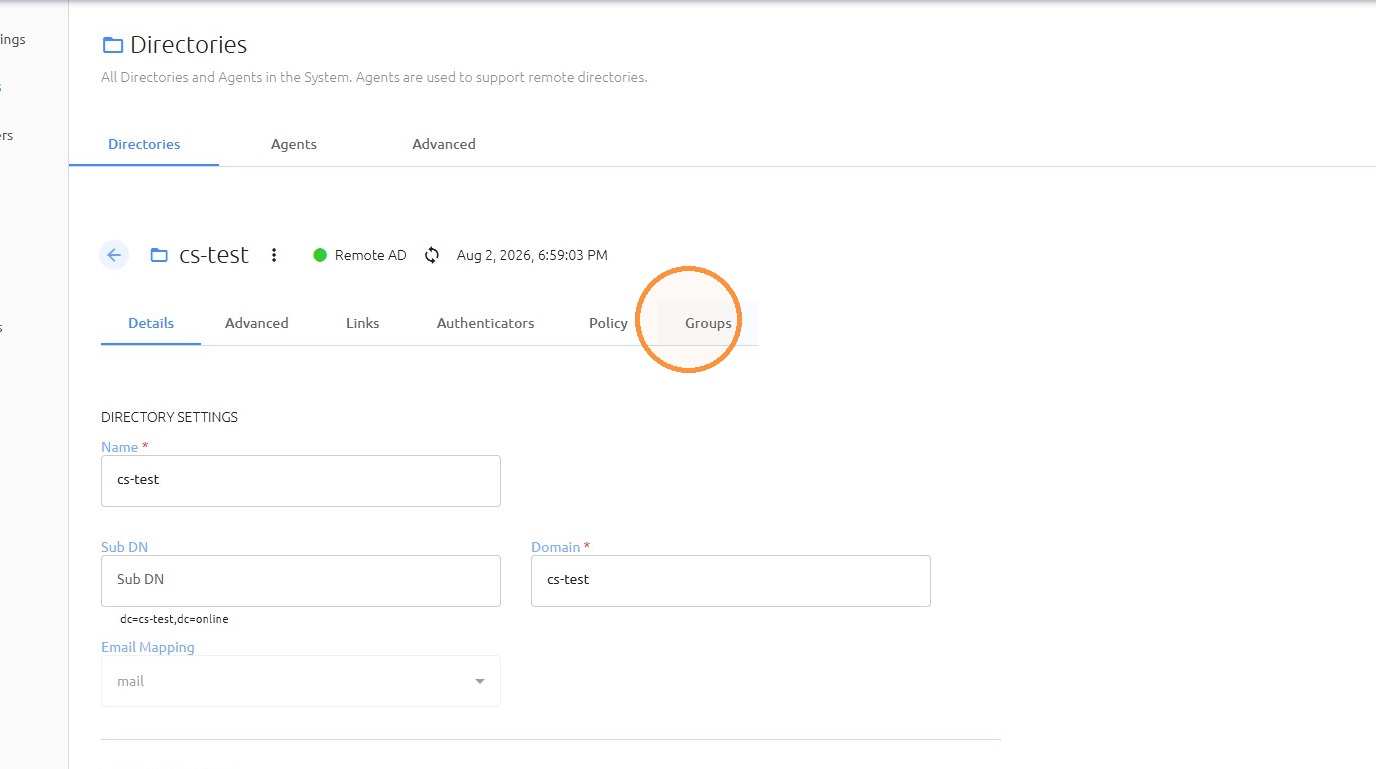
50. Click "Groups"
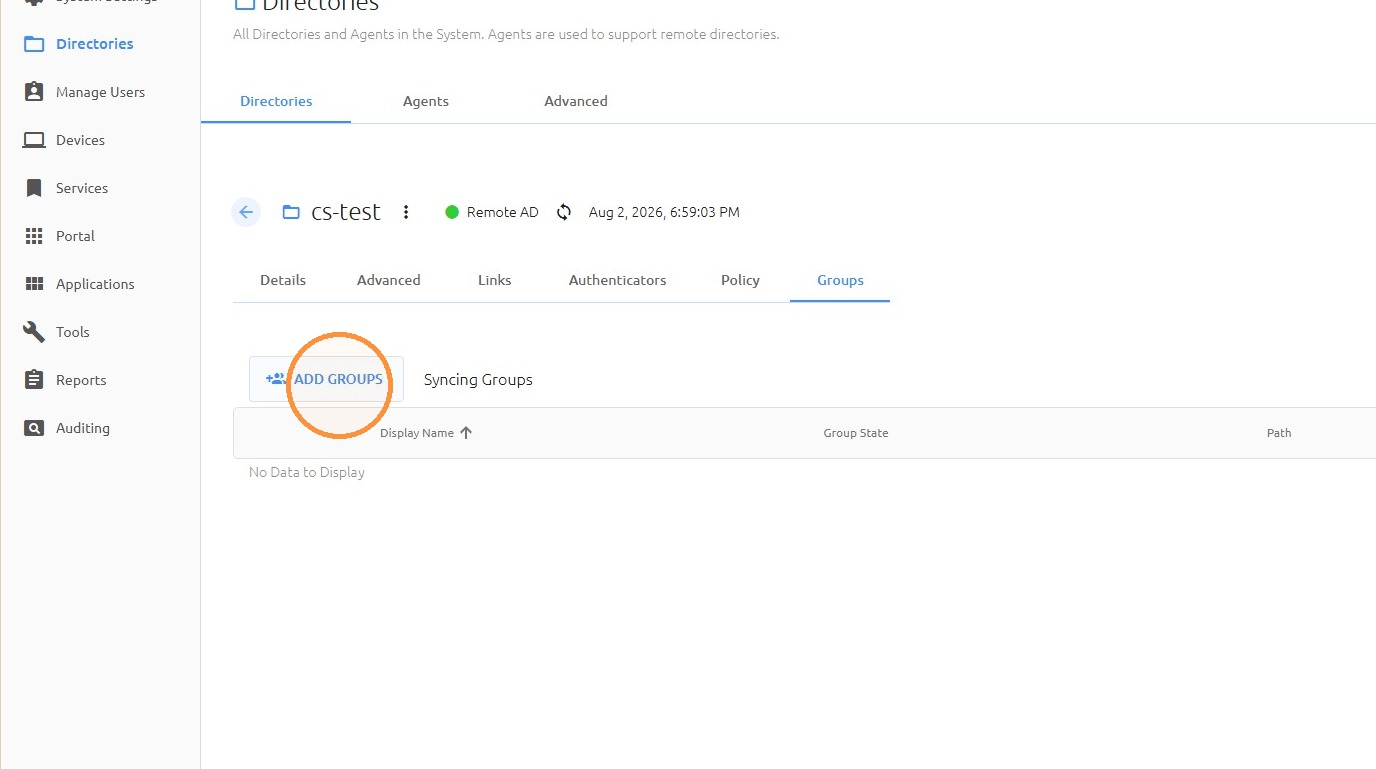
51. Click "ADD GROUPS"
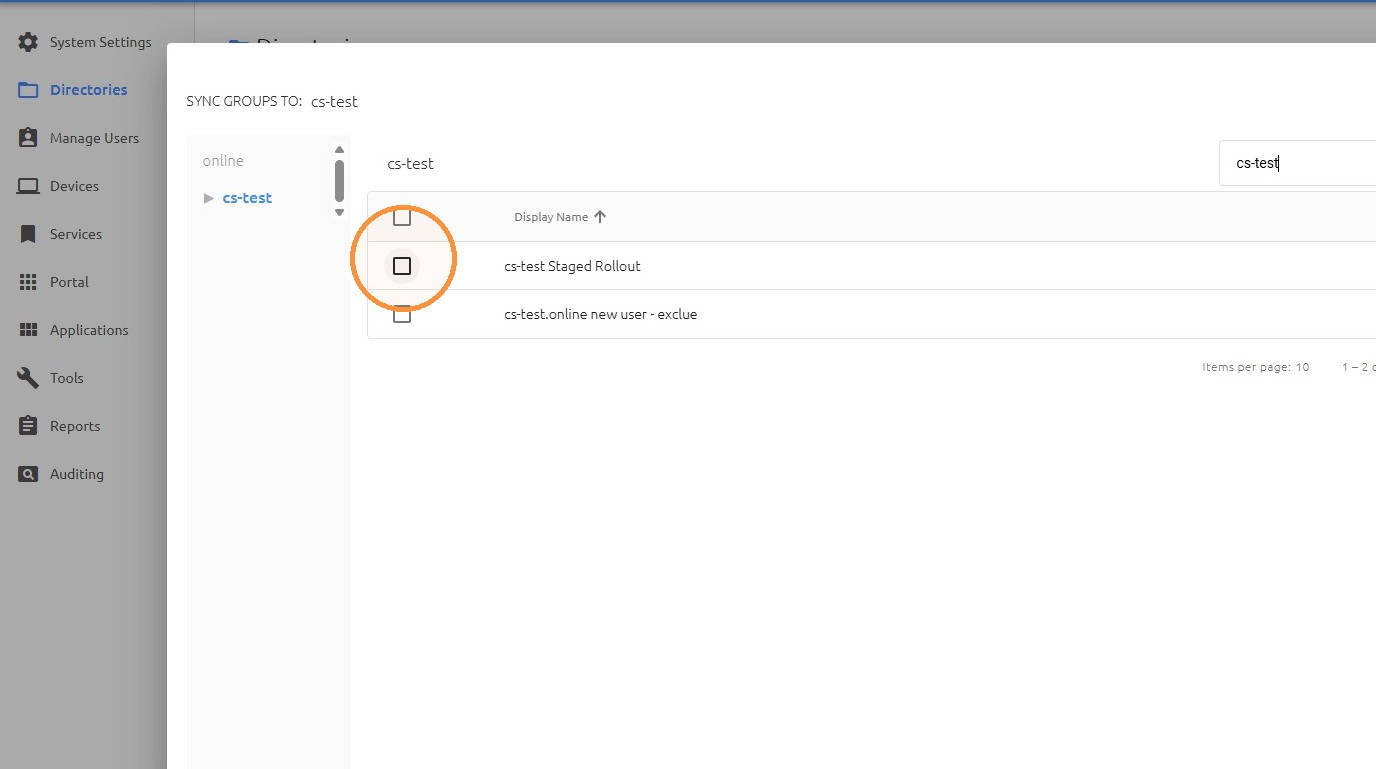
52. Select Staged Rollout Group
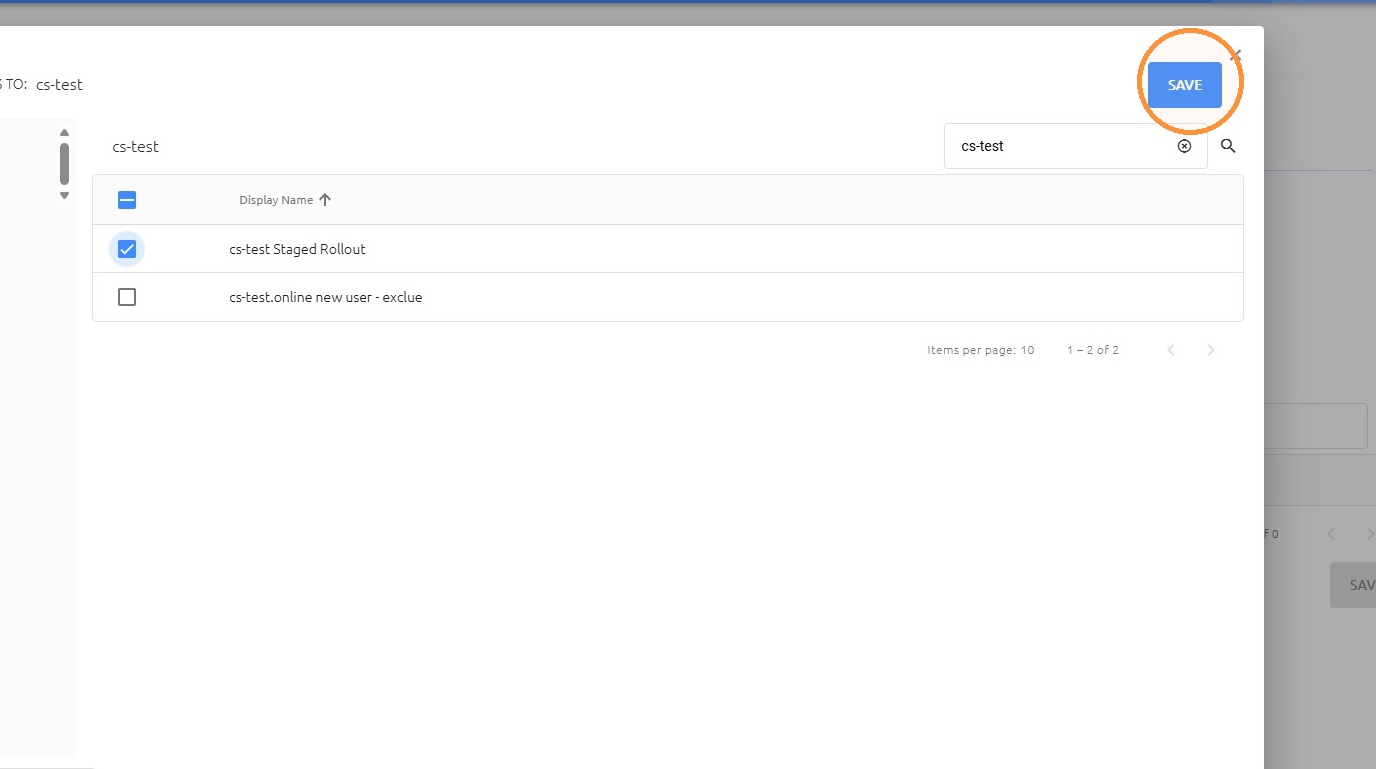
53. Click "SAVE"
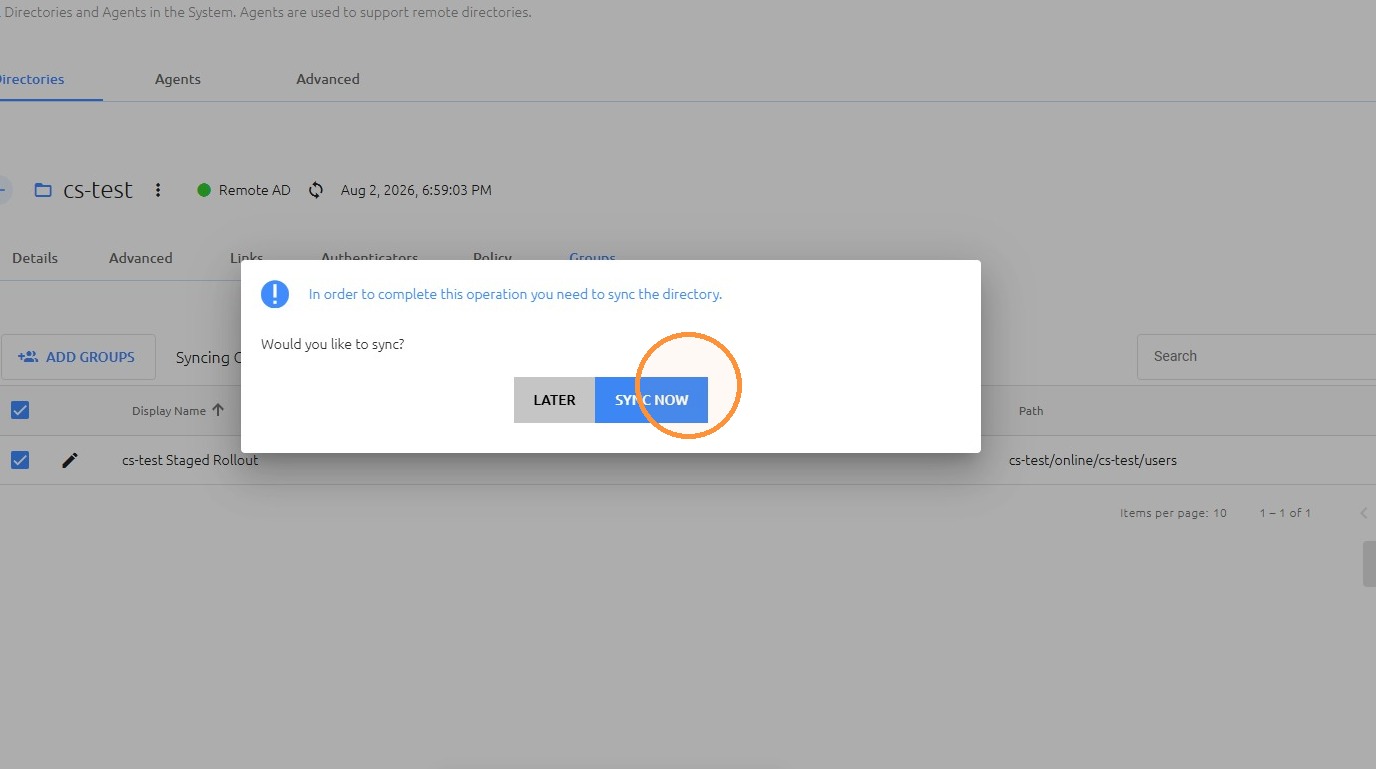
54. Click "SYNC NOW"
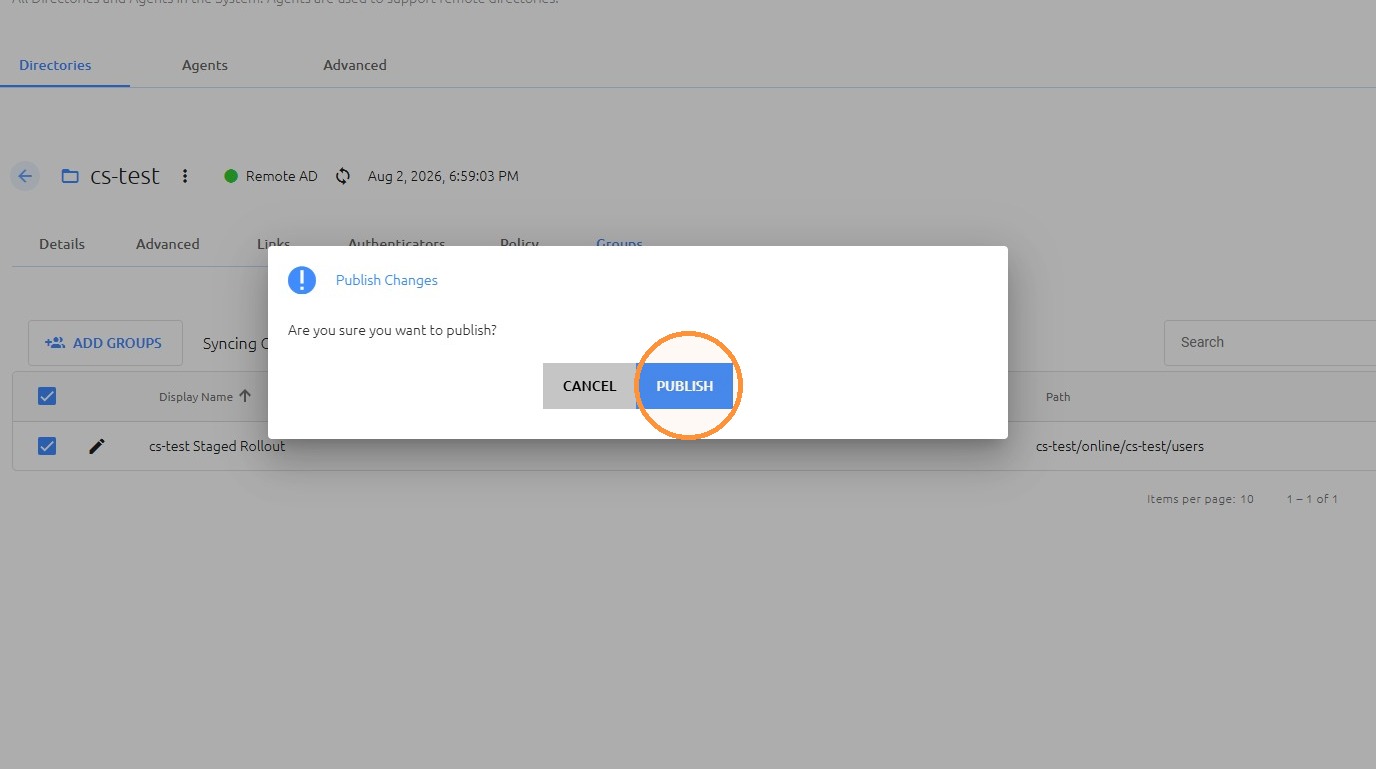
55. Click "PUBLISH"
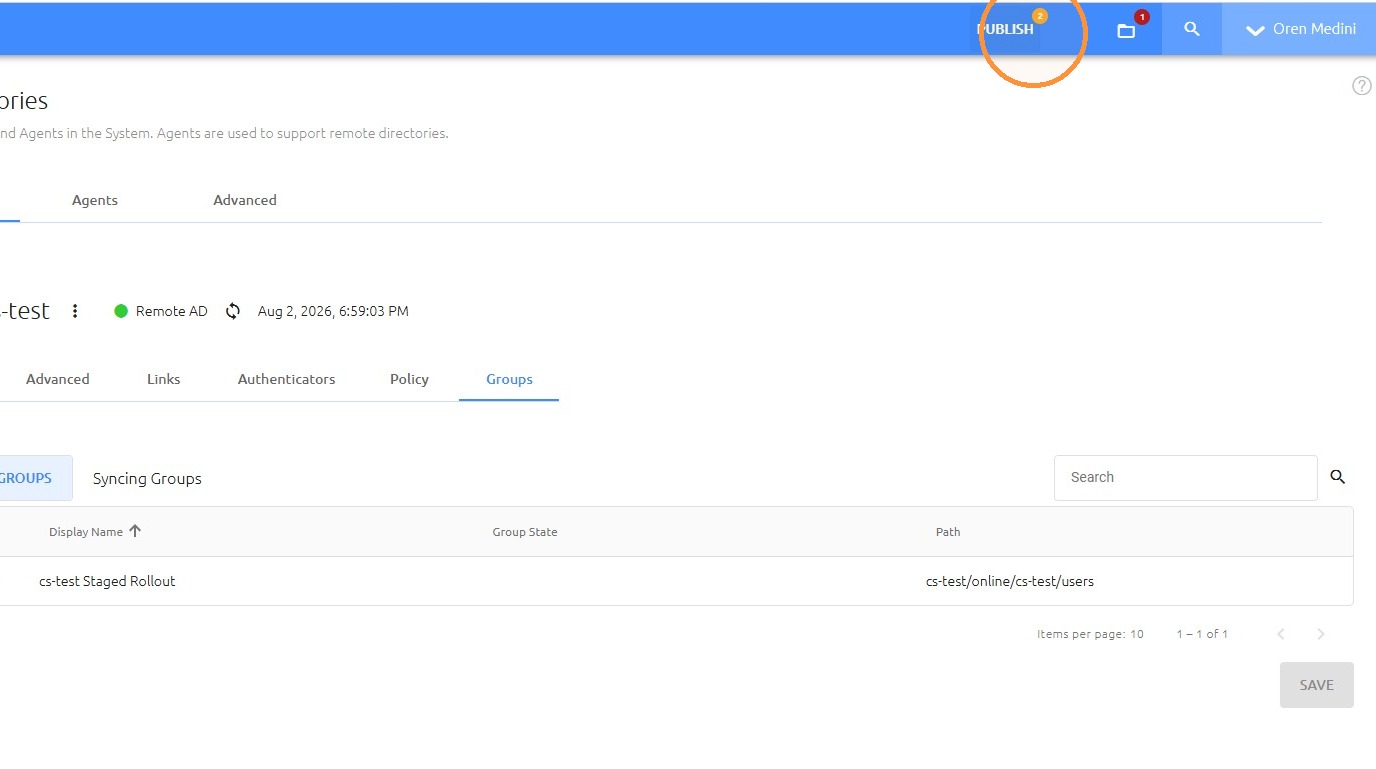
56. Click "PUBLISH"
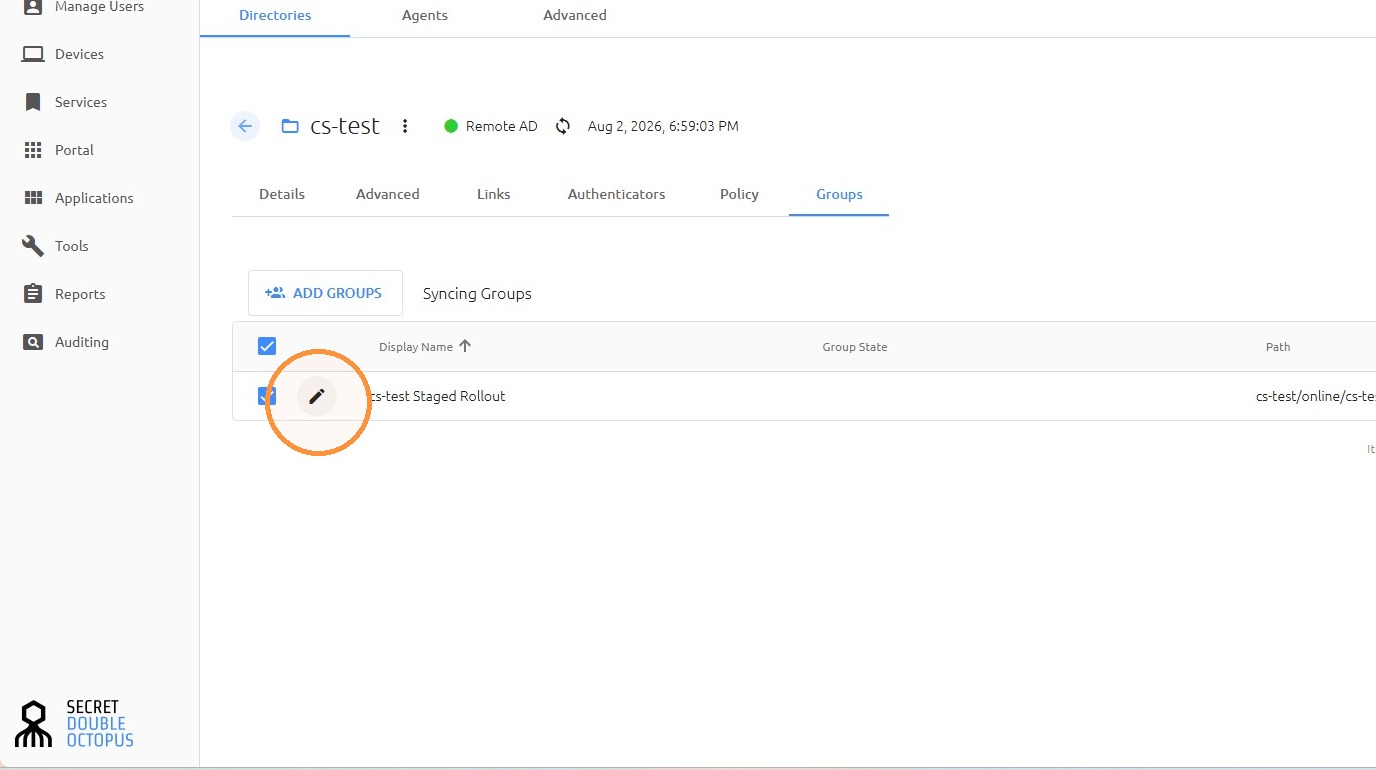
57. Edit the Staged Rollout group
58. Click "Settings"
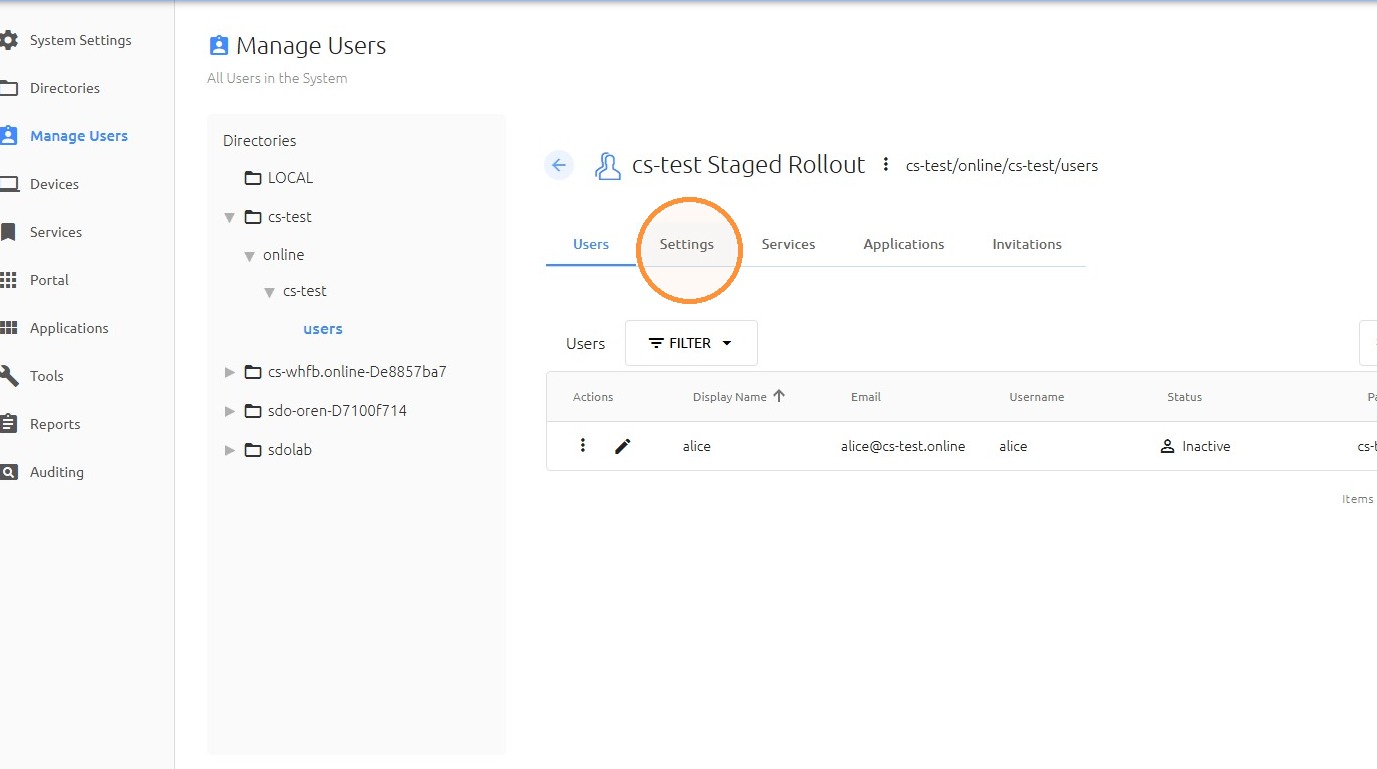
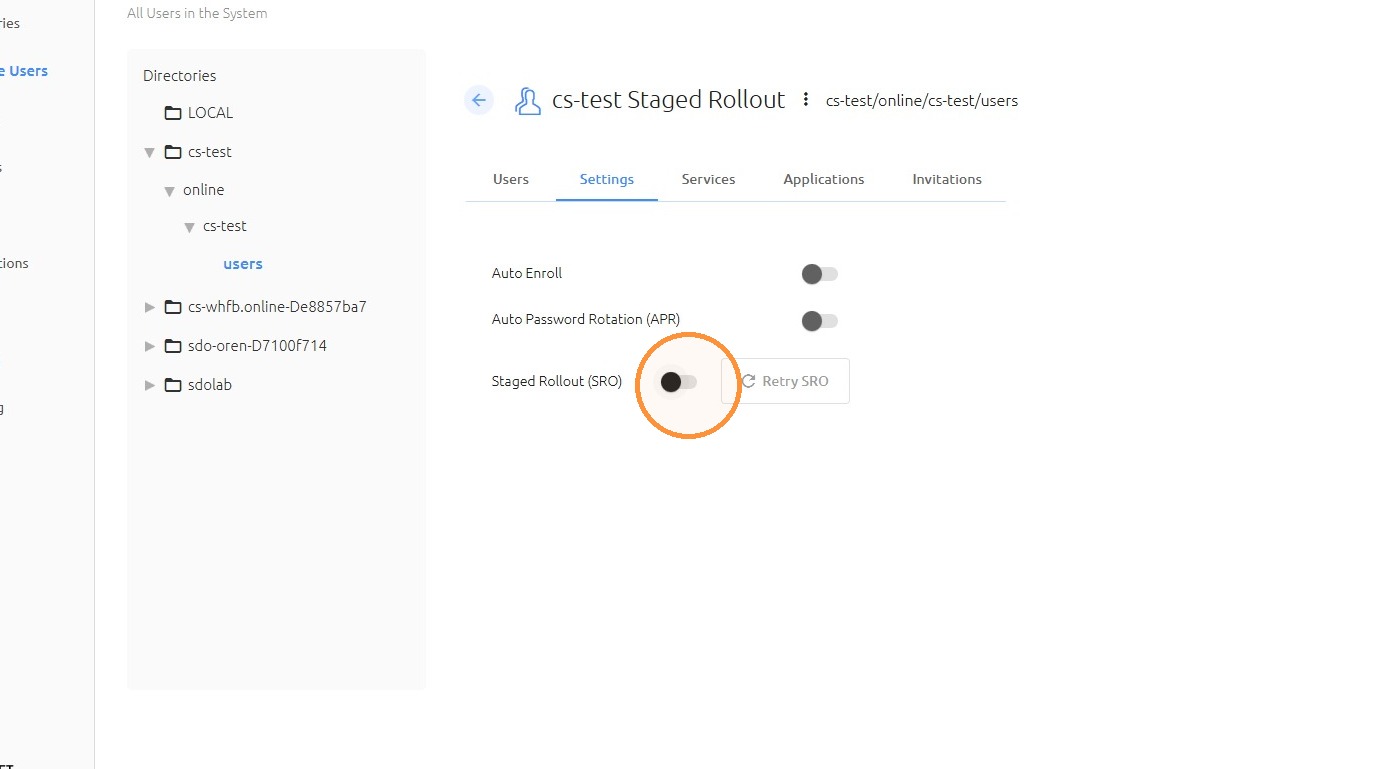
59. Toggle on the "Staged Rollout" toggle button
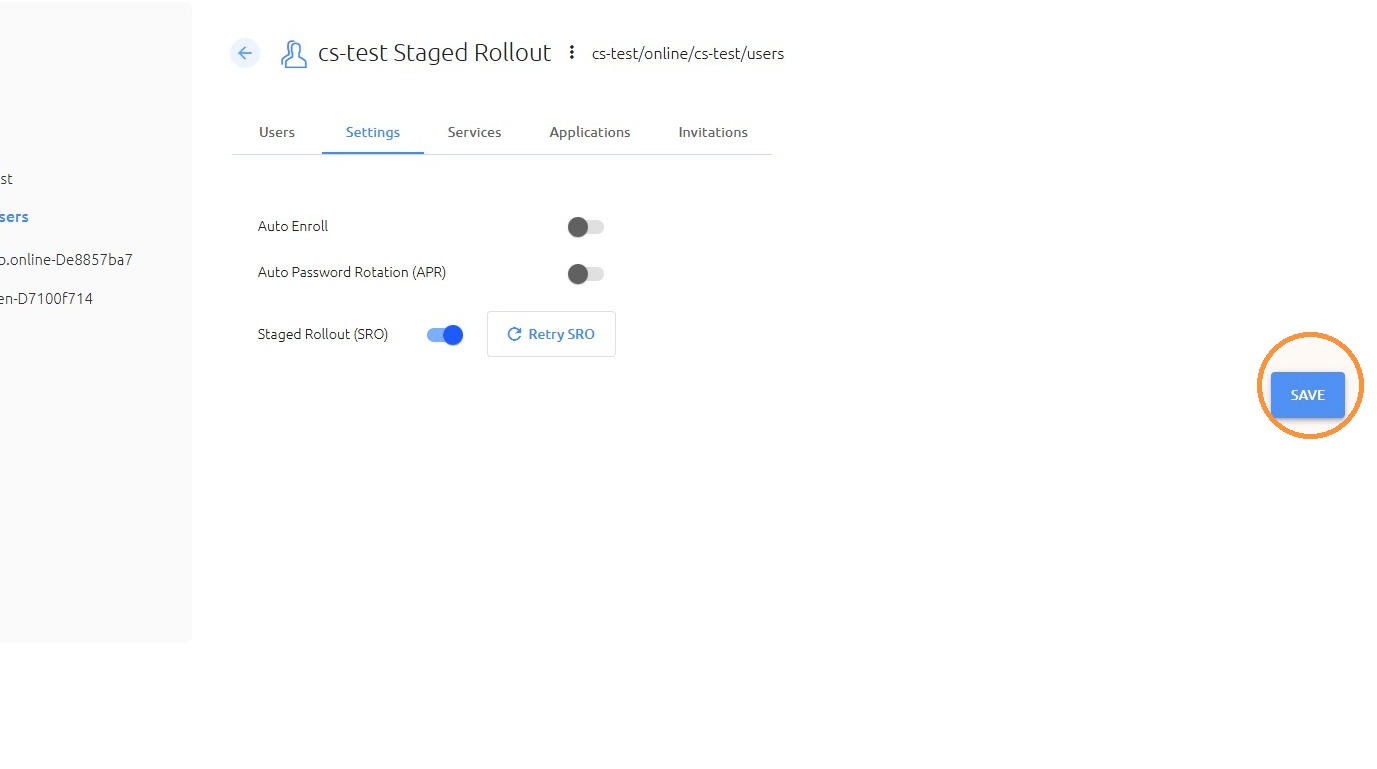
60. Click "SAVE"
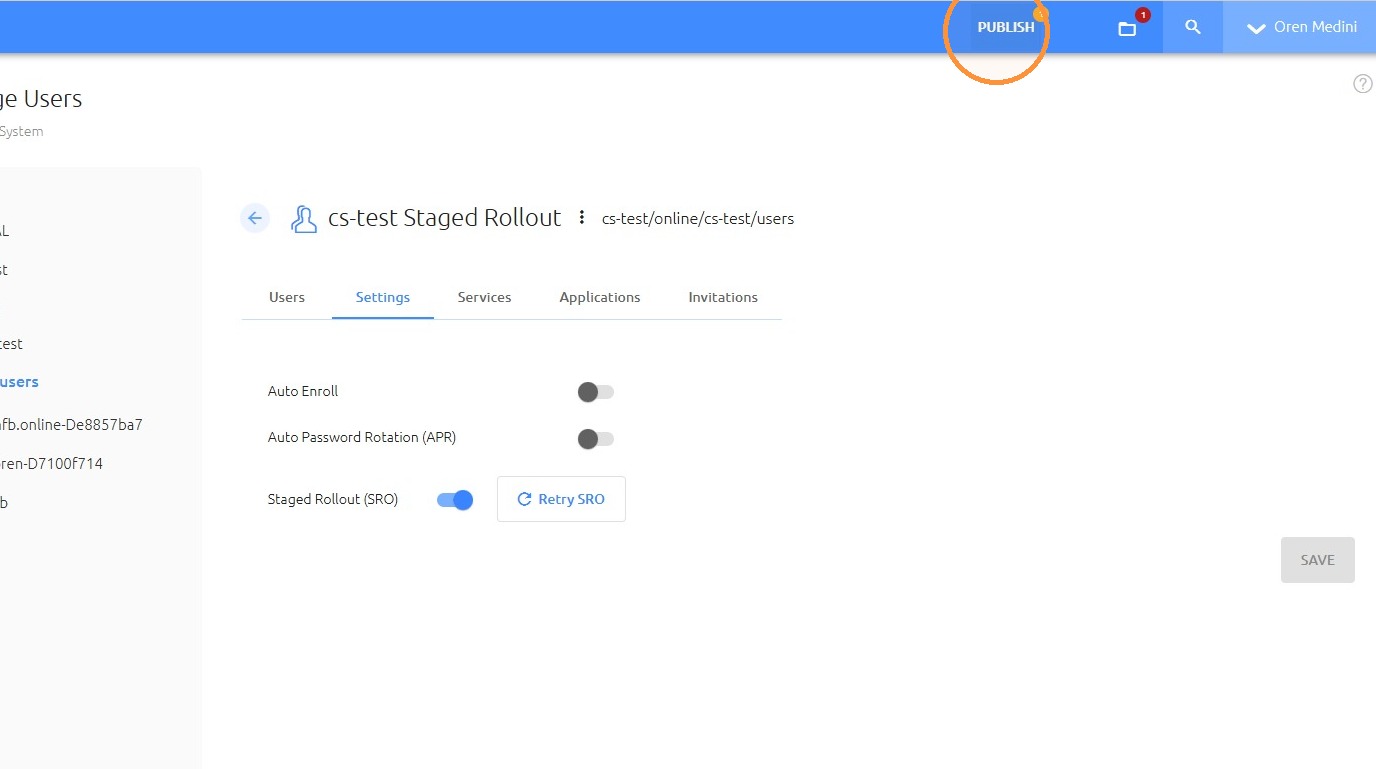
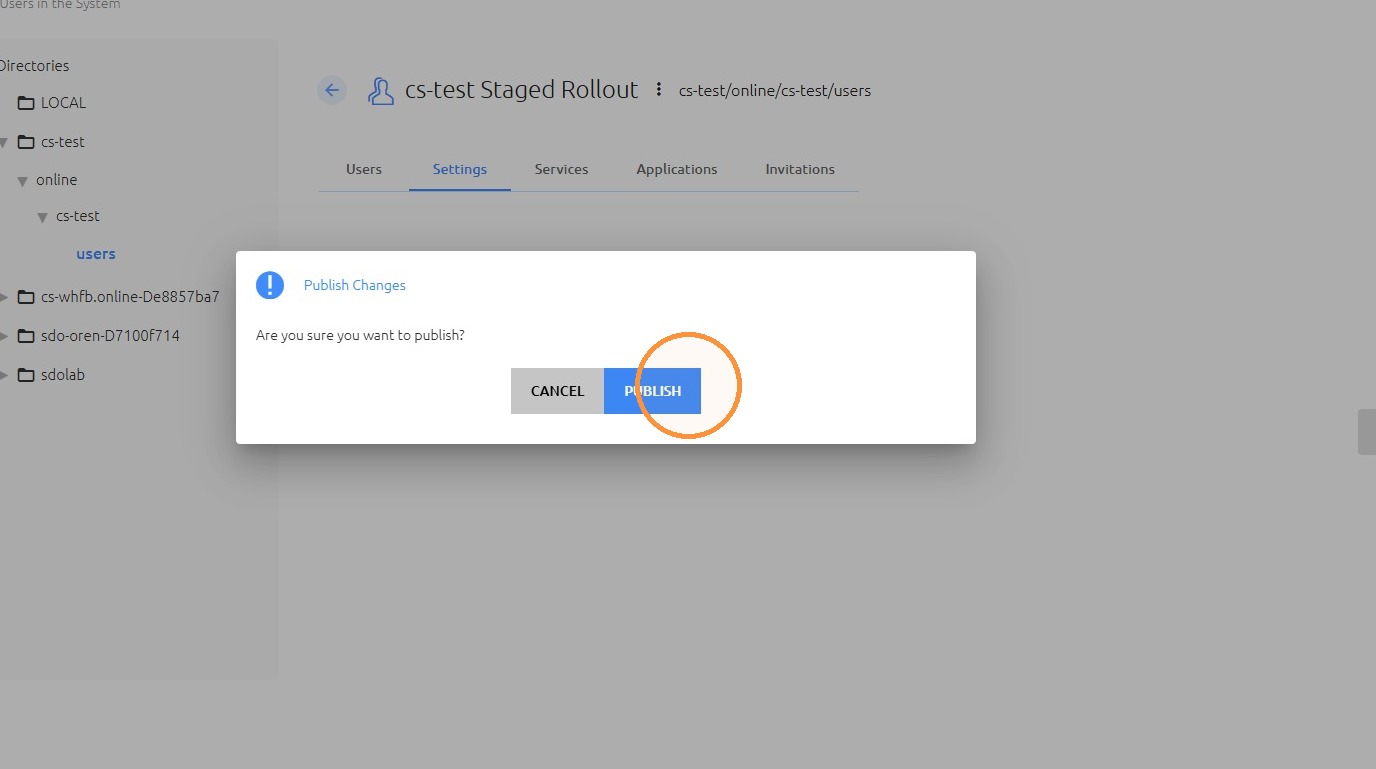
61. Click "PUBLISH"
62. Click "PUBLISH"
SRO Validation
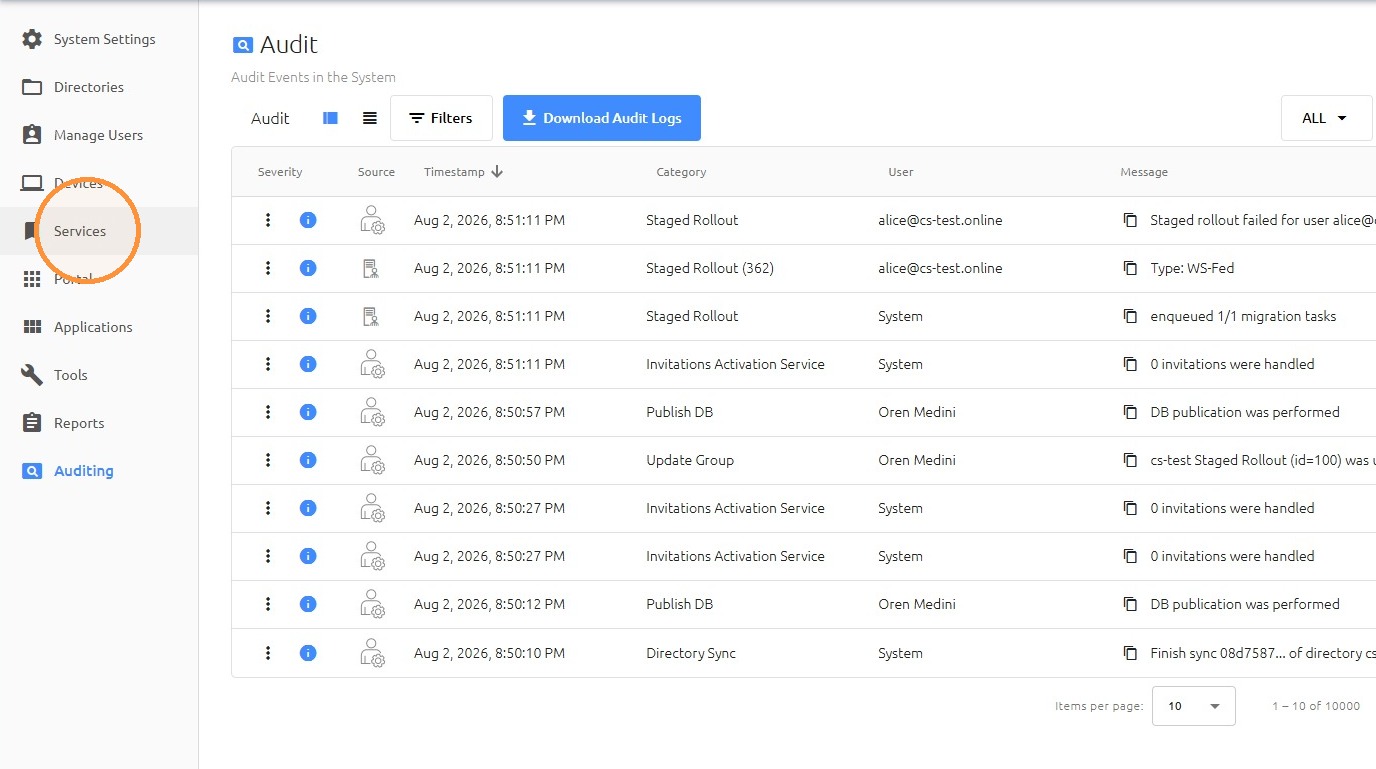
63. Click "Services"
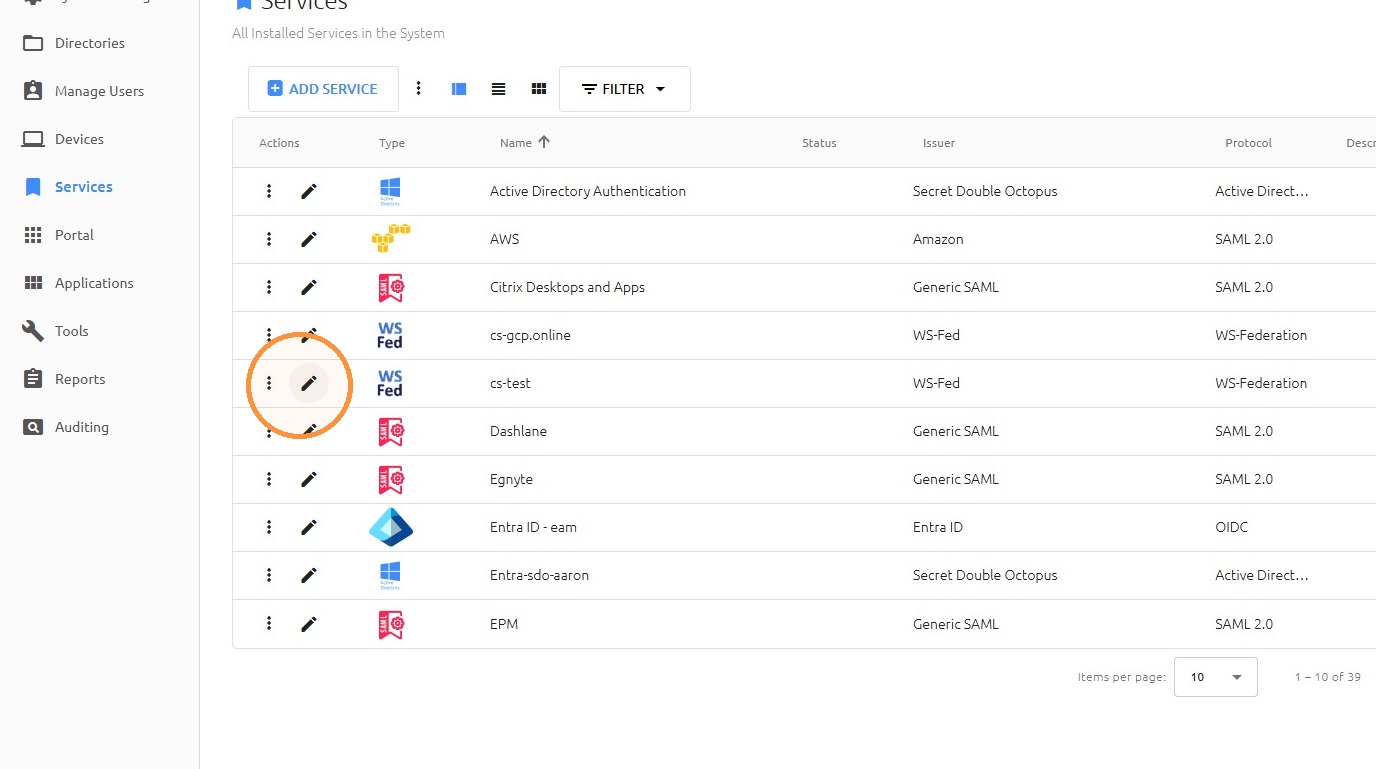
64. Edit the WS-FED service
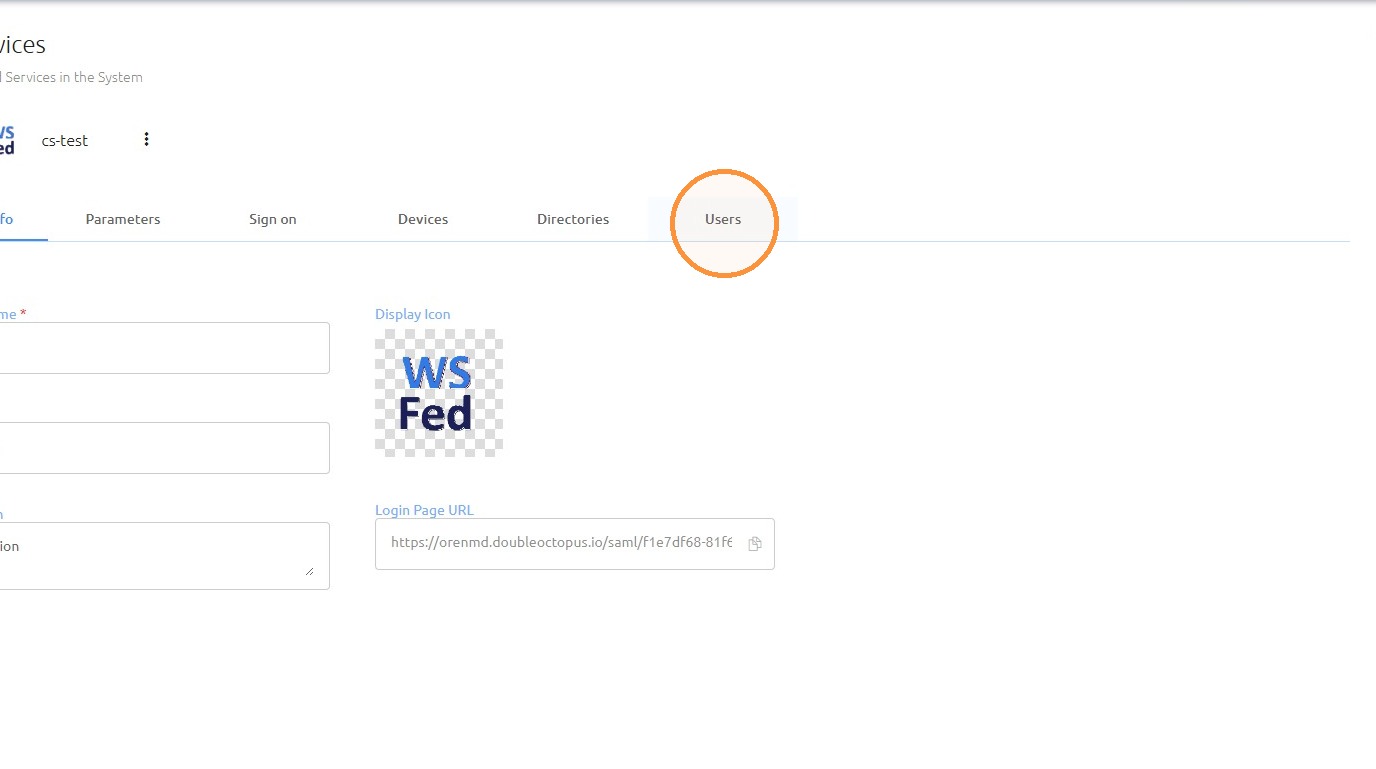
65. Click "Users"
66. Click "ADD"
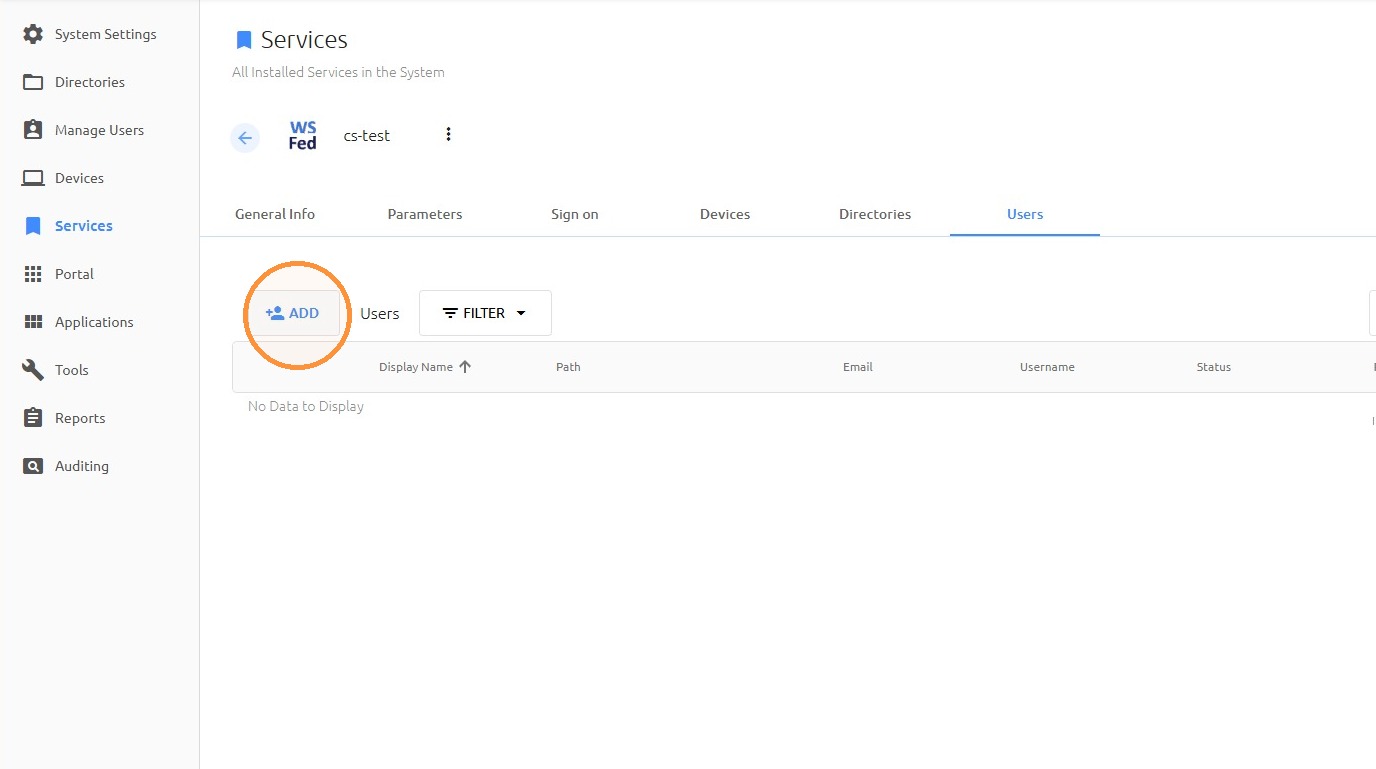
67. Add the Staged Rollout Group
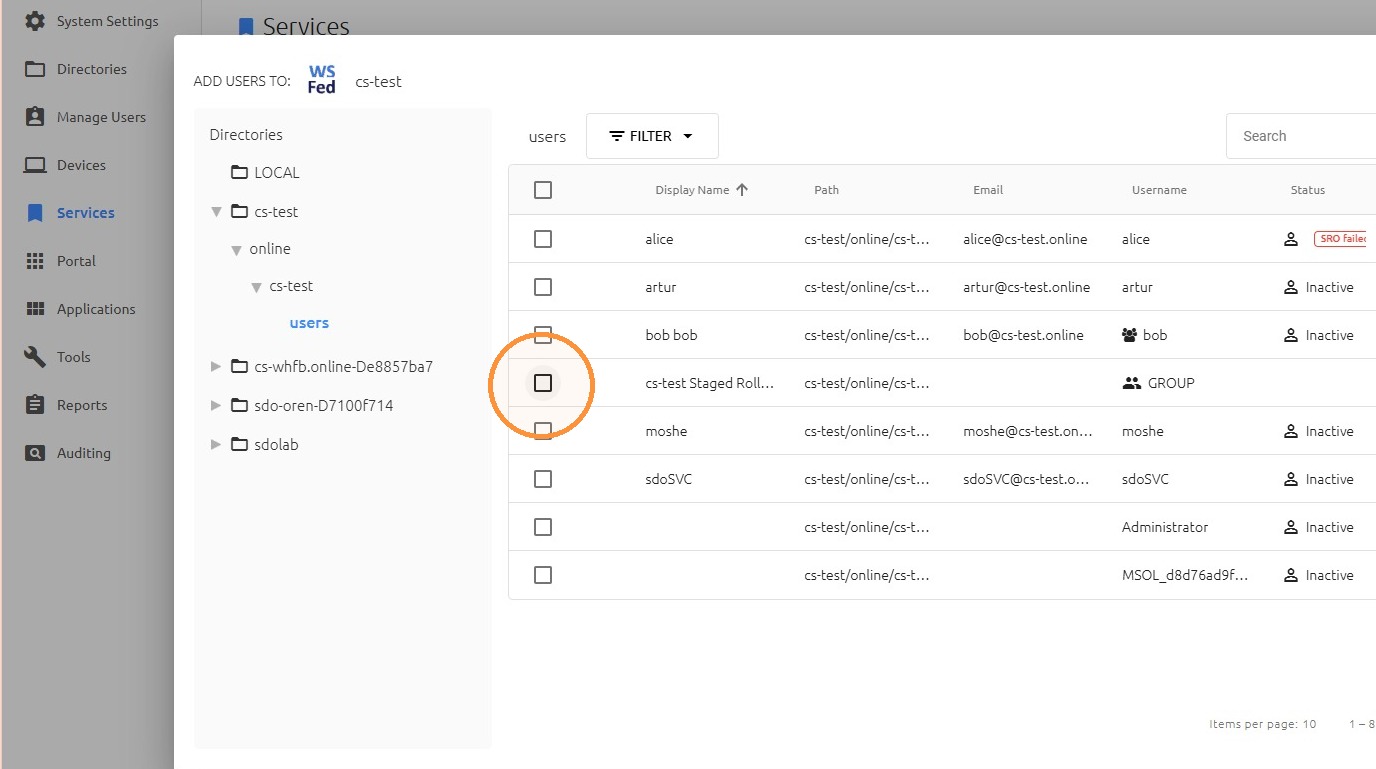
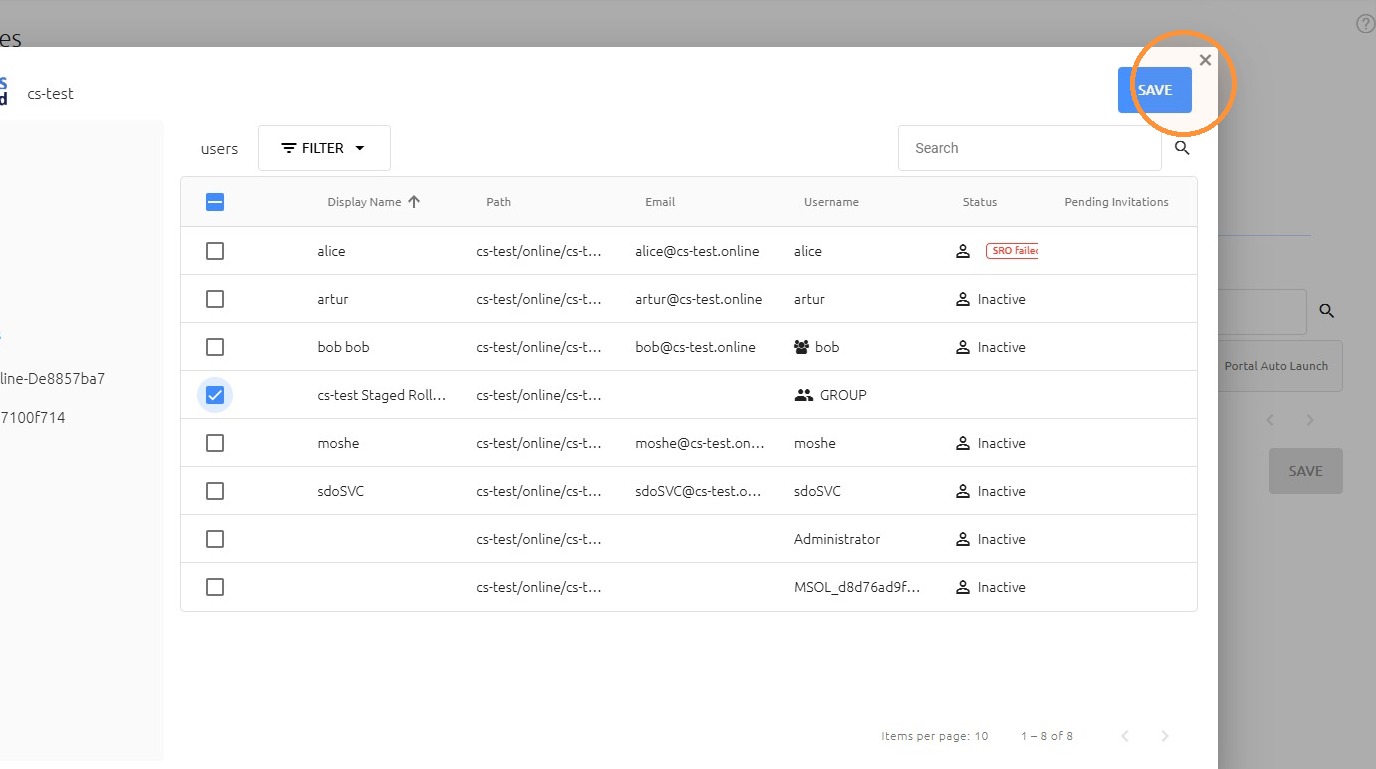
68. Click "SAVE"
69. Click "PUBLISH"
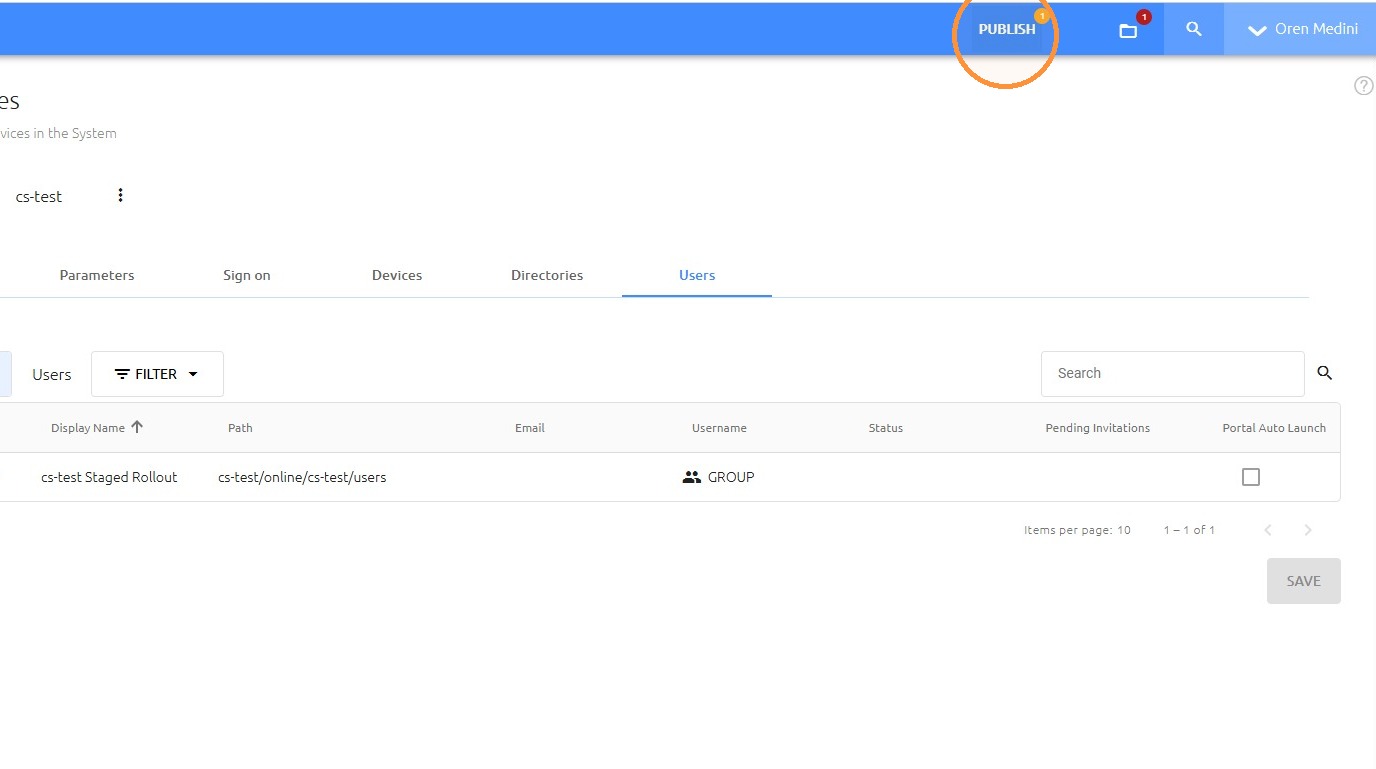
70. Click "PUBLISH"
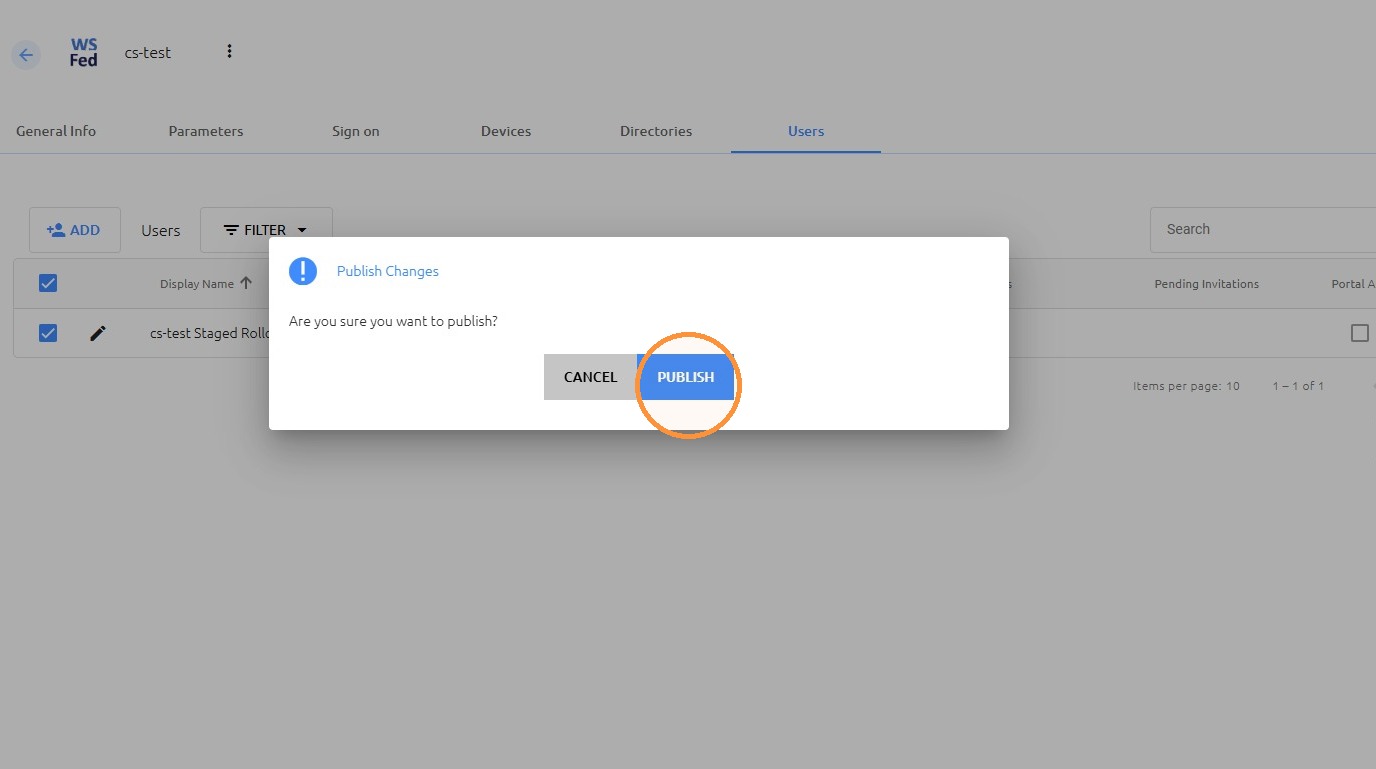
71. Edit the assigned group
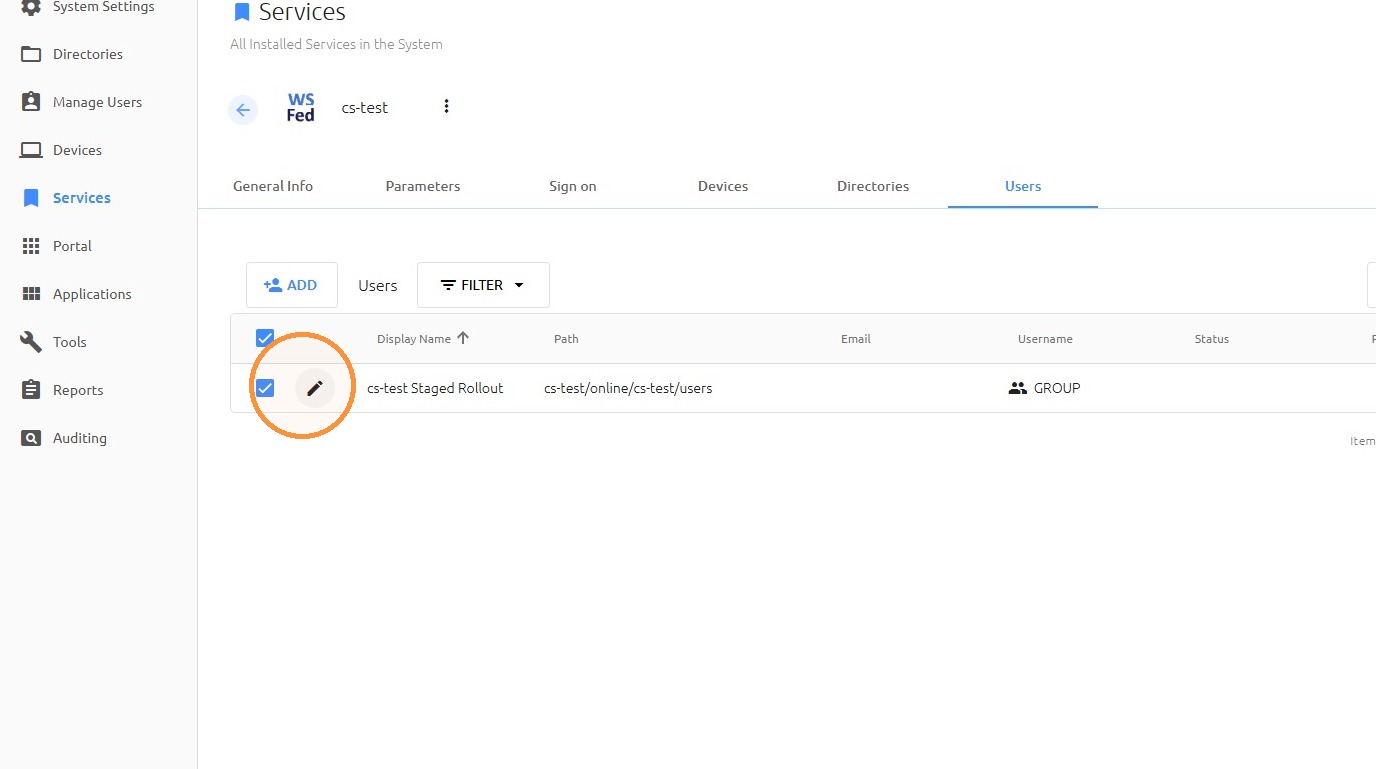
72. Check that the user's transition to SRO state completed successfully