Download the SAML SSO Configuration Guide
Download the complete guide as a PDF for offline use.
Download PDF ↓Configuration Guide
How to Configure SAML SSO for ManageEngine ServiceDesk Plus
Learn how to integrate Secret Double Octopus with ManageEngine ServiceDesk Plus for secure single sign-on authentication. This guide walks you through the necessary configuration steps to enable SAML and manage user access effectively.
ManageEngine ServiceDesk Plus Secret Double Octopus SAML 2.0
Before you begin
Make sure you have administrator access to both the ManageEngine ServiceDesk Plus console and the Secret Double Octopus Management Console. The user or group that will use the service must also be available in the selected SDO directory.
Contents
01 ServiceDesk Login
02 ServiceDesk Administration
03 Octopus Service Setup
04 SAML Configuration
05 Parameter Configuration
Section 01
ServiceDesk Login
1
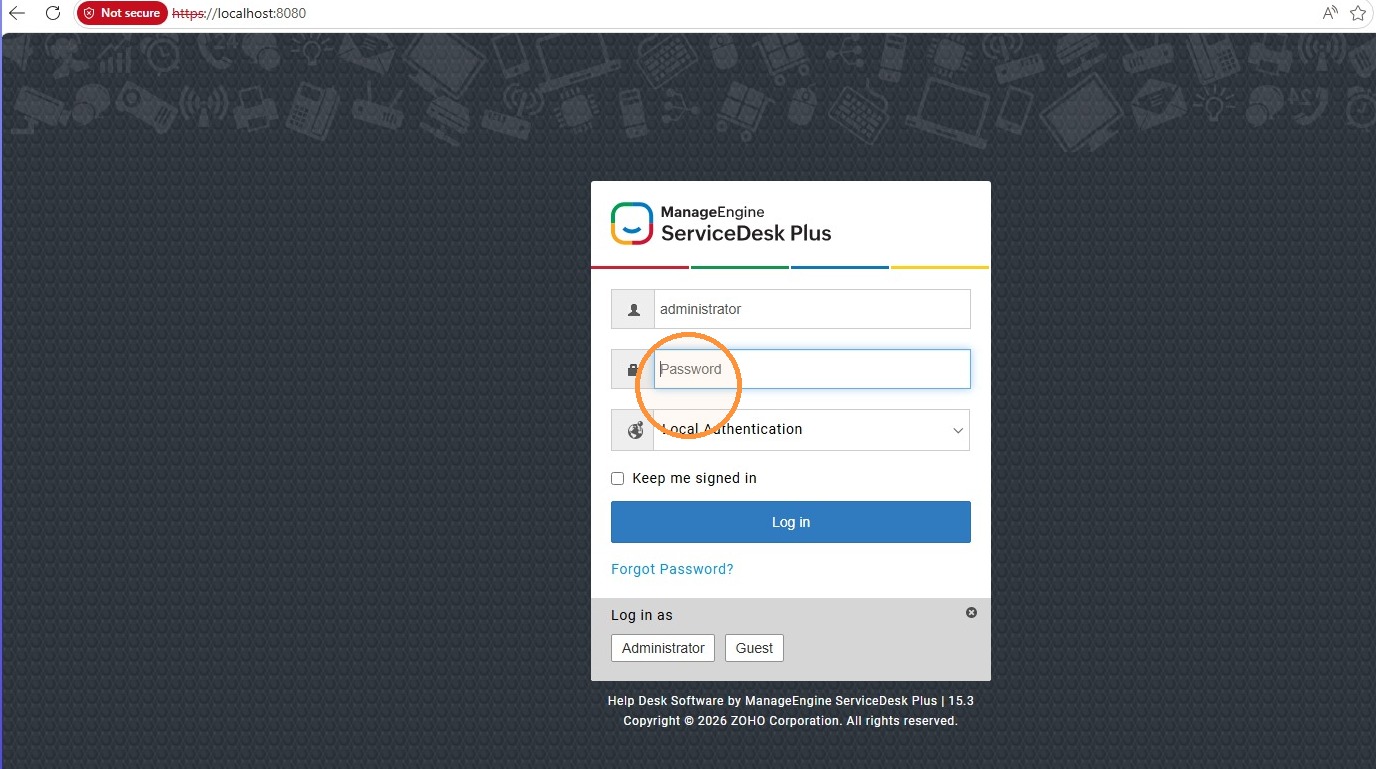
Log in to the ServiceDesk console
Section 02
ServiceDesk Administration
2
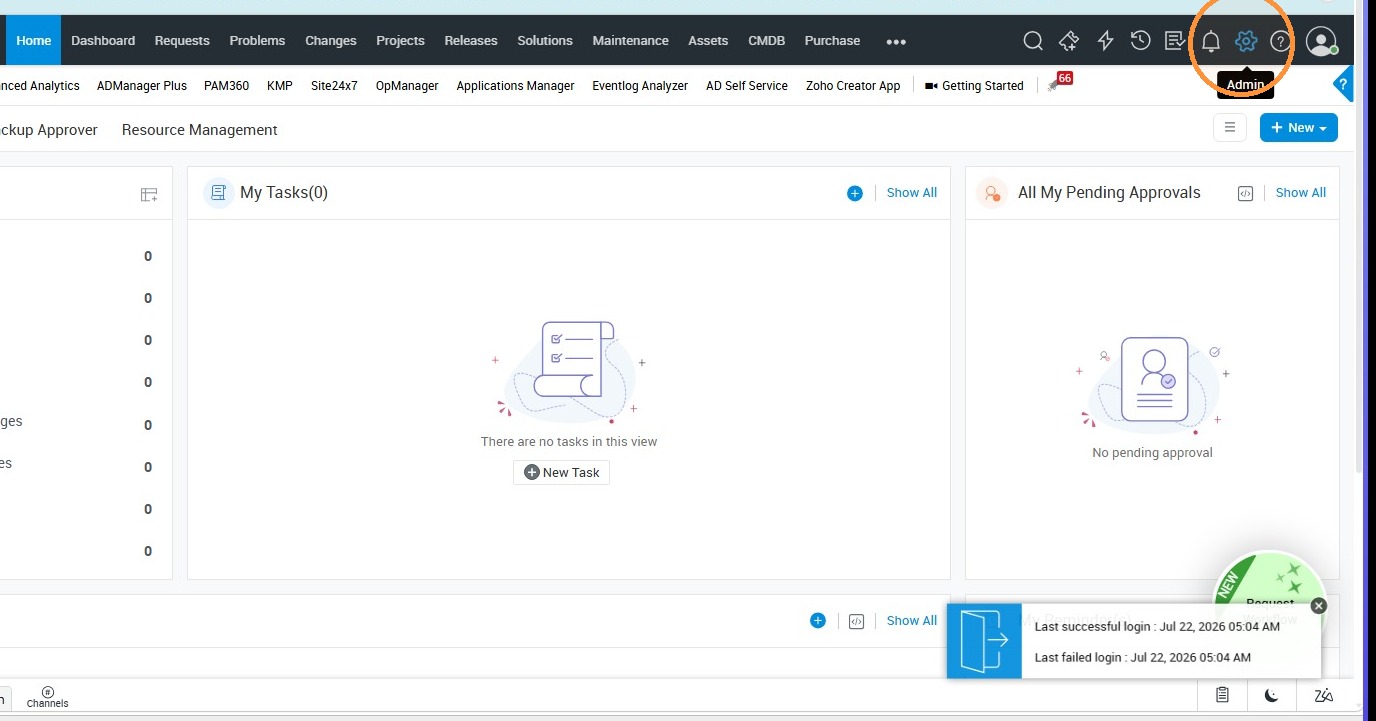
Open the ServiceDesk Plus application
3
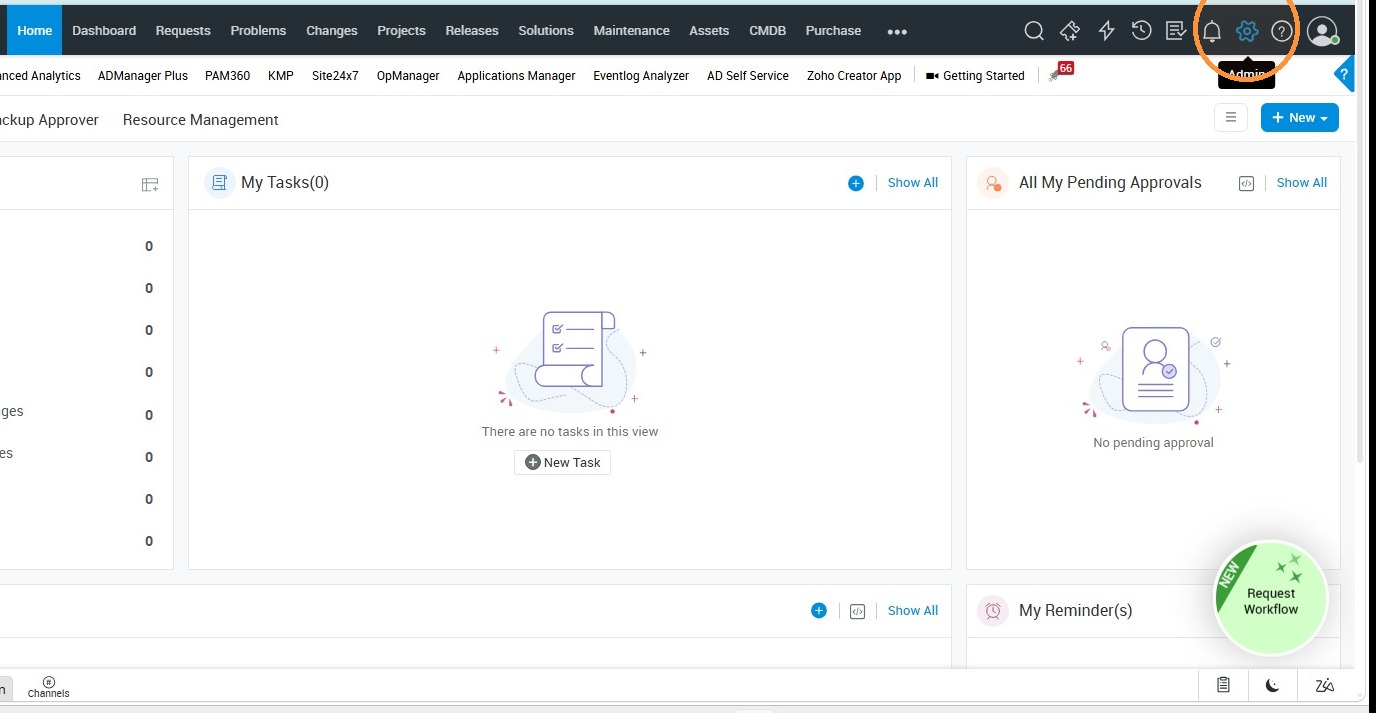
Click "Admin"
4
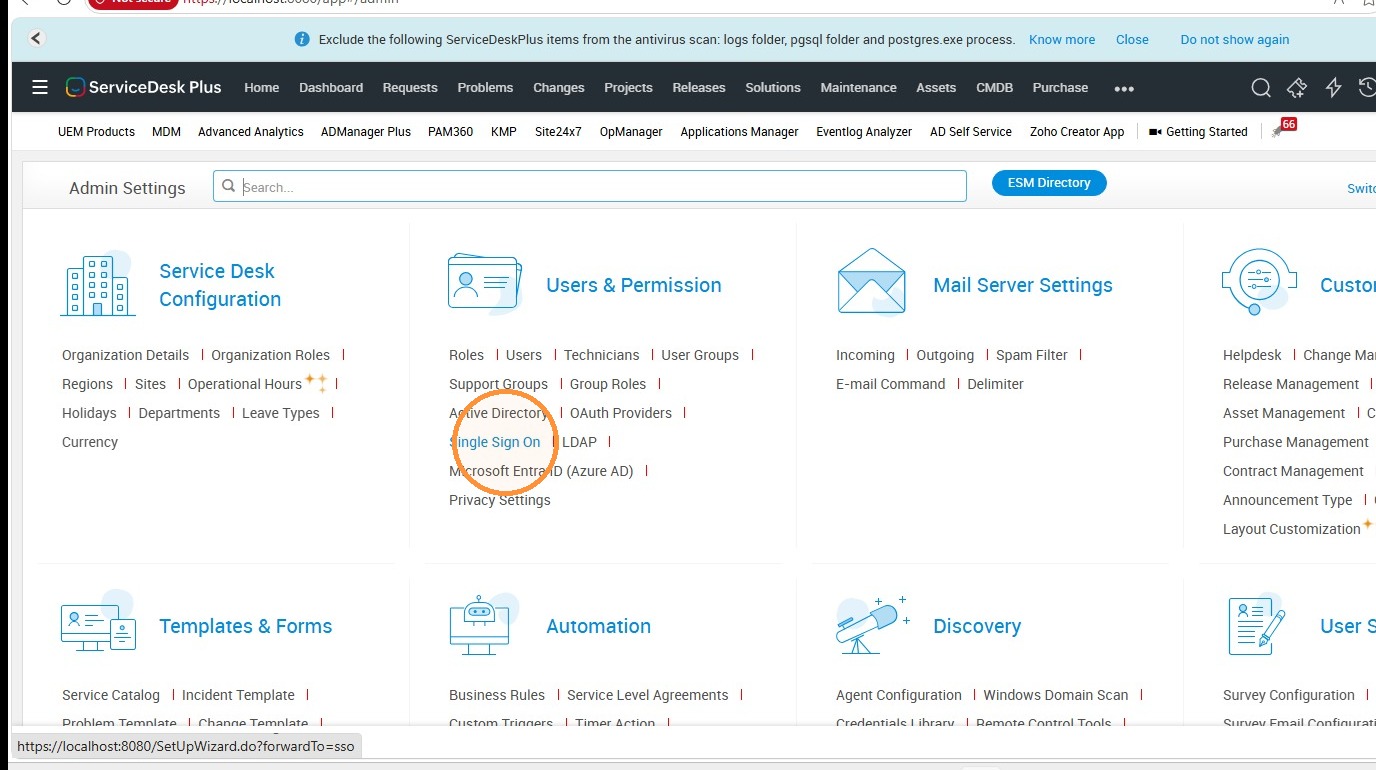
Click "Single Sign On"
5
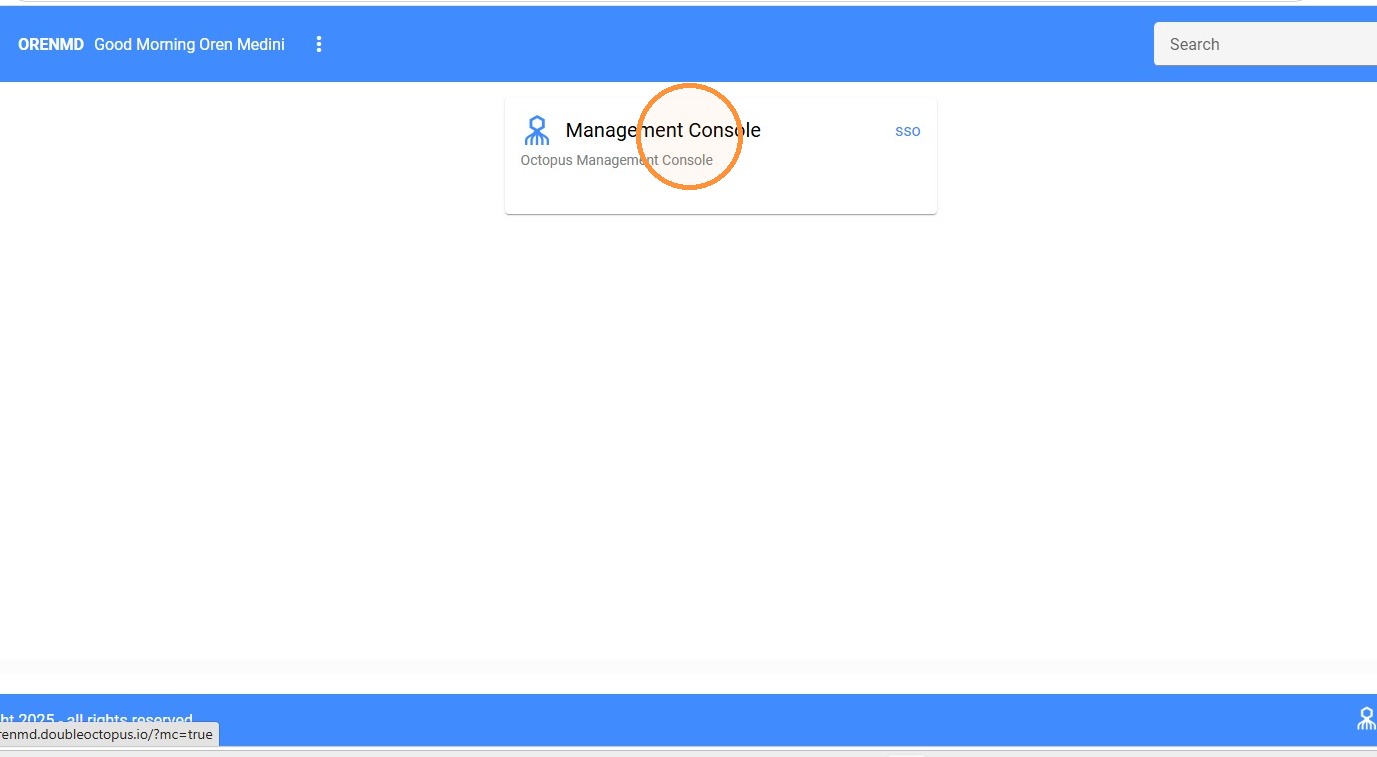
Switch to the SDO Management Console to configure the SAML service
Section 03
Octopus Service Setup
6
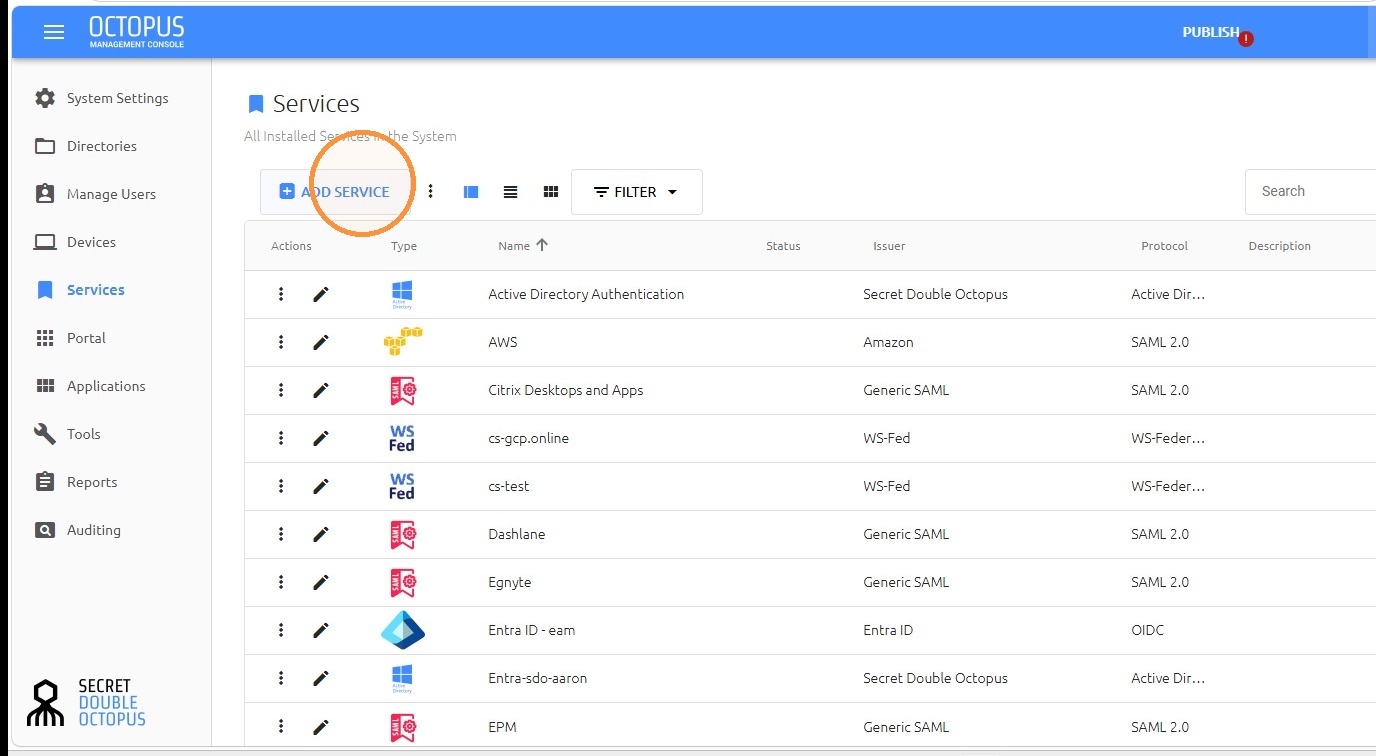
Go to Services and click "ADD SERVICE"
7
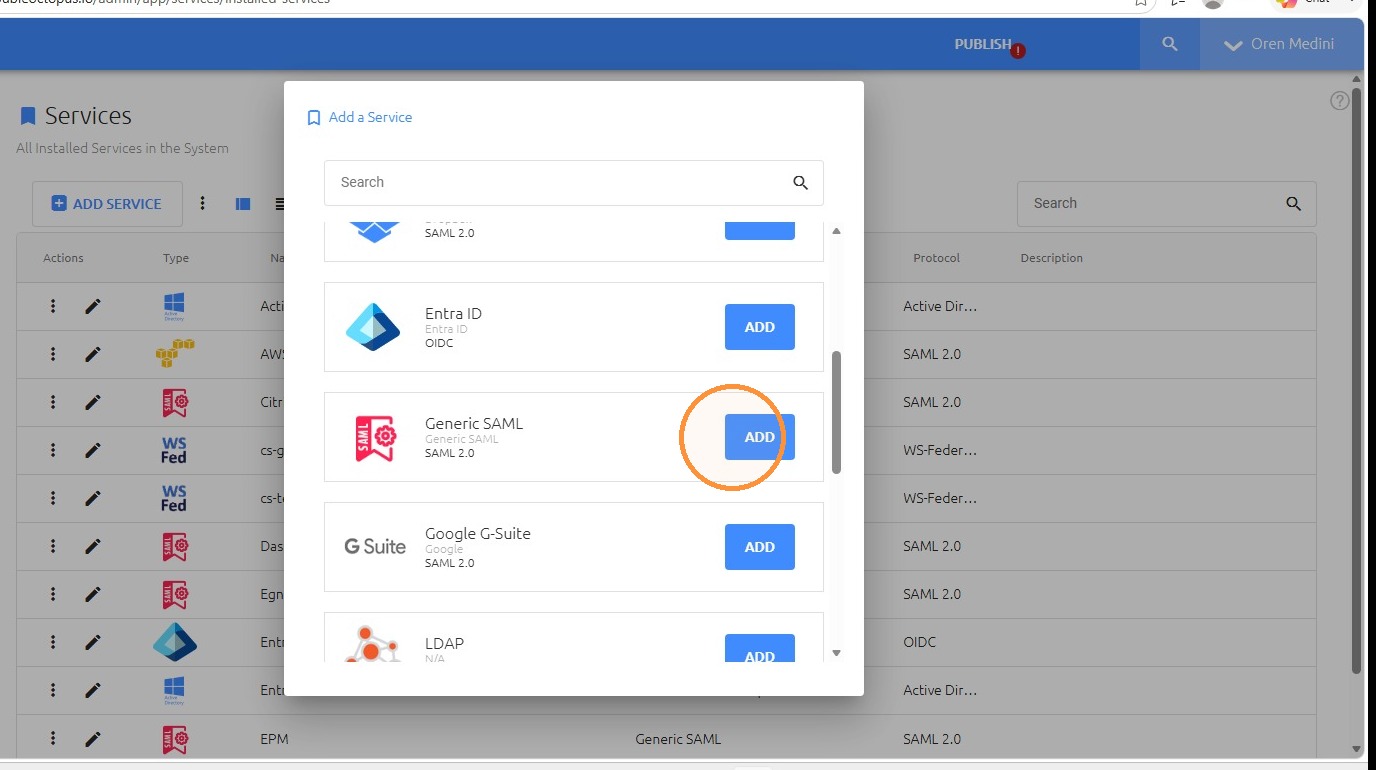
Select the Generic SAML service type
8
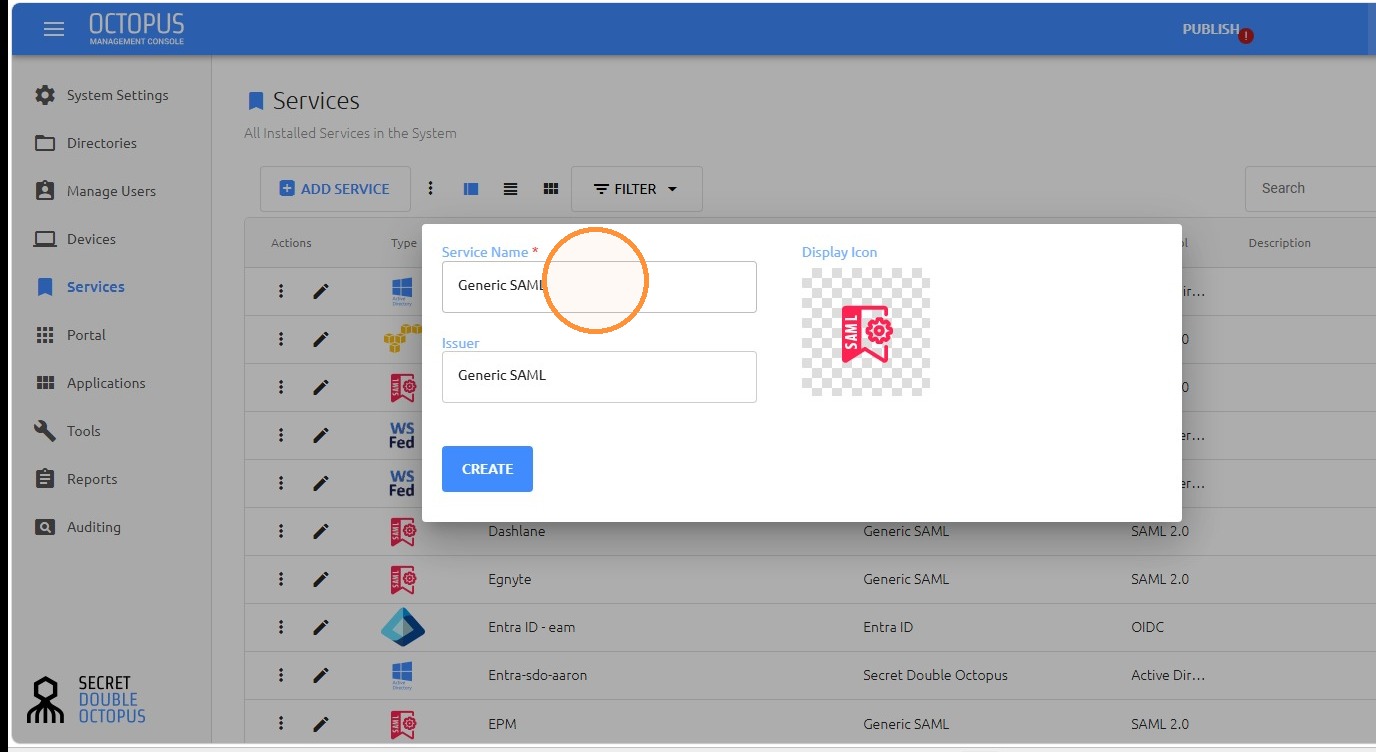
Click "Service Name"
9
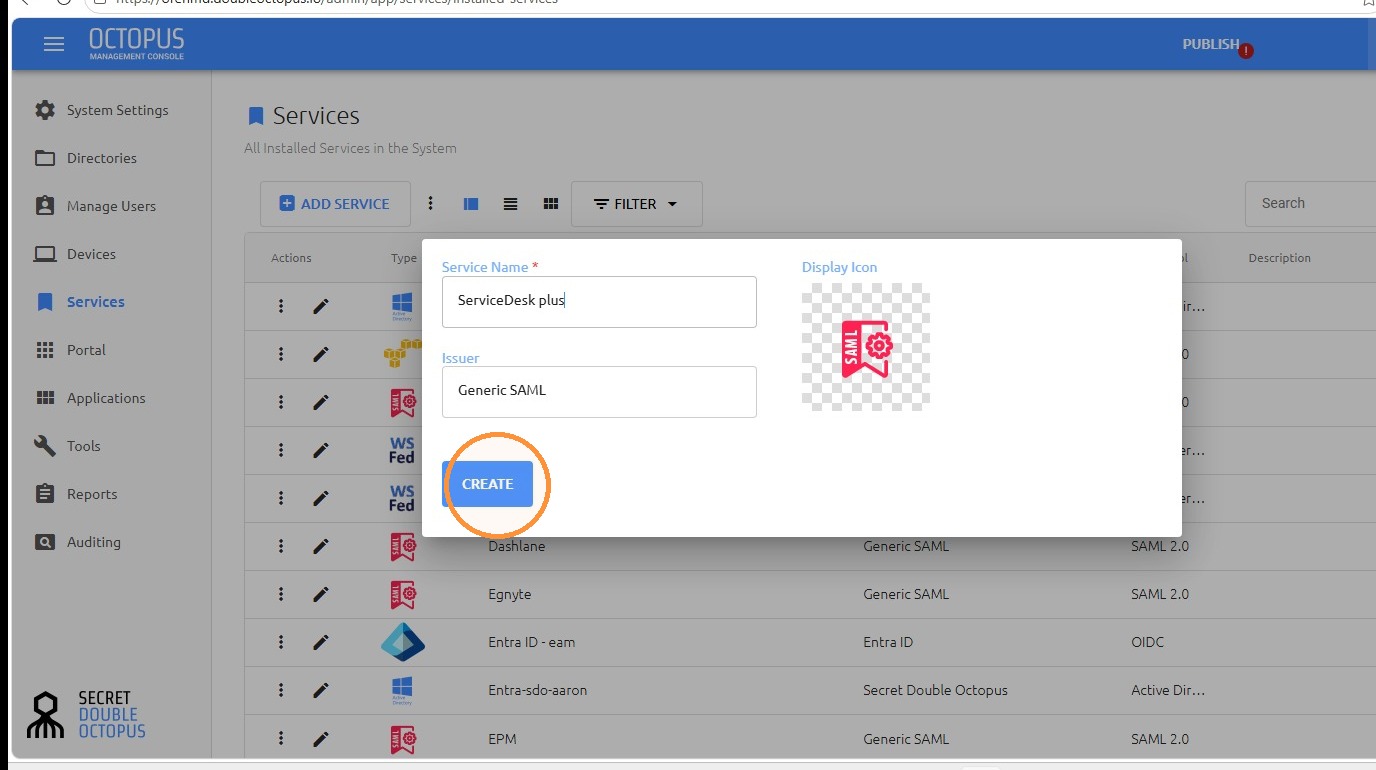
Give a name to the service and click "CREATE"
10
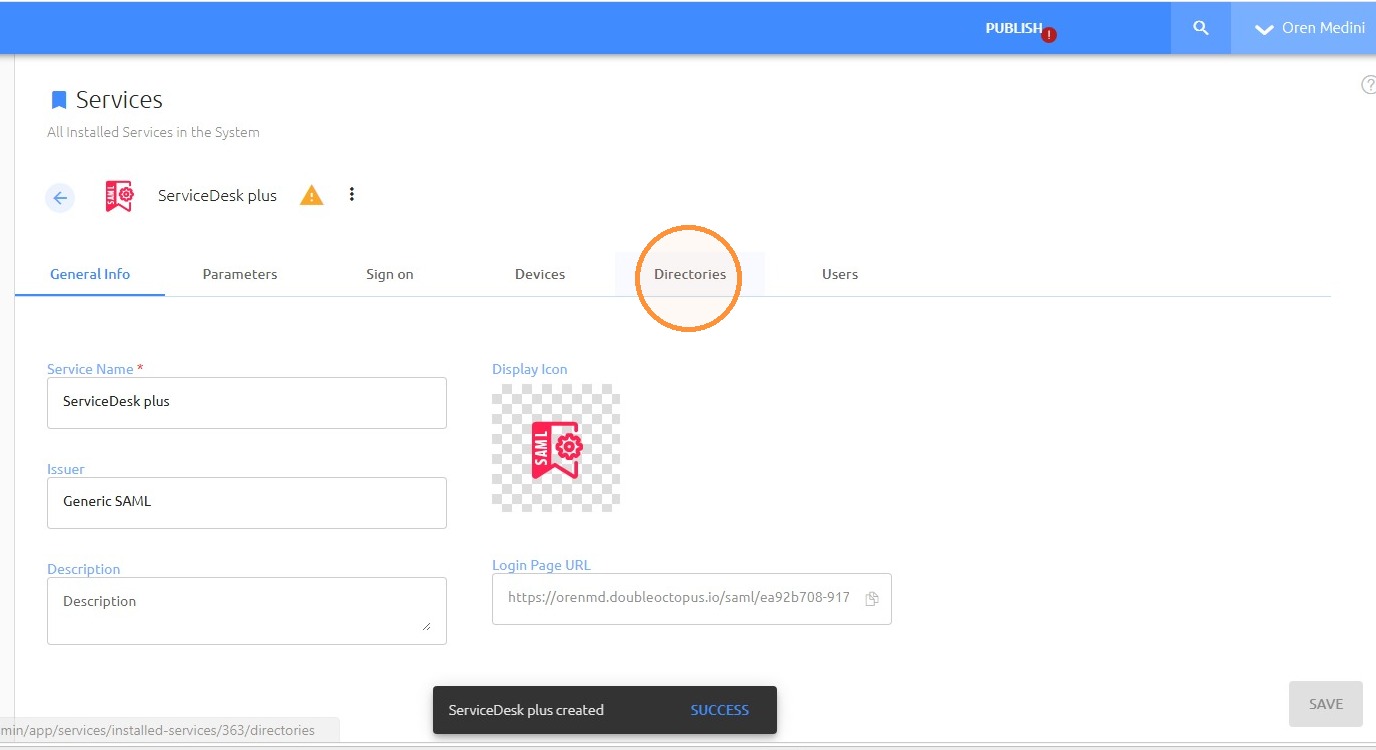
Open the Directories tab
11
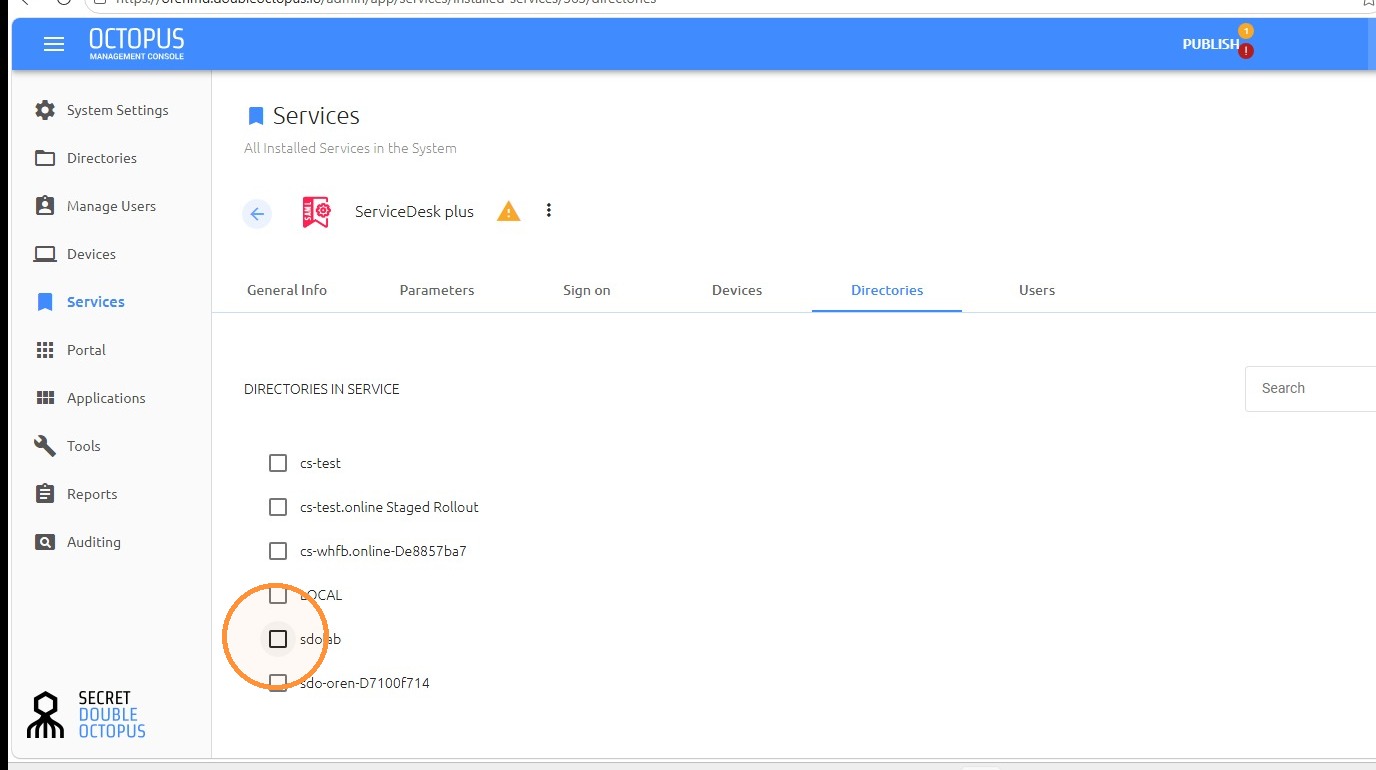
Click on the required directory
12
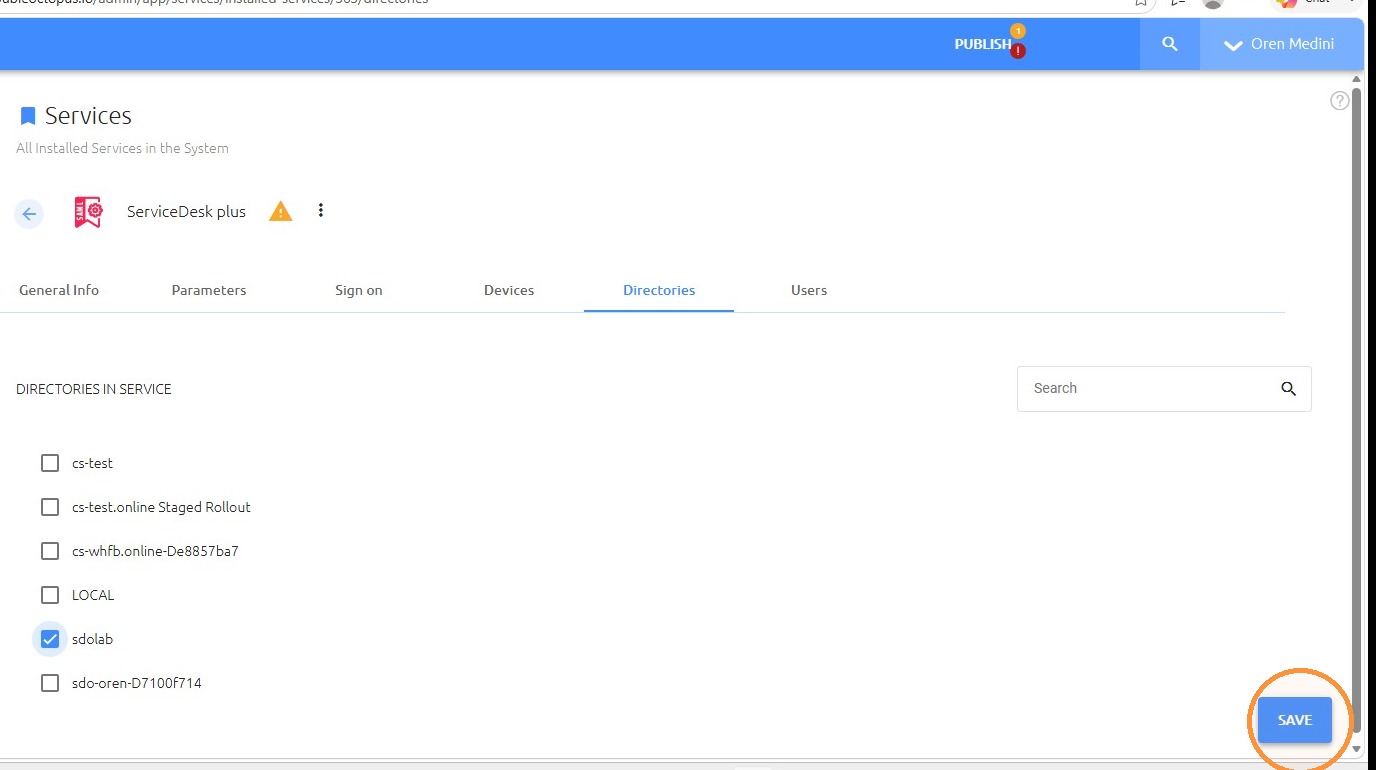
Click "SAVE"
13
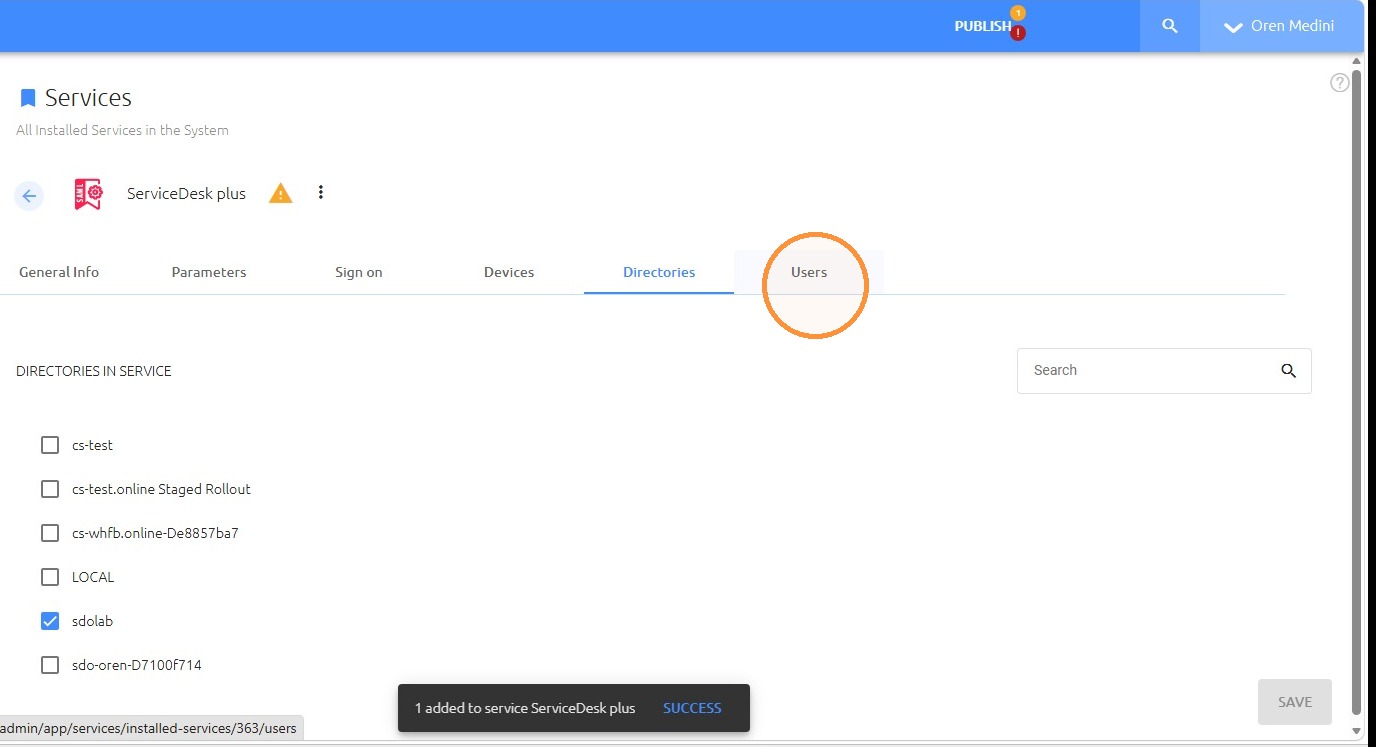
Open the Users tab
14
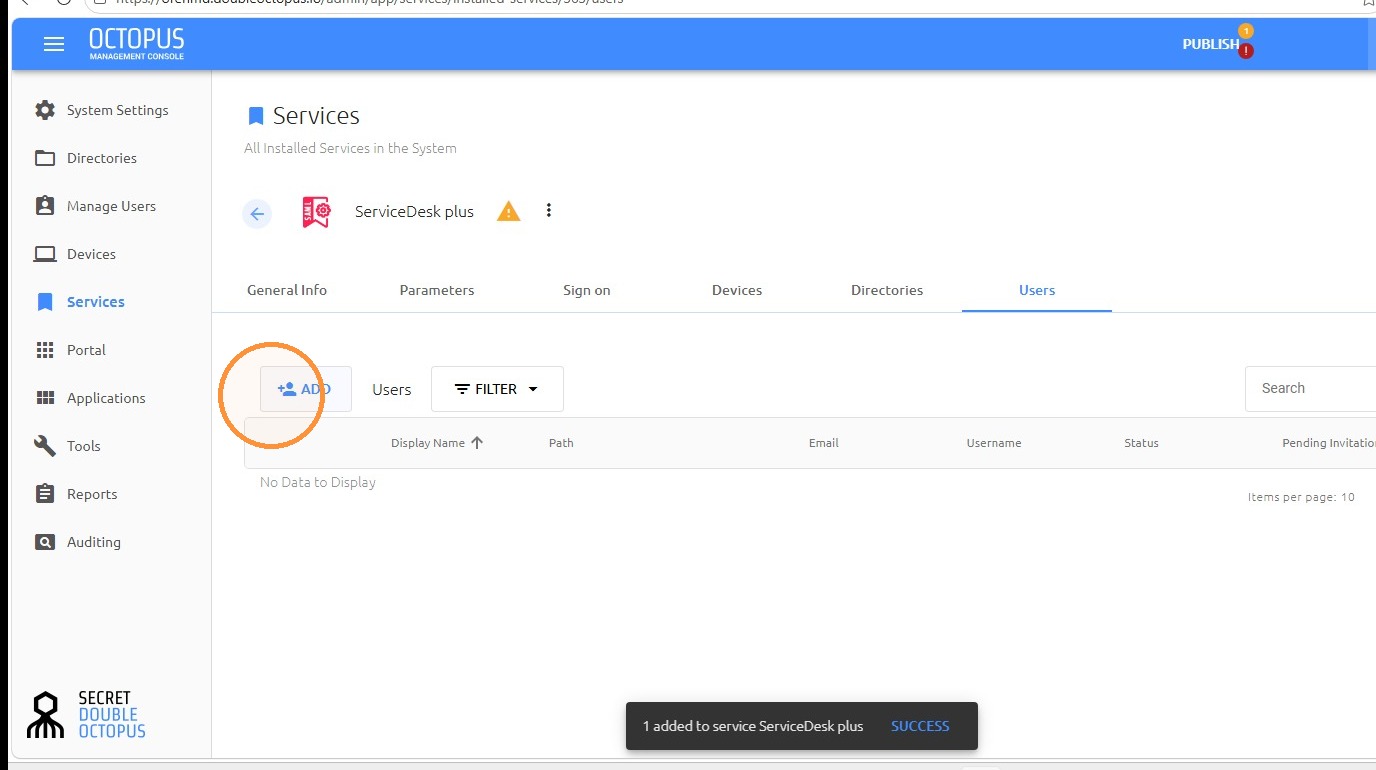
Click Add in the Users section
15
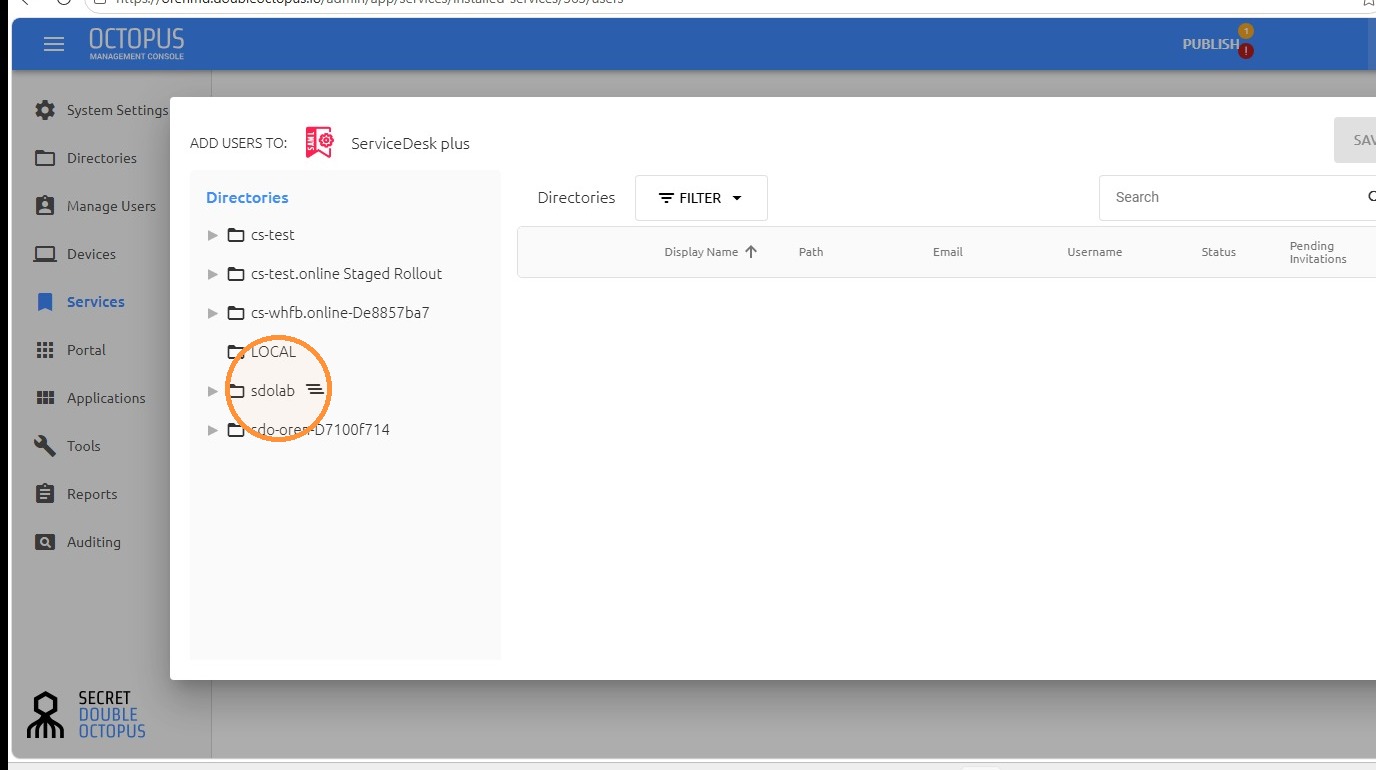
Select the required group/user
16
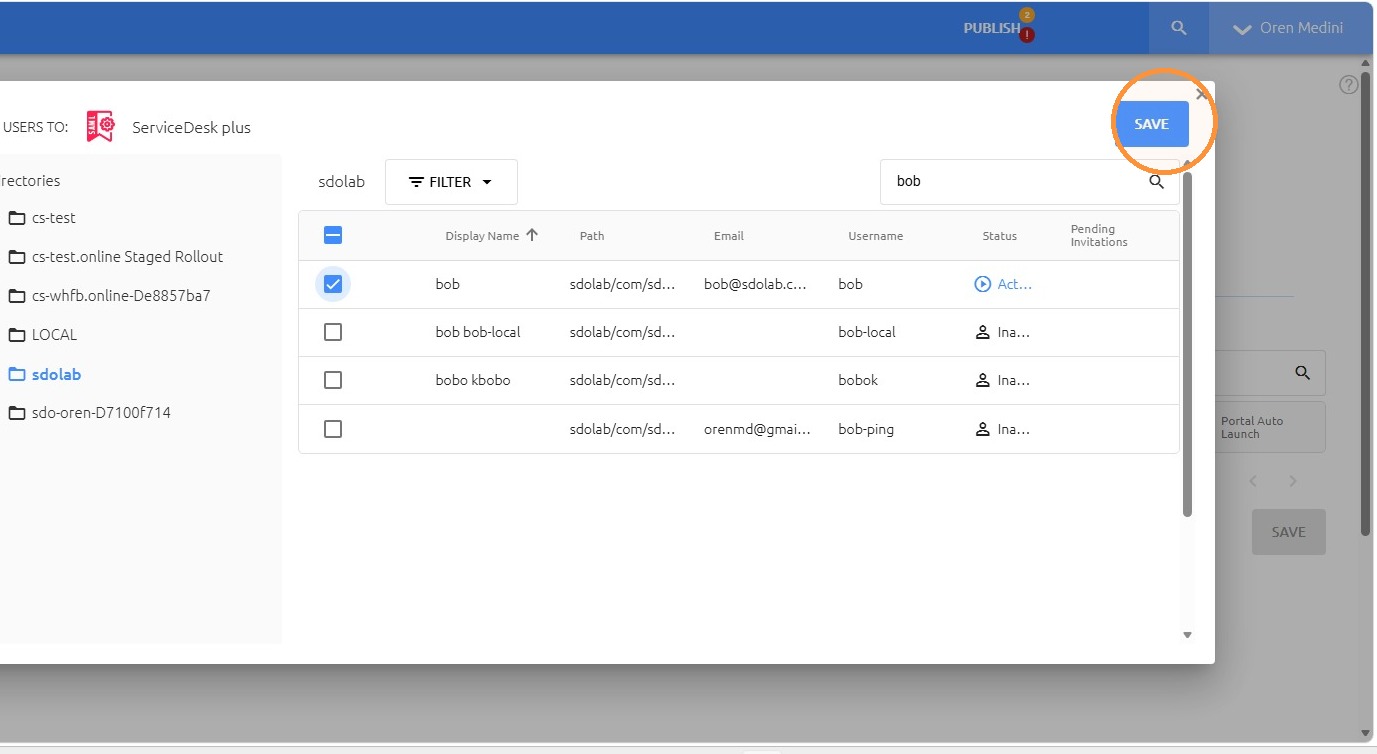
Save the selected group/user
Section 04
SAML Configuration
17
Click "Sign on"
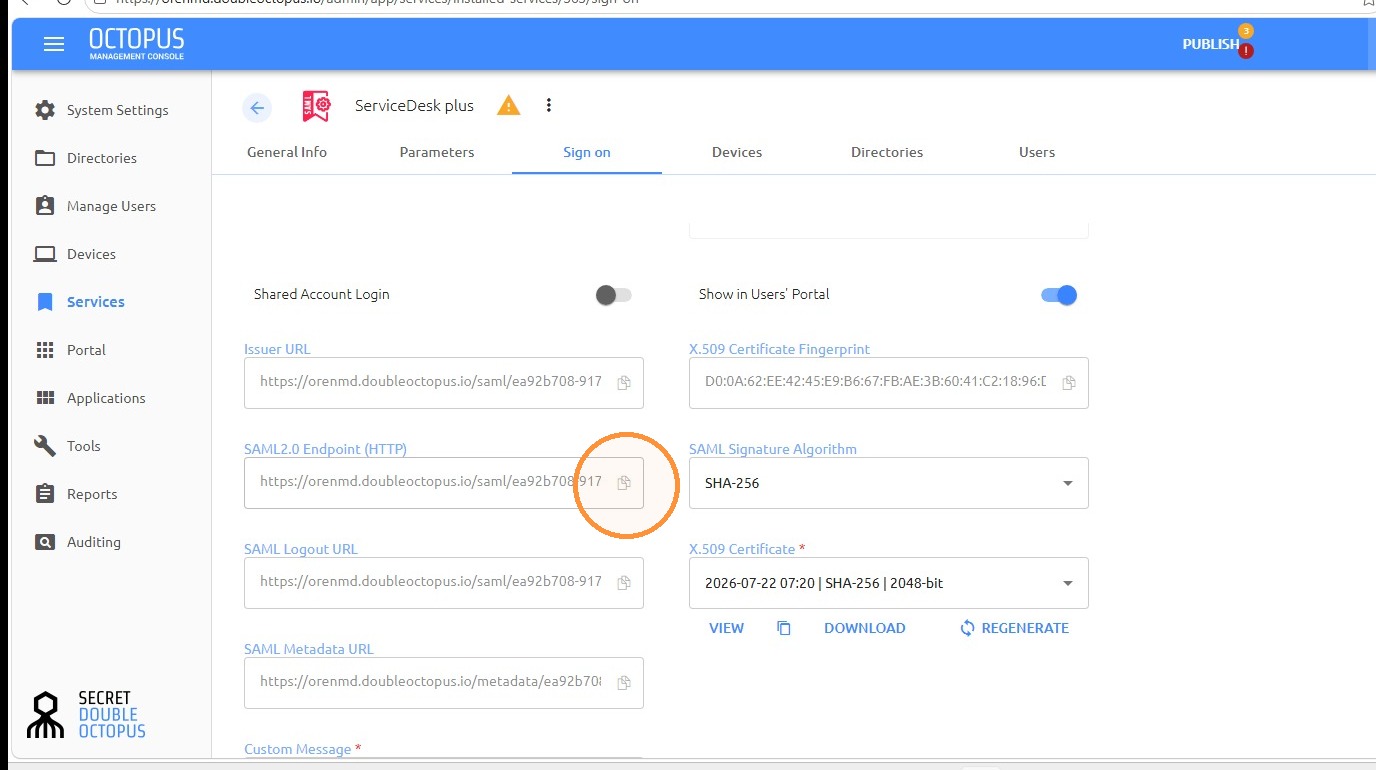
18
Copy the SAML login URL
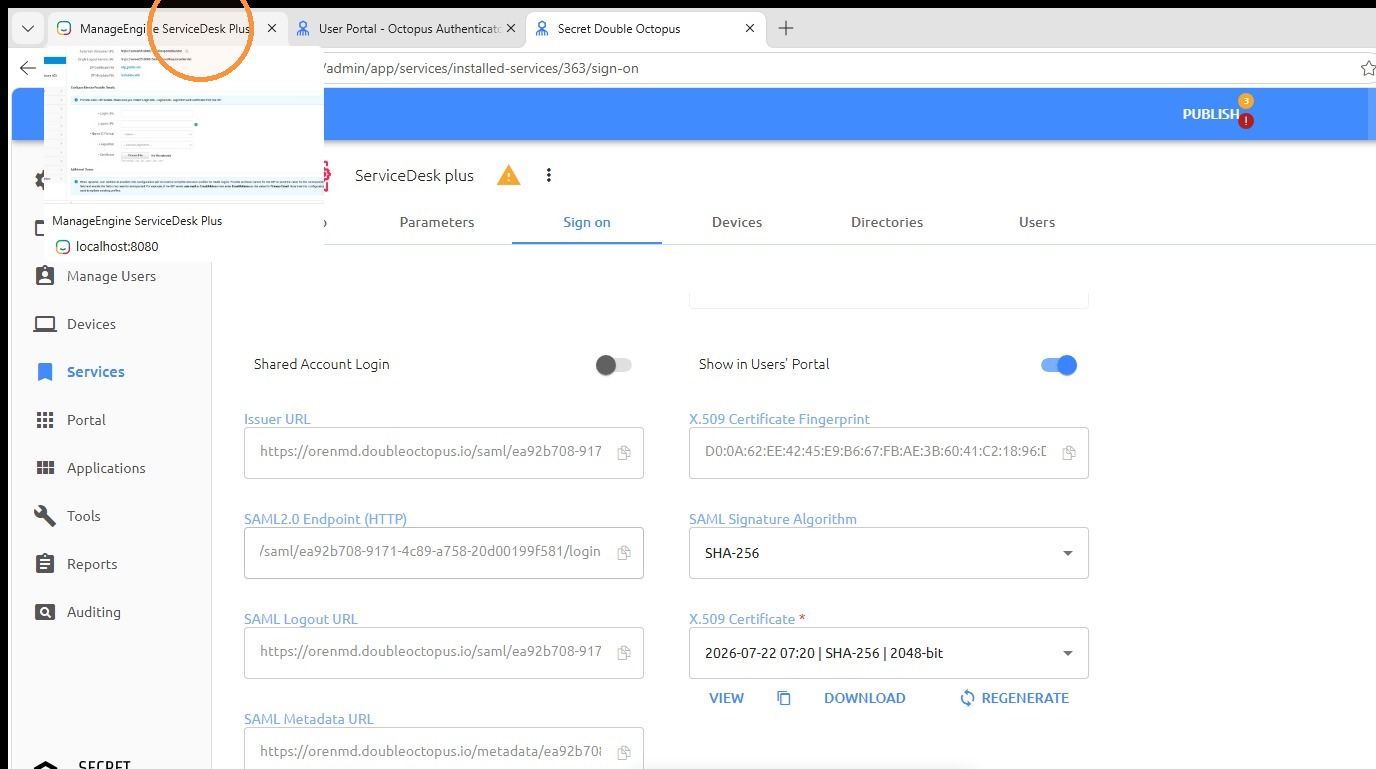
19
Paste the SAML login URL into the Login URL field
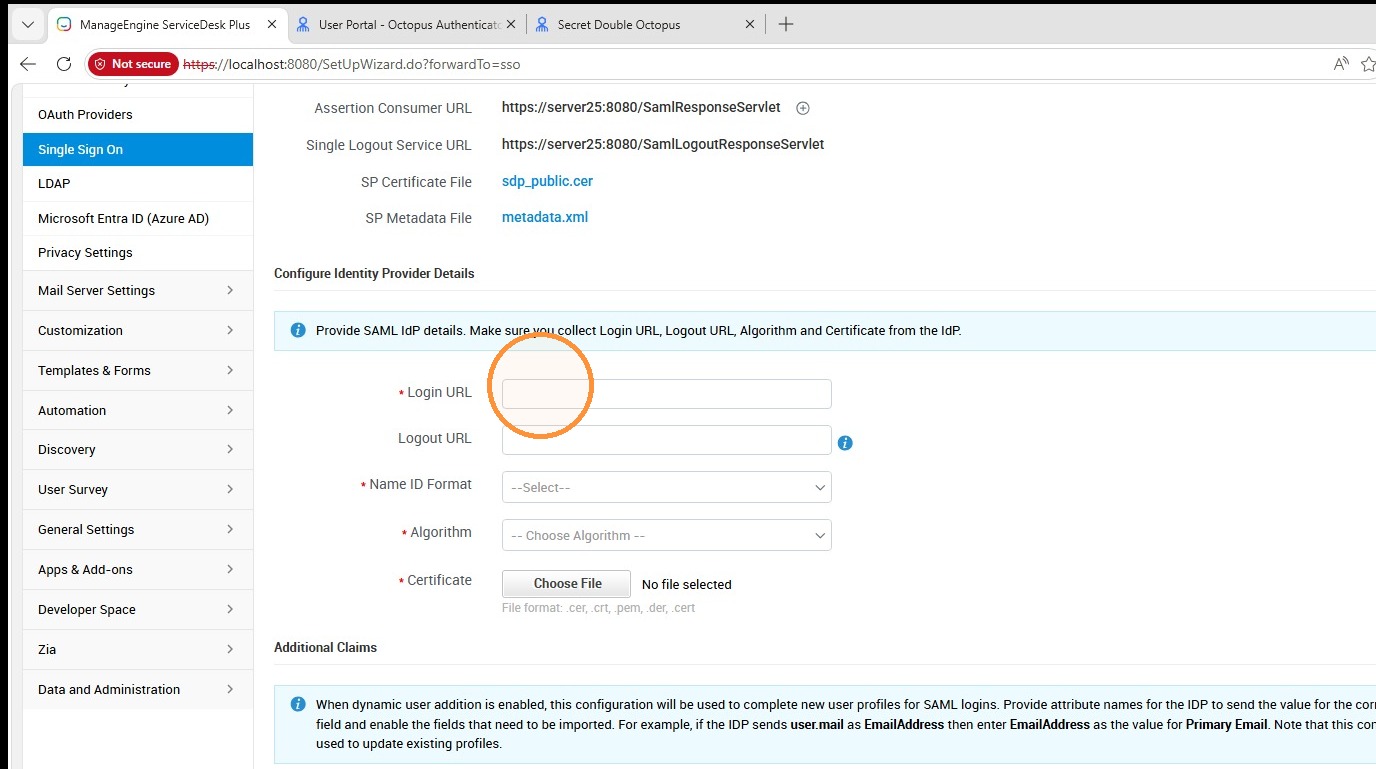
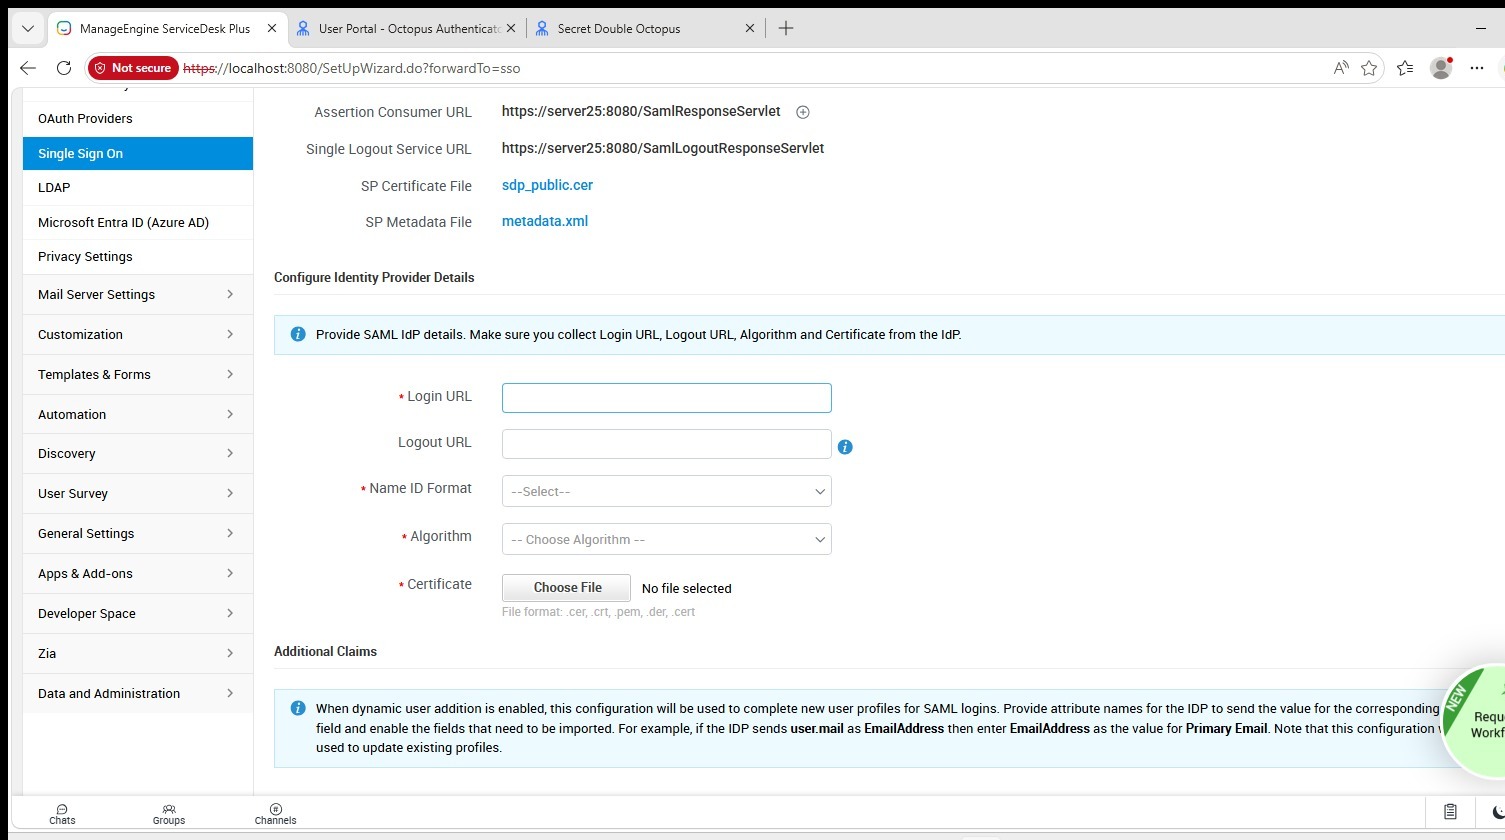
20
Open the Sign on tab
21
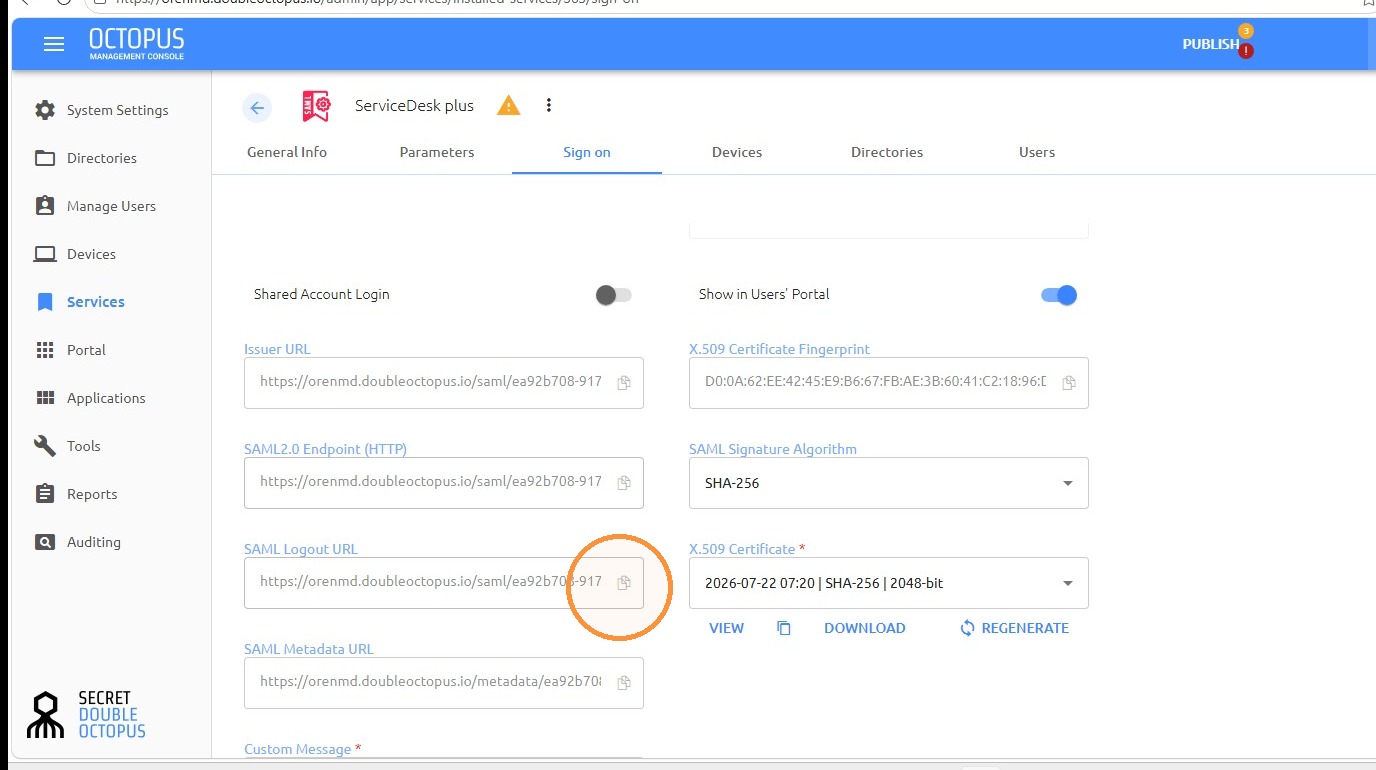
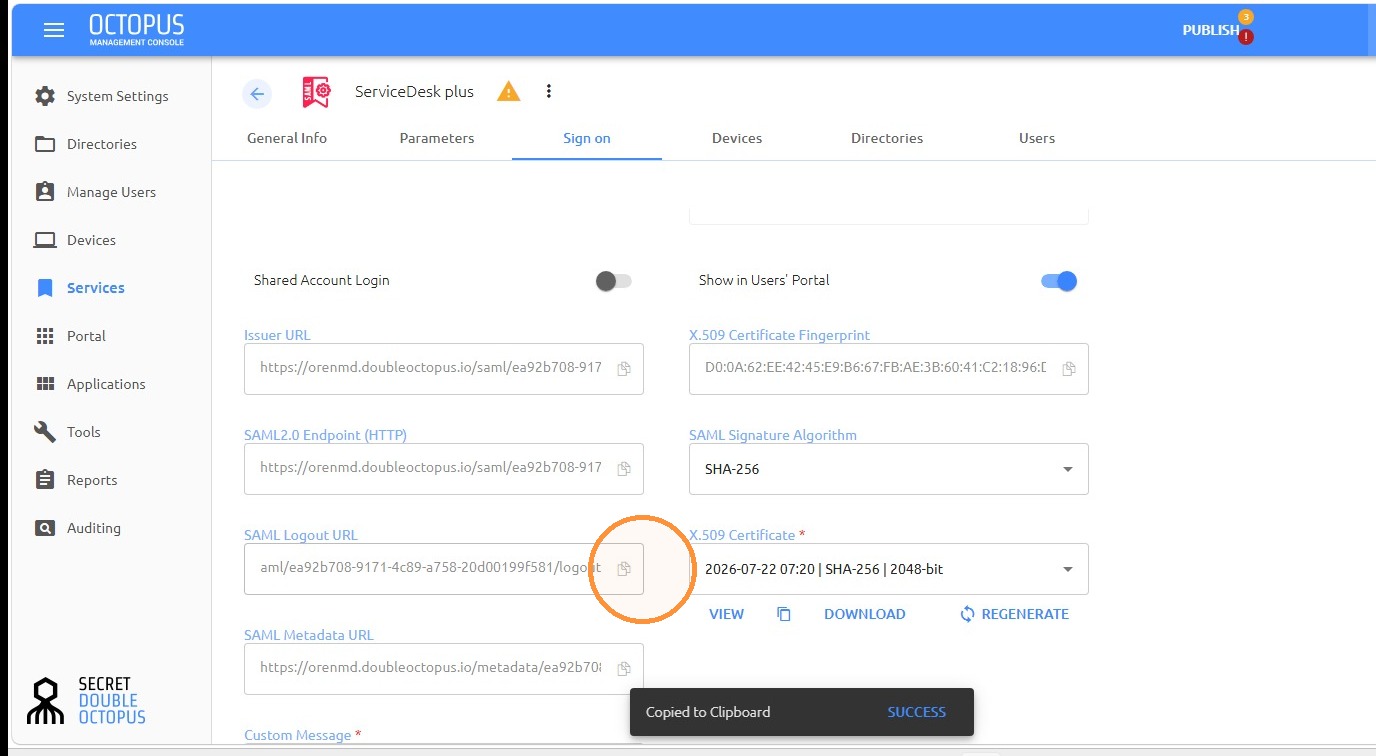
Copy the SAML logout URL
22
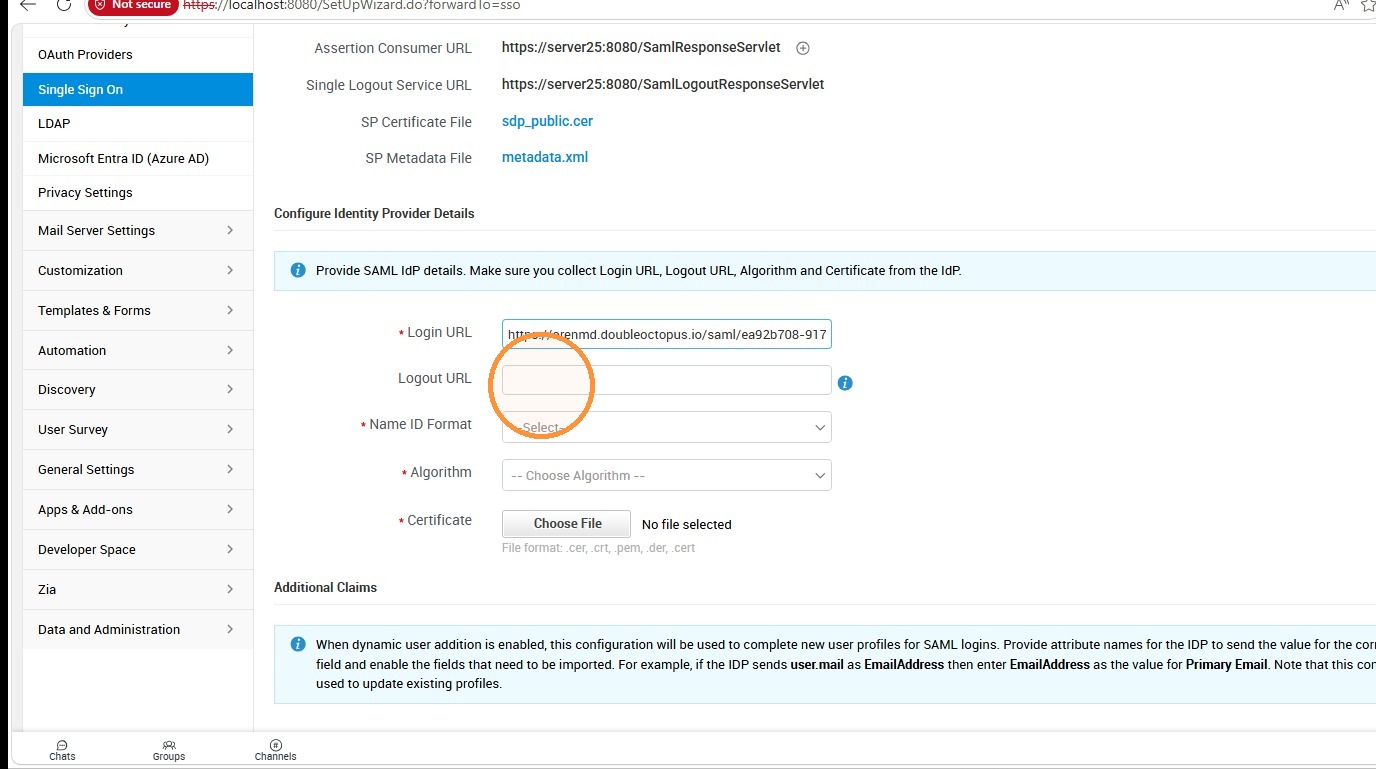
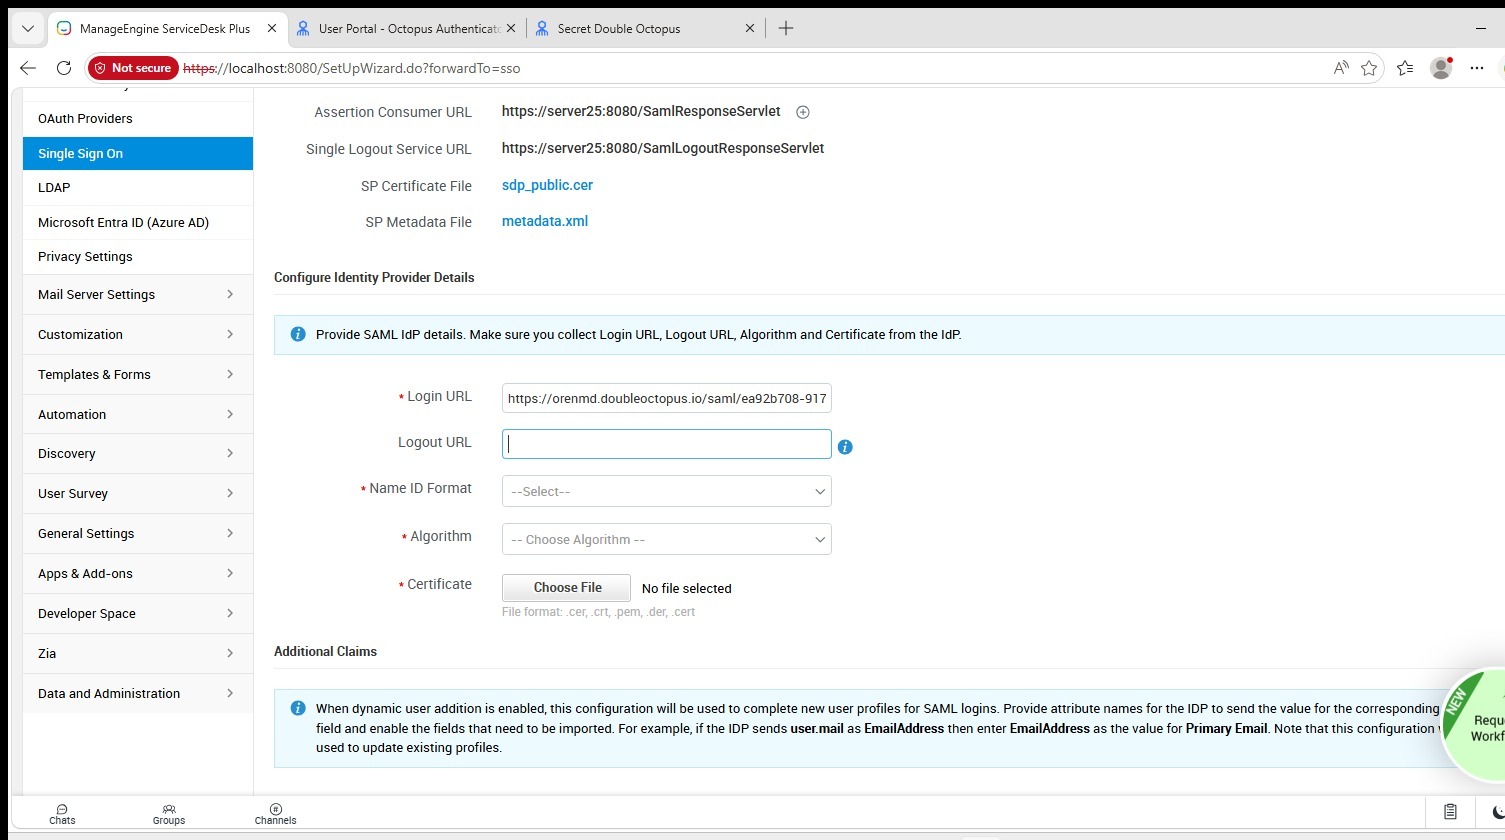
Paste the SAML logout URL into the Logout URL field
23
Open the Name ID Format menu
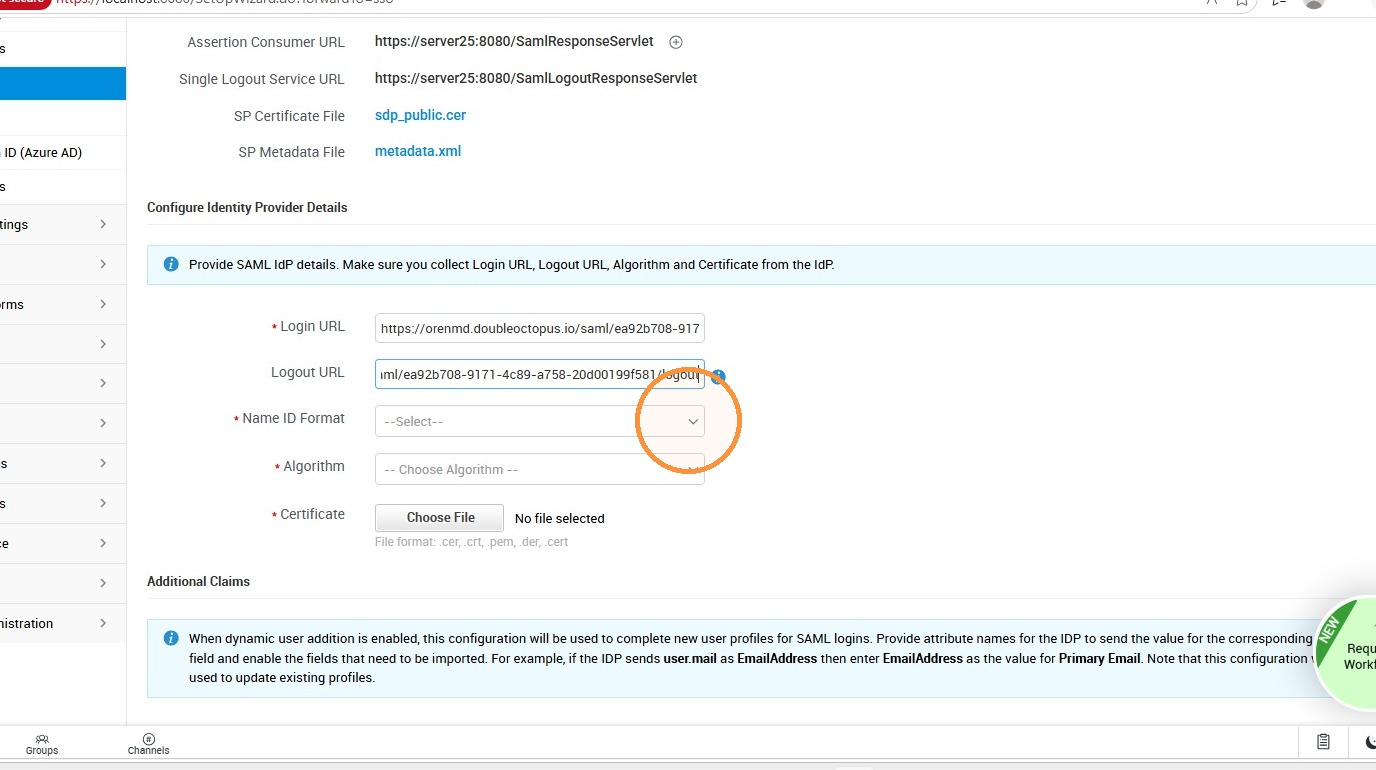
24
Click "ManageEngine ServiceDesk Plus"
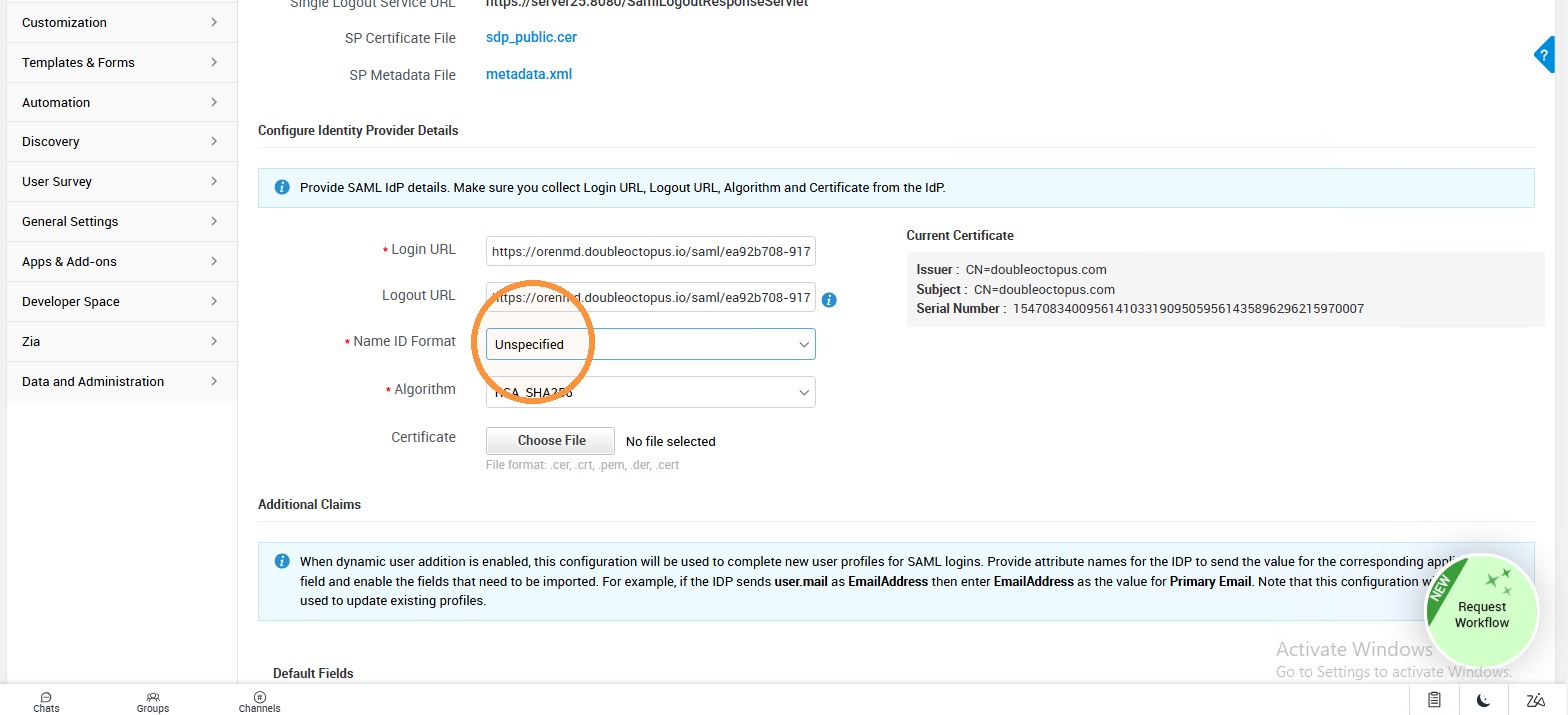
25
Open the signature algorithm menu
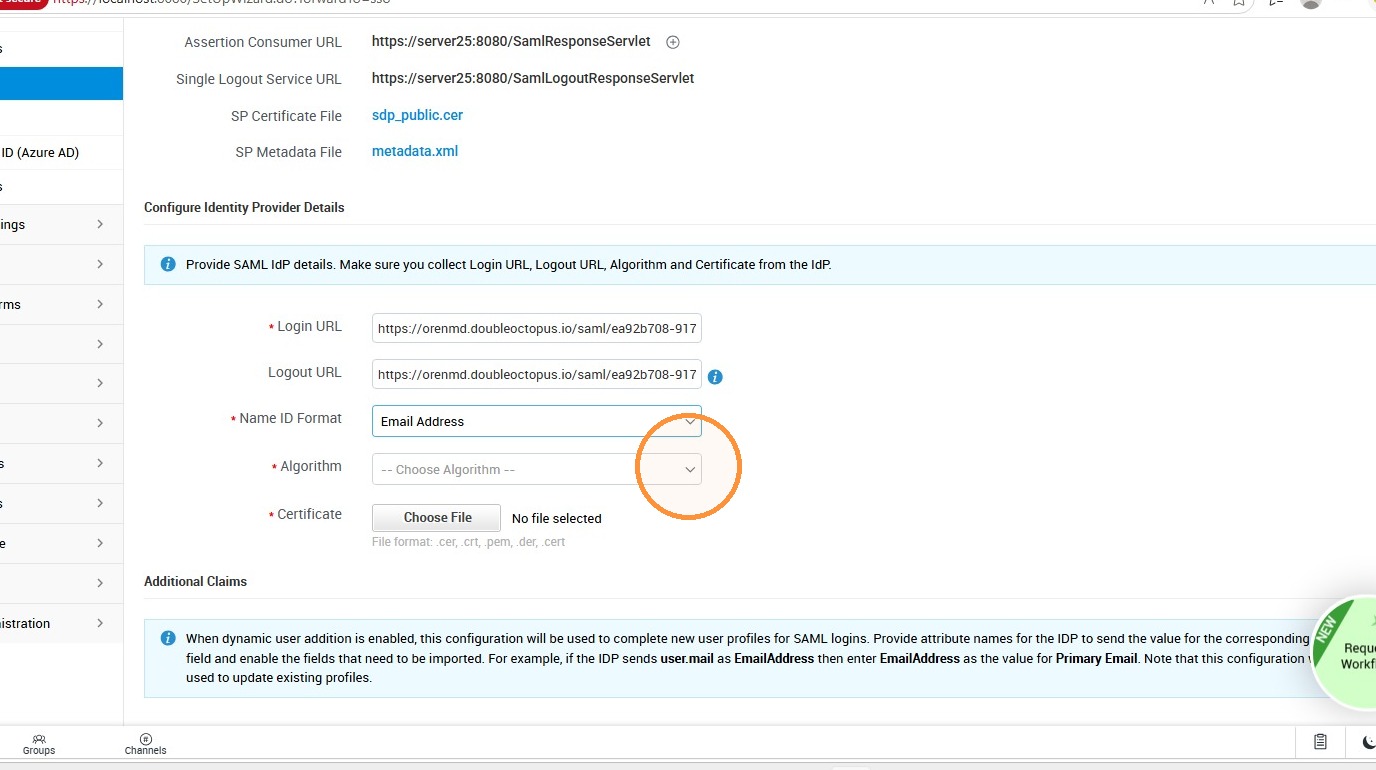
26
Select "SHA256"
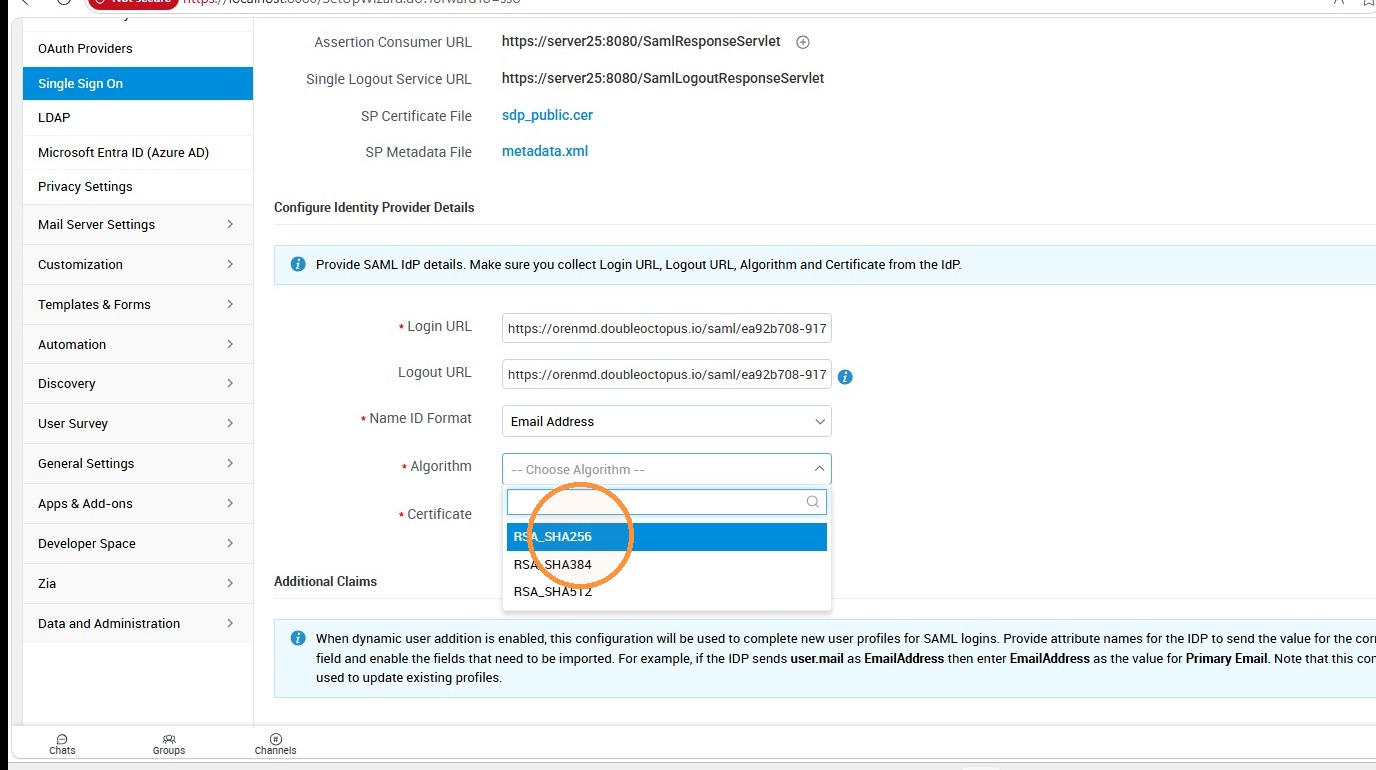
27
Click "Secret Double Octopus"
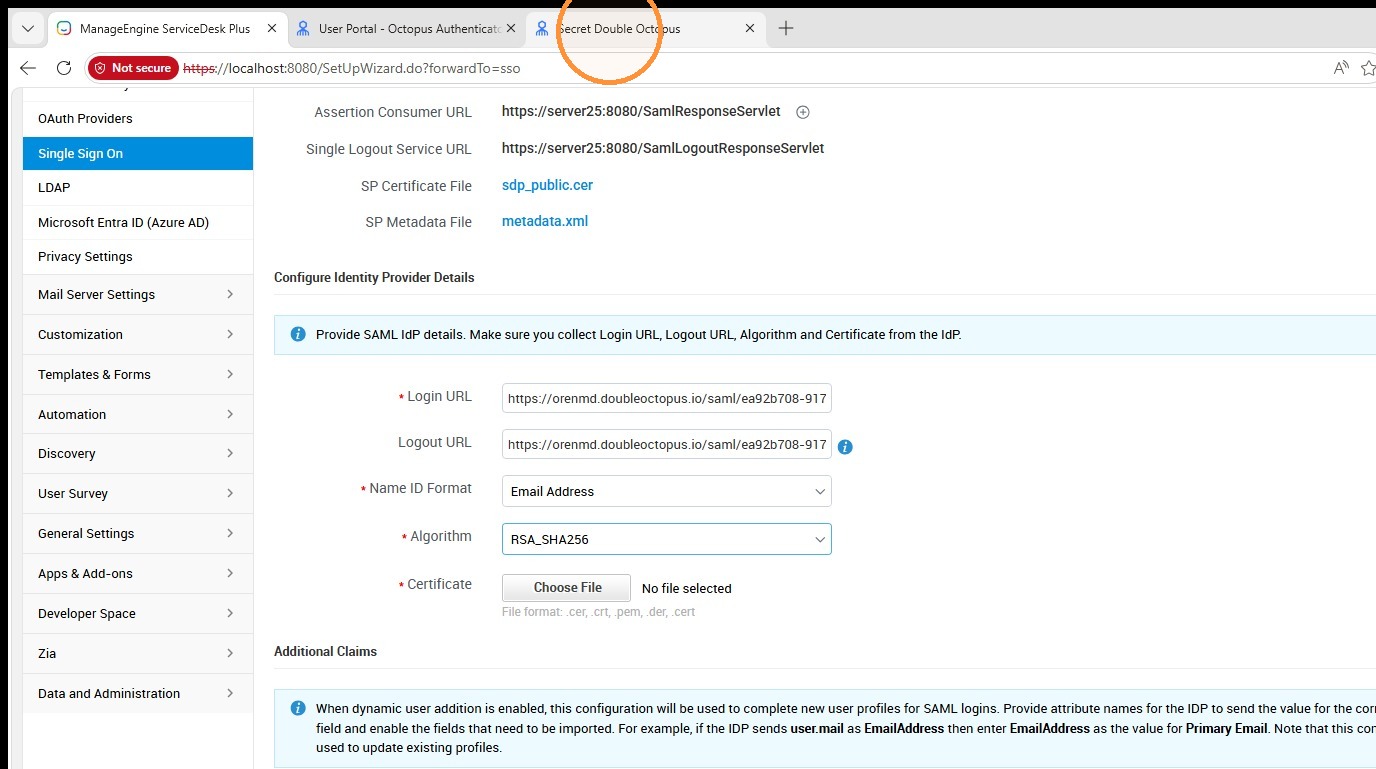
28
Download the X.509 certificate
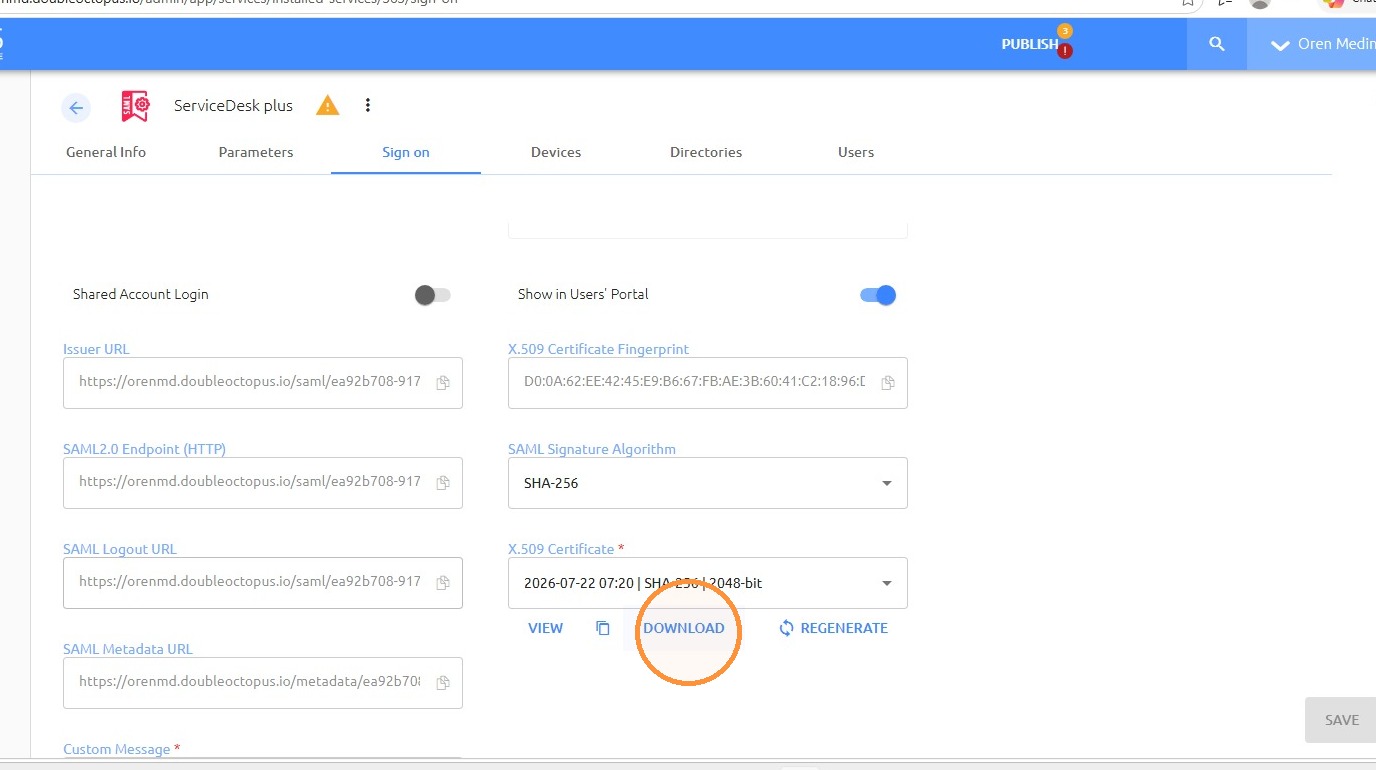
29
Click "ManageEngine ServiceDesk Plus" and Upload the certificate
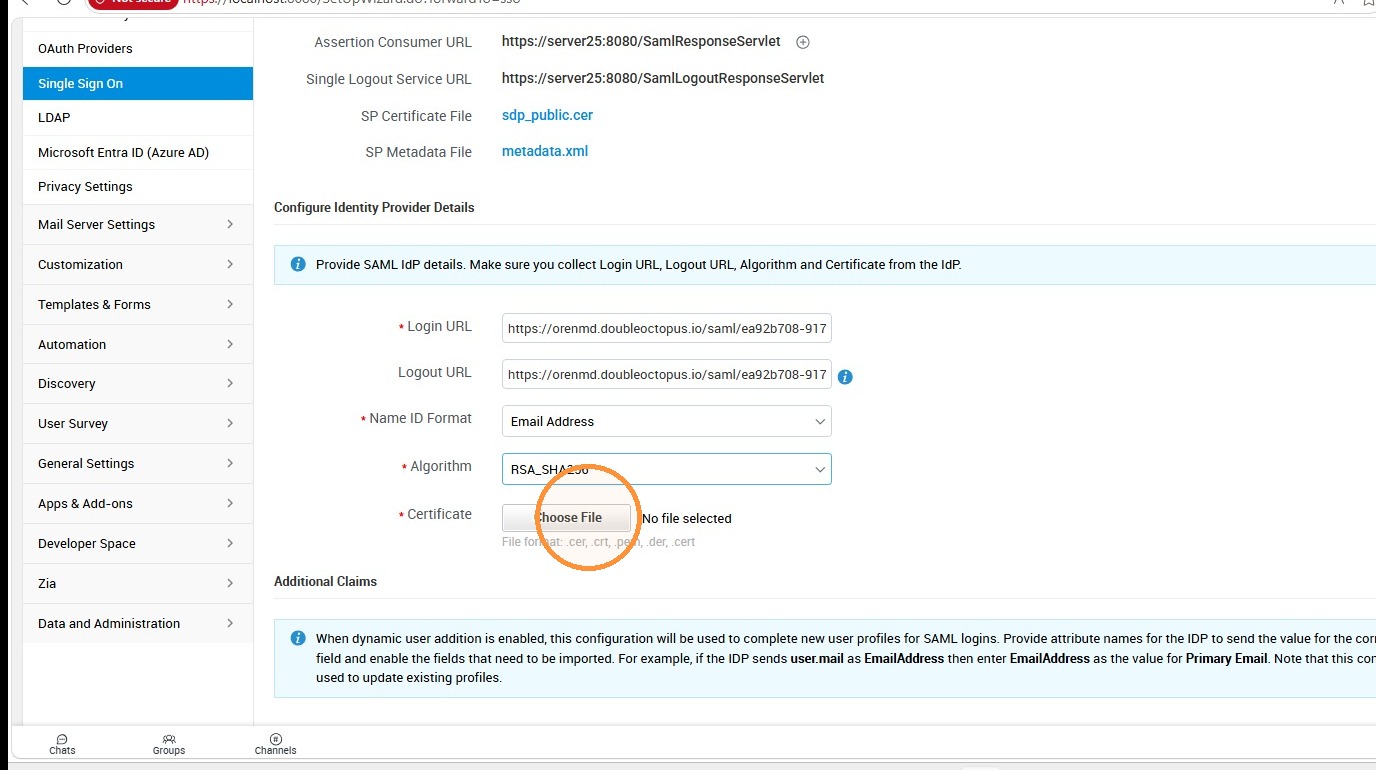
30
Check the "Login Name" parameter and type "login_name" and click Save.
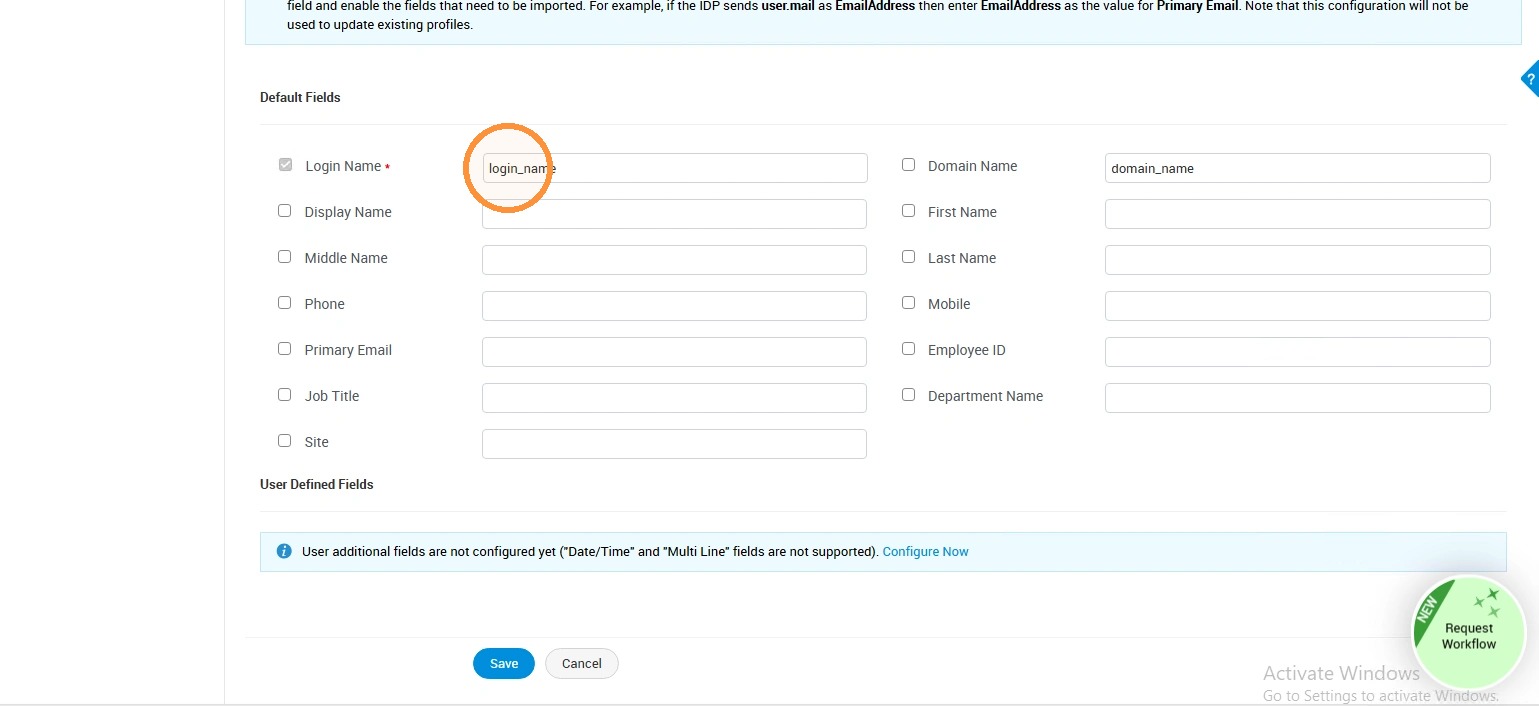
31
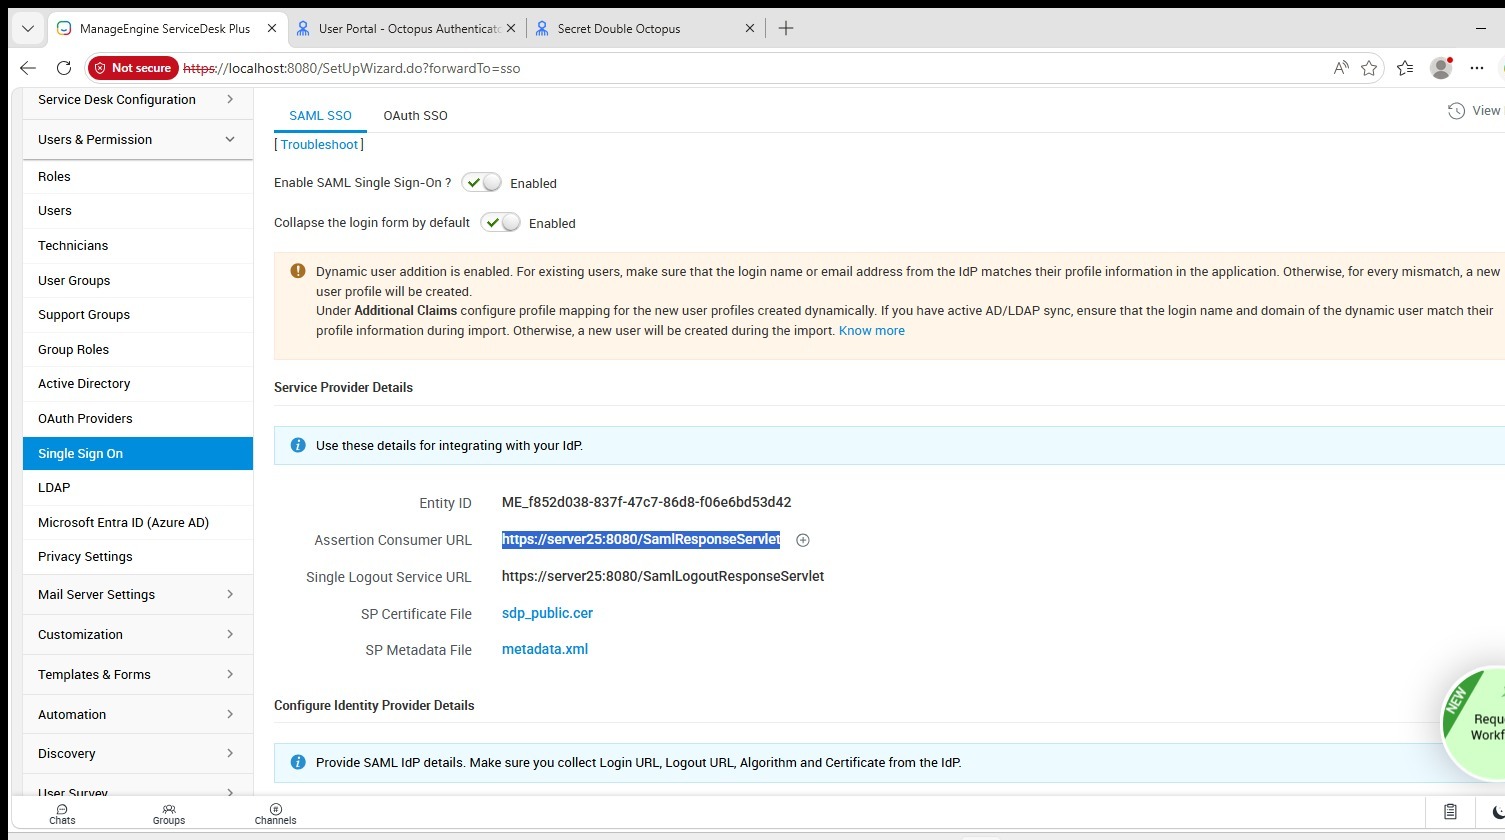
Scroll Up and copy the ACS URL
Section 05
Parameter Configuration
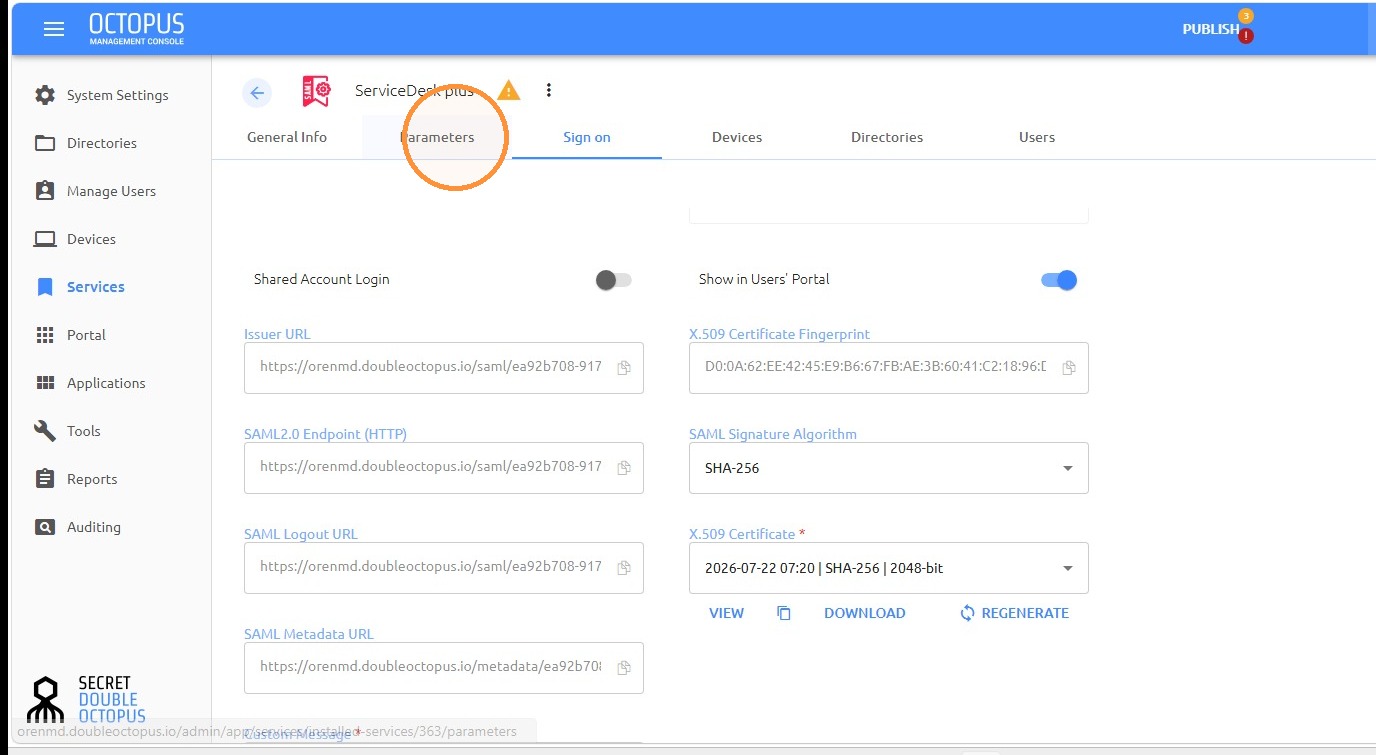
32
Open the Parameters tab
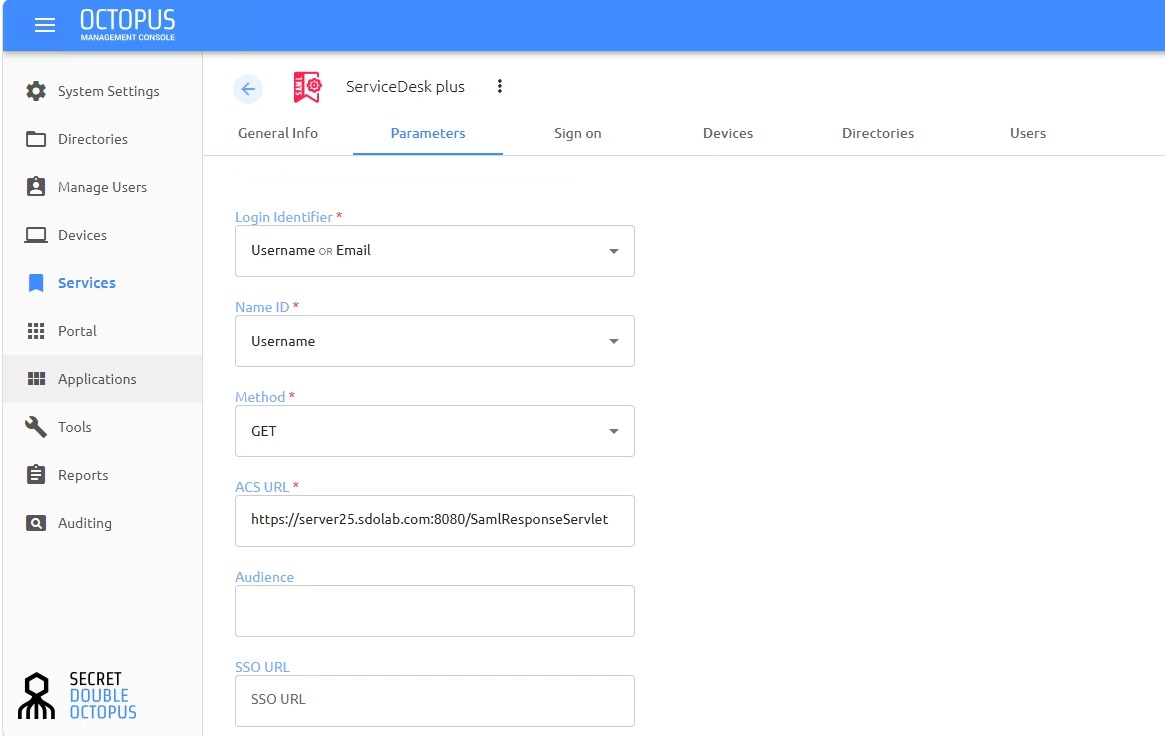
33
Paste the ACS URL
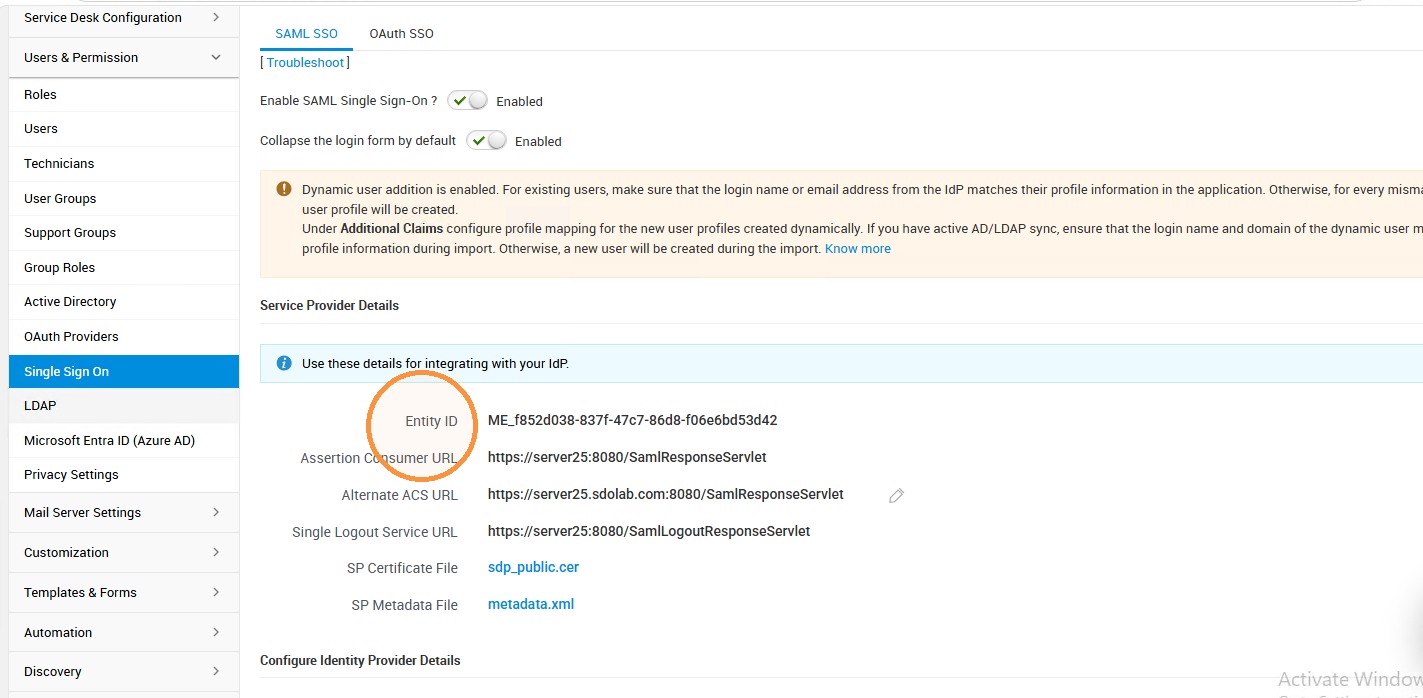
34
Copy the "Entity ID" from the ServiceDesk console
35
Paste the "Entity ID" in the SDO MC
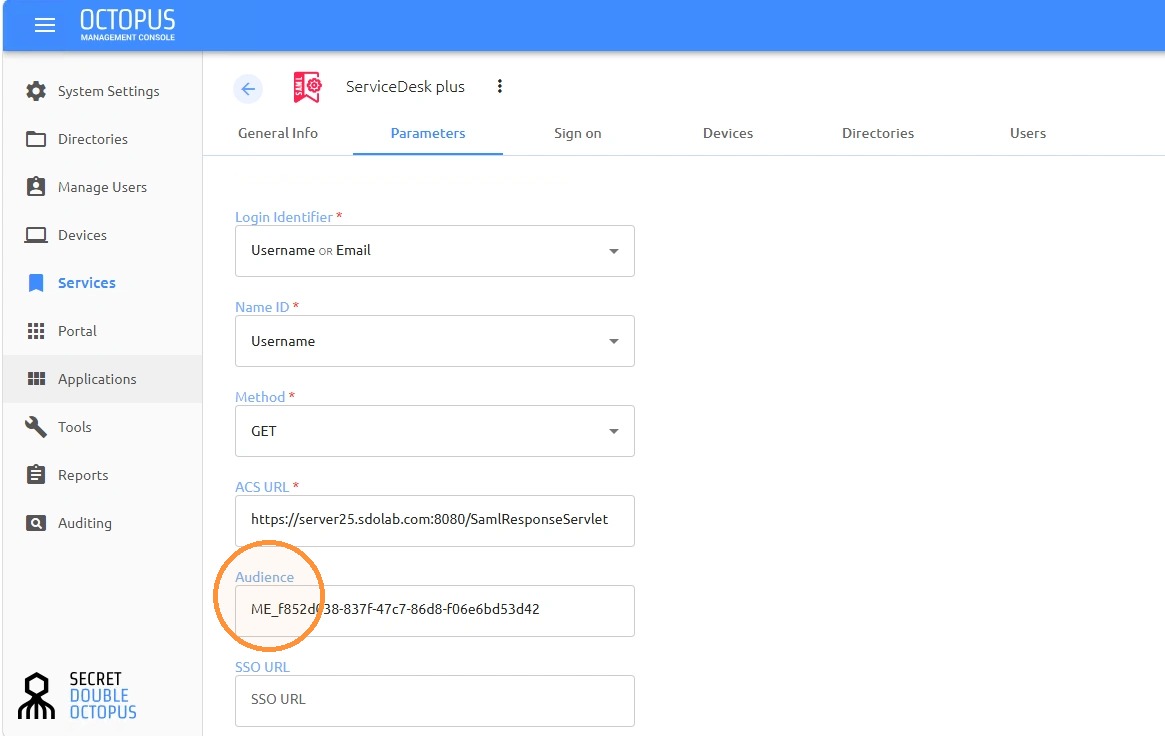
36
Click on "ADD PARAMETER"
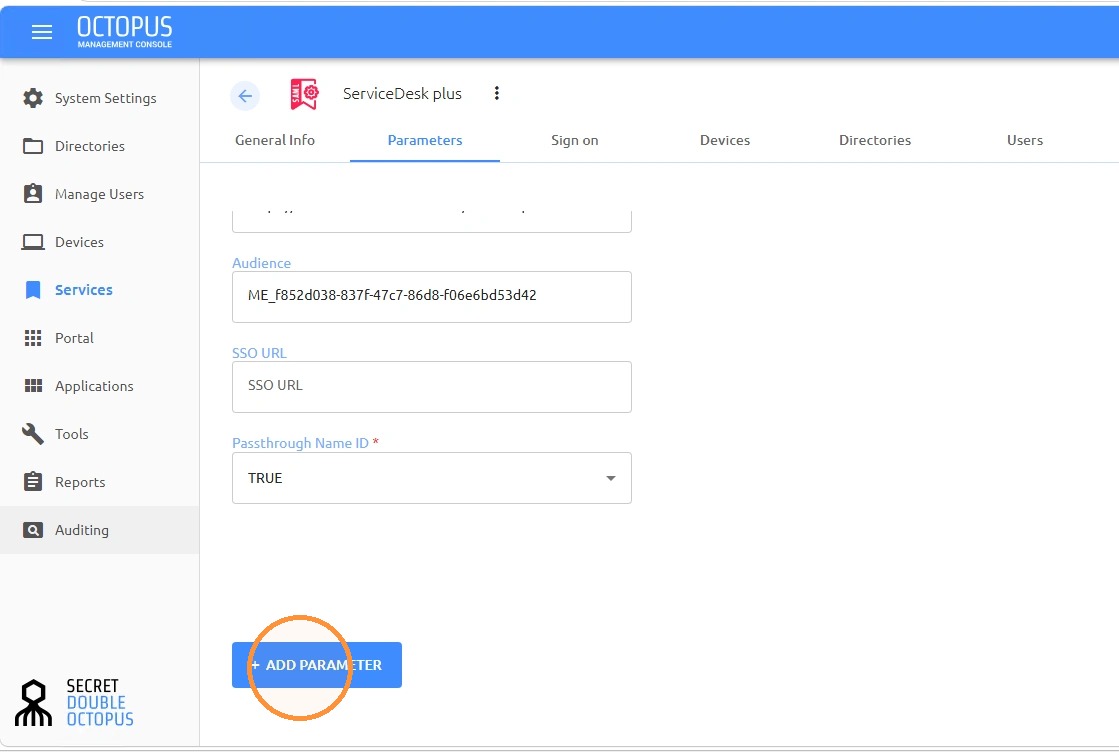
37
Enter the parameter name: "login_name" and select "Username"
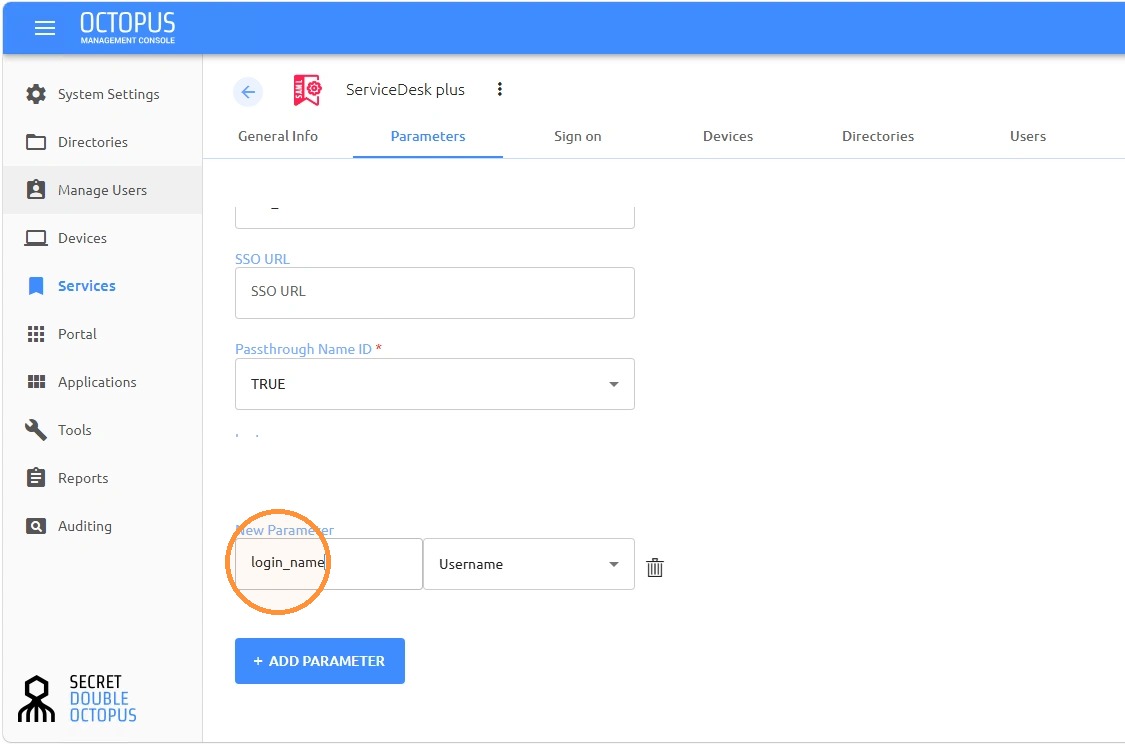
38
Save the SAML parameters
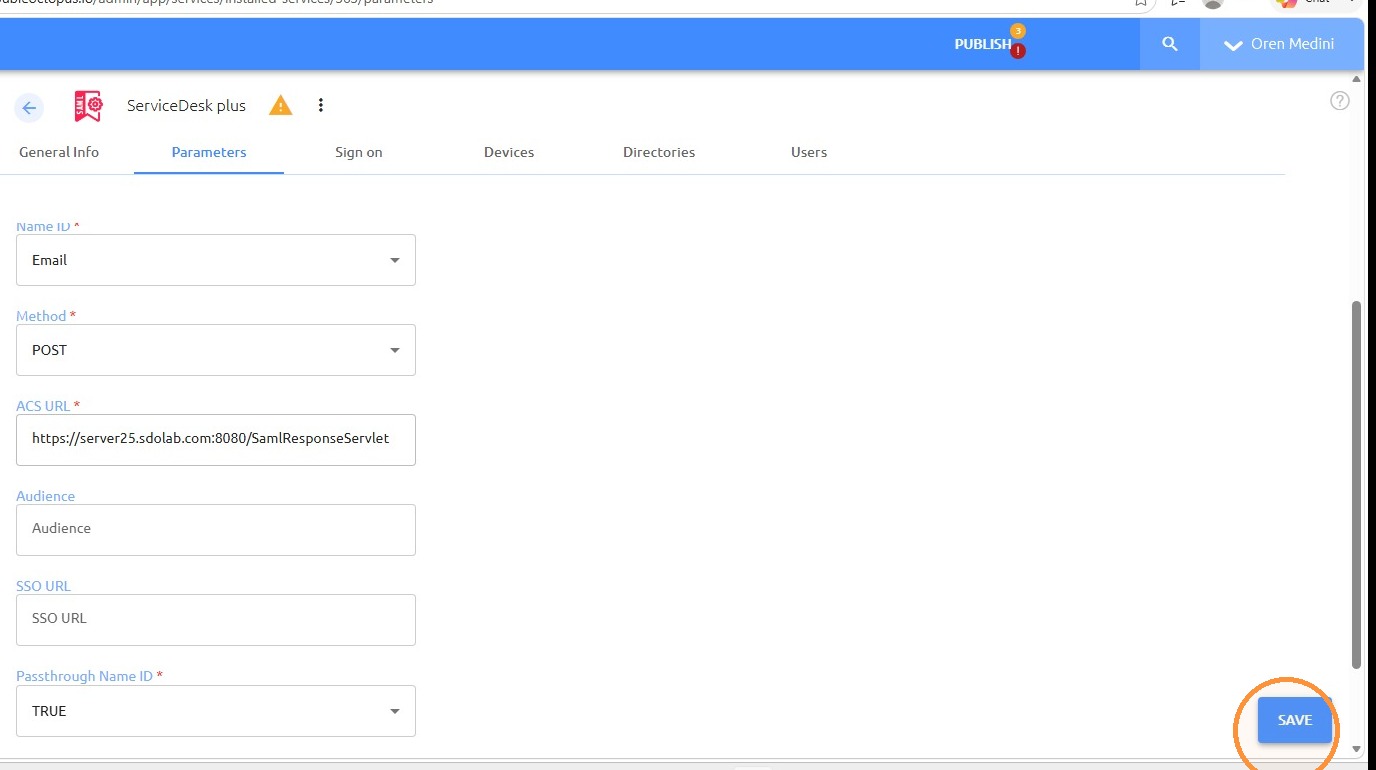
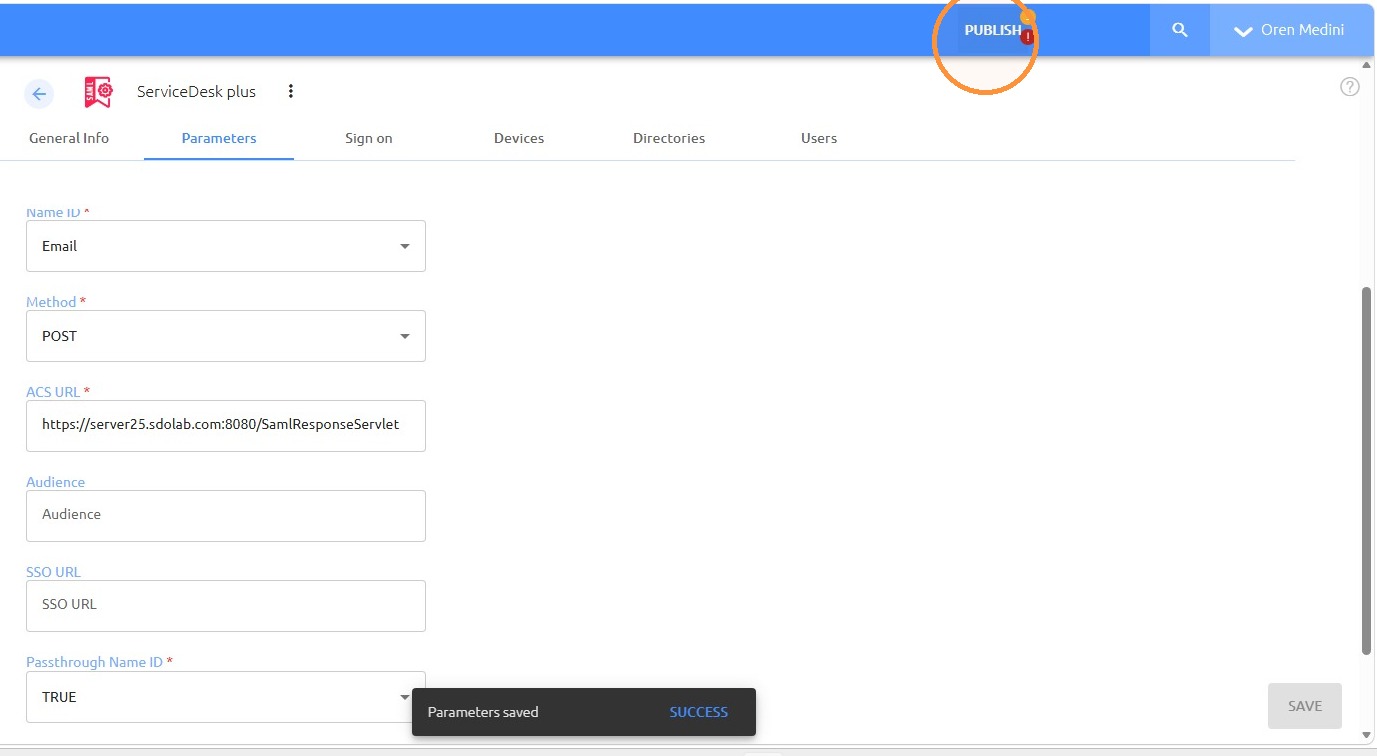
39
Open the Publish menu
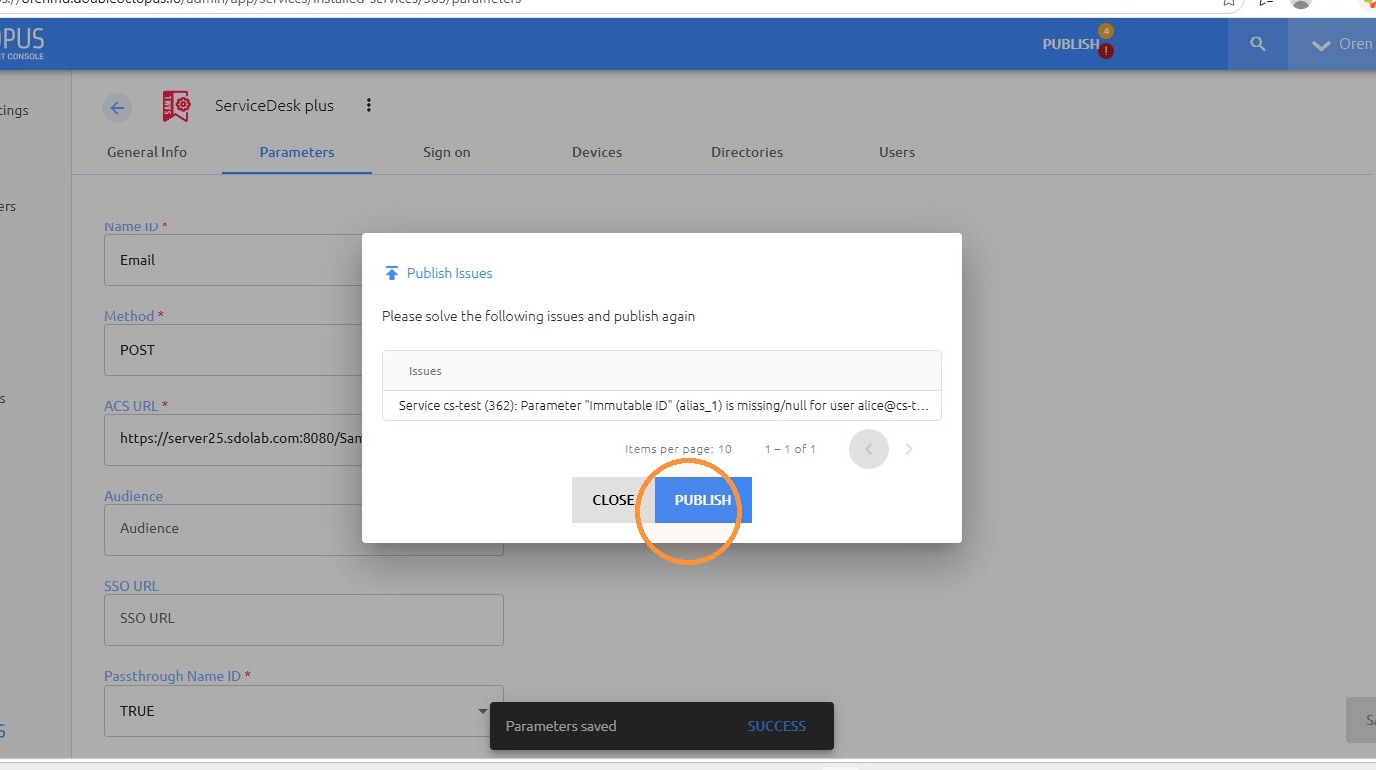
40
Review the publish issues
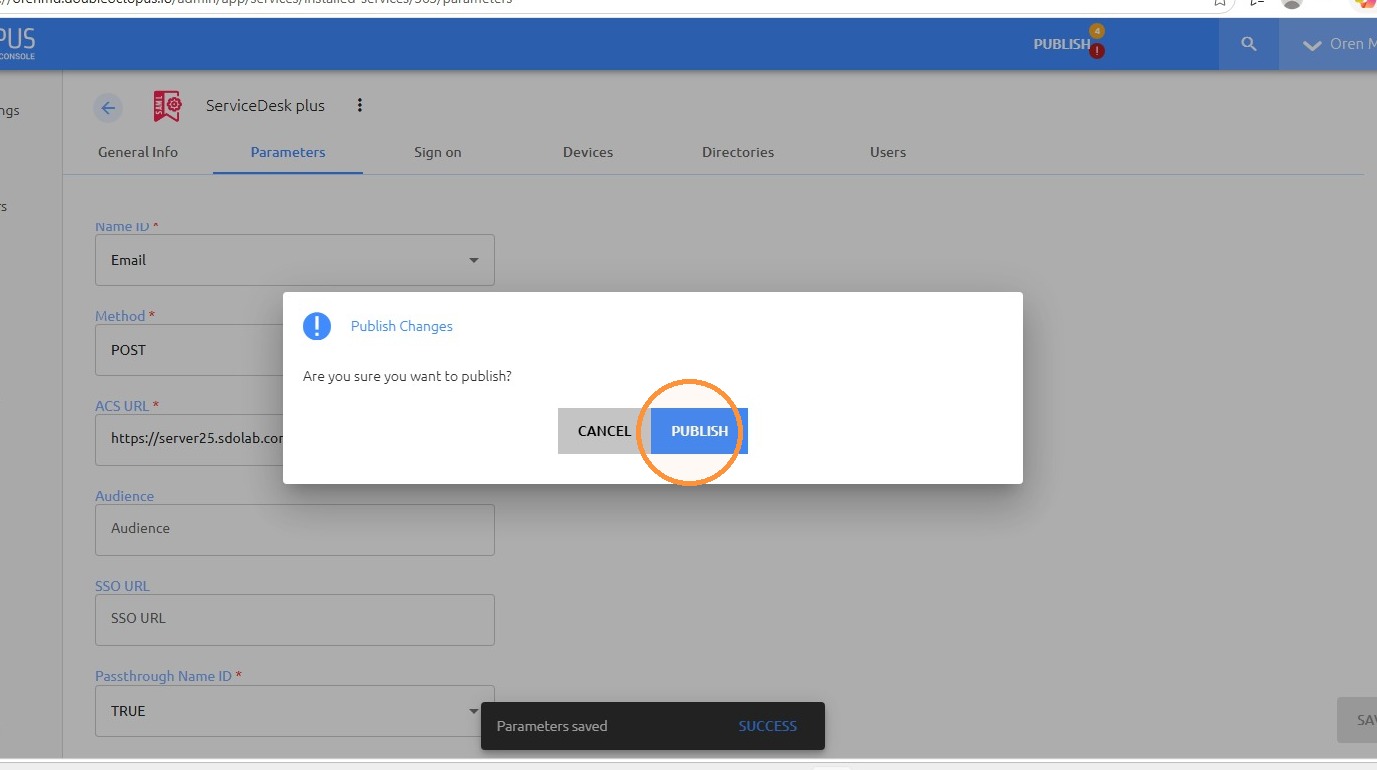
41
Confirm publishing the changes
Configuration complete
After publishing the SDO configuration, test SAML sign-in with an assigned user and verify that the user is redirected and authenticated successfully.