This document describes the configurations required for SAML 2.0 integration between the Octopus Authenticator and Box Web Service.
The integration process involves the following sequential phases:
Note: Setting up this integration requires collaboration with the Box Support team. For details, refer to Configuring the Box 3rd Party IdP Setup.
The following procedure explains how to create the required SAML service in the Octopus Management Console.
To add and configure the Box SAML service:
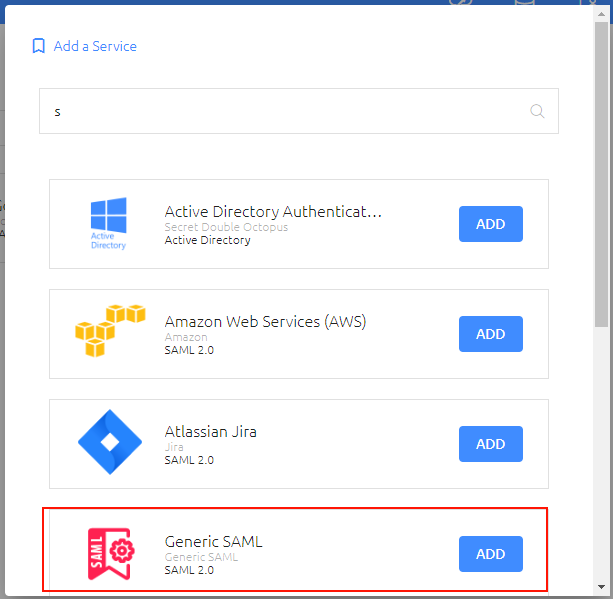
From the Octopus Management Console, open the Services menu and click Add Service. In the Generic SAML tile, click Add.
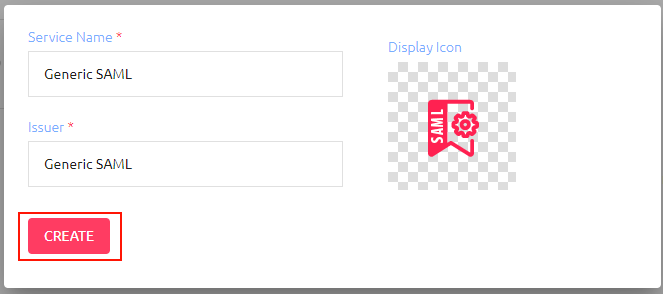
Then, in the dialog that opens, click Create.
Review and configure the following settings in the General Info tab.
Setting
Description
Service Name
Box
Issuer
Box
Description
Enter a brief note about the service.
Display icon
This icon will be displayed on the Login page for the service. To change the default icon, click and upload the image of your choice (supported size is 488x488 pixels).
Login Page URL
<https://<Enterprise Base URL>/generic-saml/<No.>/login>
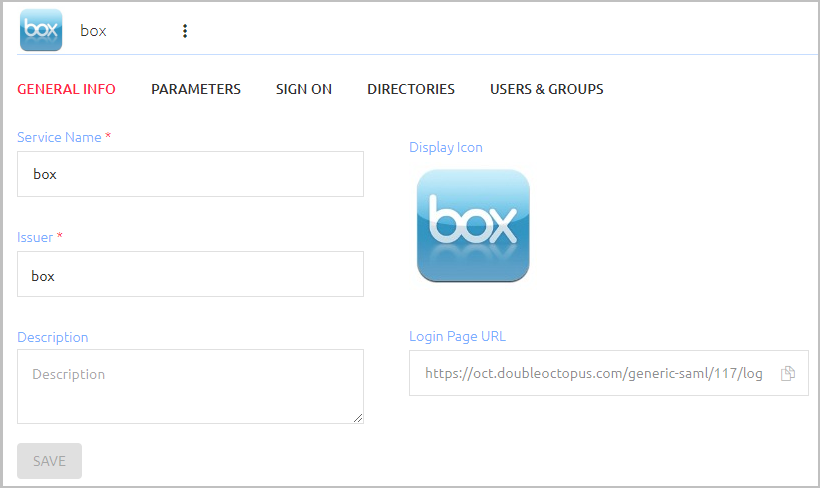
Then, click Save.
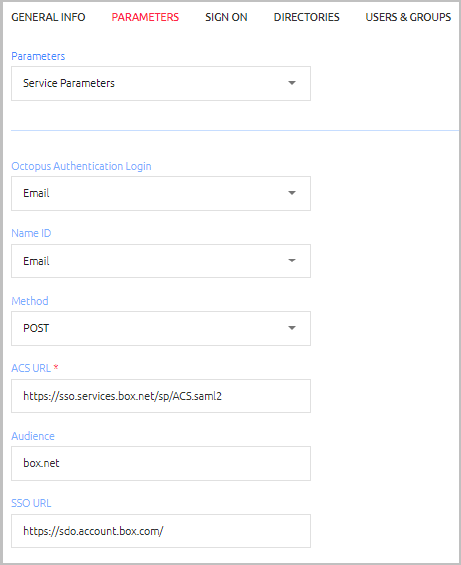
Open the Parameters tab and configure the following settings:
Setting
Value / Notes
Octopus Authentication Login
The login method for the Octopus Authenticator Server.
Name ID
The Box login method. Select Email.
Method
Select POST.
ACS URL
Audience
box.net
SSO URL
https://<your box subdomain>.account.box.com/
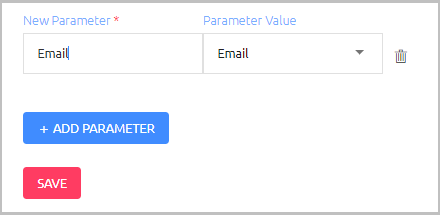
At the bottom of the Parameters tab, click Add Parameter and create a new Email parameter. Then, click Save.
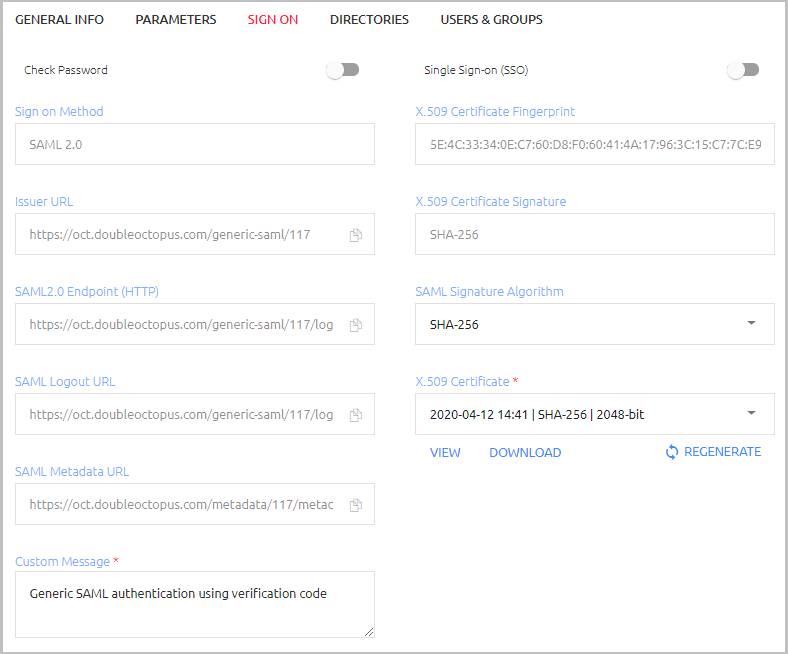
Open the Sign On tab and configure the following settings. We recommend not to change default values.
Setting
Value
Check Password
Disabled (default setting)
Single Sign-on (SSO)
Disabled (default setting)
Sign on Method
SAML 2.0
Issuer URL
https://<Enterprise base URL>/ generic-saml/<No>
SAML 2.0 Endpoint (HTTP)
https://<Enterprise base URL>/generic-saml/login
SAML Signature Algorithm
SHA-256 (default)
X.509 Certificate
X.509 certificate for the Box Web Service
Custom Message
The message displayed to the user upon successful login
At the bottom of the Sign On tab, click SAML METADATA.
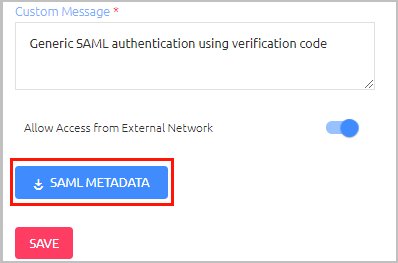
This displays all data configured for the service in XML format. Save and store the XML file. You will use it later when configuring the Box 3rd party IdP.
Click Save.
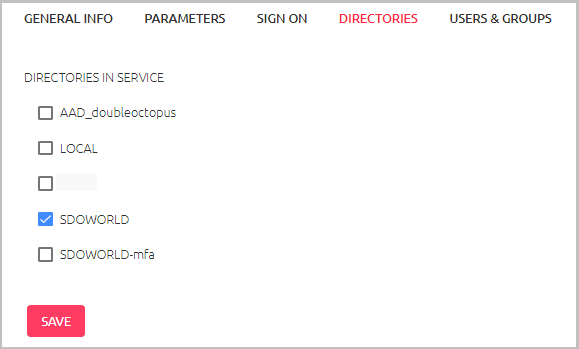
Open the Directories tab and select the checkbox of the directory to be integrated with the service. Then, click Save.
Open the Users & Groups tab and click Add.
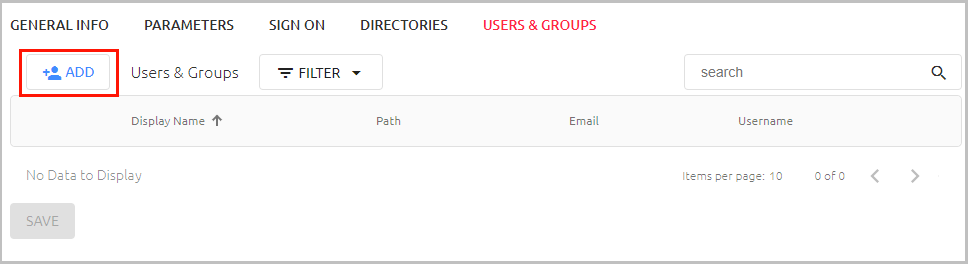
A popup opens, with a list of directories displayed on the left.
Expand the relevant directory and select the checkboxes of the groups and users that you want to add to the service. Then, click Save to close the popup.
The groups and users you selected are listed in the Users & Groups tab.
Click Save and then publish your changes.
Setting up SSO with a 3rd party IdP needs to be done through the Box Support team. Follow the steps below to complete your request.
To send a Box support ticket requesting SSO setup:
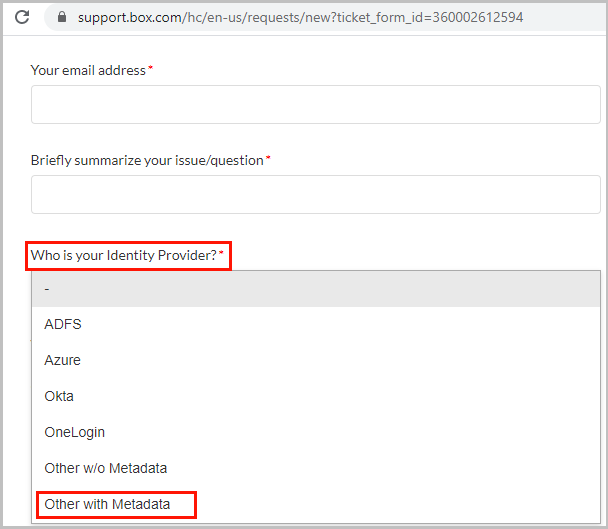
Go to https://support.box.com/hc/en-us/requests/new?ticket_form_id=360002612594
For Identity Provider, select Other with Metadata.
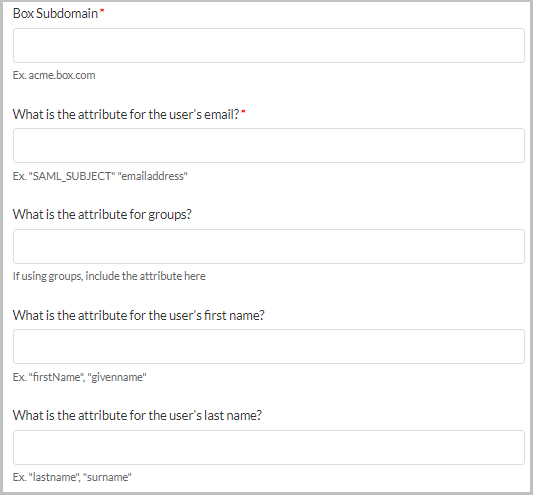
Complete the following fields with the values listed in the table below:
Field
Value / Attribute
Box Subdomain
Your Box subdomain
User’s email
email
User’s first name
firstName
User’s last name
lastName
Under Attachments, upload the Metadata XML file that you downloaded from the SAML service in the Octopus Management Console.
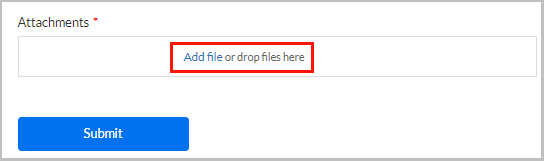
Click Submit.
When you receive a response from Box Support, follow the instructions given. Afterwards, make sure that you can login using Octopus Authenticator.
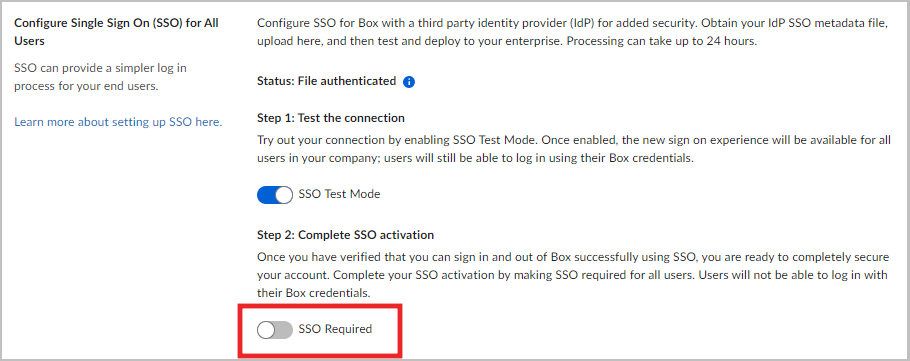
Once you have verified that you can sign in and out of Box successfully using SSO, you are ready to complete the SSO activation, as described in the next section.
The procedure below describes how you can completely secure your account by making SSO required for all users. Once you make this change in your Box Admin account, users will no longer be able to log in using their Box credentials.
To complete SSO activation:
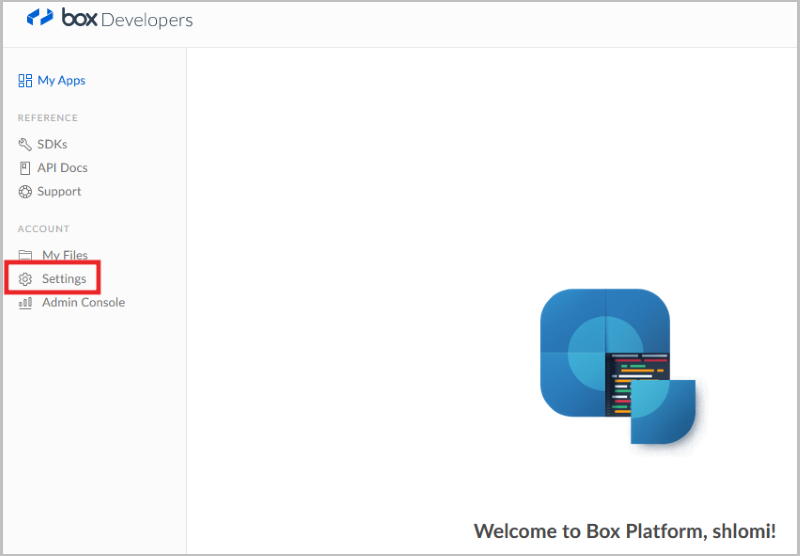
Log into your Box Admin account. Under ACCOUNT, select Settings.
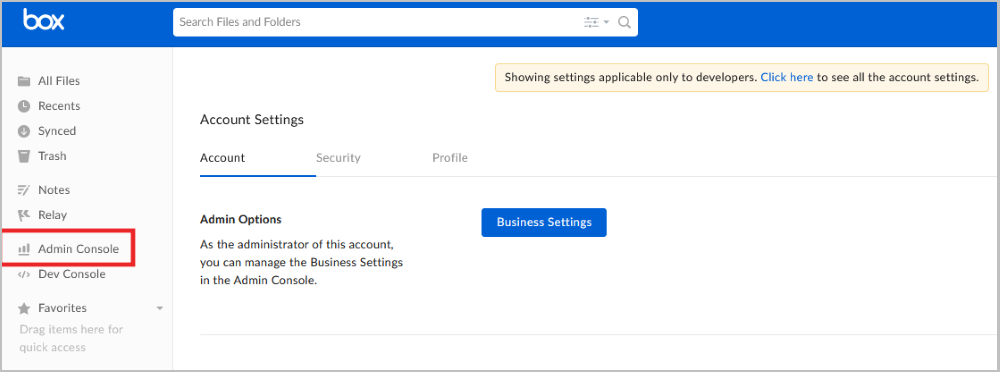
On the Account Settings page, select Admin Console.
Navigate to Enterprise Settings > User Settings.
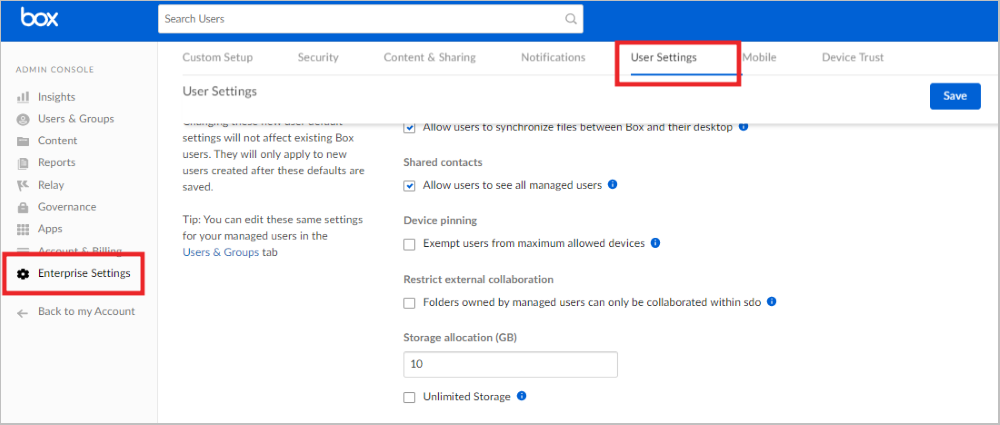
Scroll to the Configure Single Sign On (SSO) for All Users section and enable the SSO Required toggle button.