Secret Double Octopus supports authentication to Windows using biometric and non-biometric FIDO keys. Both key types can be used for either passwordless or multifactor authentication (MFA), as summarized in the following table.
FIDO Key Type | Authentication Method | Credentials Required for Login |
|---|---|---|
Biometric | Passwordless | Username + FIDO Authenticator (touch) |
Biometric | MFA | Username + Password + FIDO Authenticator (touch) |
Non-biometric | Passwordless | Username + PIN + FIDO Authenticator (touch) |
Non-biometric | MFA | Username + Password + FIDO Authenticator (touch) |
Before users can log into Windows with a FIDO key, the key needs to be enrolled in the Octopus system. Users begin this enrollment process by clicking the link provided in the invitation email.
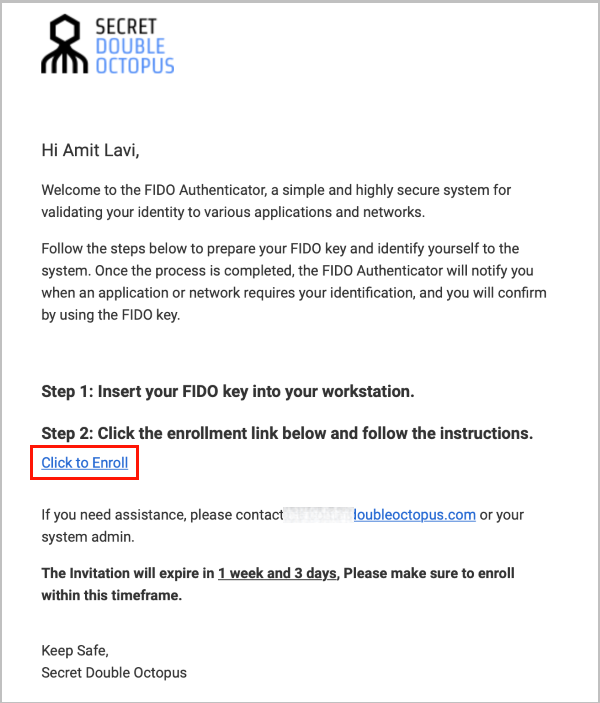
The next steps in the enrollment process vary, depending on key type and authentication method. The sections below detail the enrollment flows for the different key types and authentication mechanisms:
Important: If the Windows agent is configured with both an internal and external Endpoint URL, users need to enroll FIDO devices using the internal URL only. Following enrollment, they may authenticate using either the internal or external URL.
Enrollment of a biometric key involves the following sequential phases:
Setting Your Fingerprint in the key management tool
Enrolling Your Biometric Key in the Octopus system
Before you can enroll a biometric key in the Octopus solution, you need to set the fingerprint in the relevant security key management tool. If you enroll the key without first setting the fingerprint, your key will be enrolled in Octopus as a non-biometric key.
If you have already set your fingerprint, please skip to Enrolling Your Biometric Key.
The procedure below provides an example of fingerprint setting based on the FEITIAN SK Management tool.
To set a fingerprint in the SK Management tool:
Insert your FIDO key into the workstation.
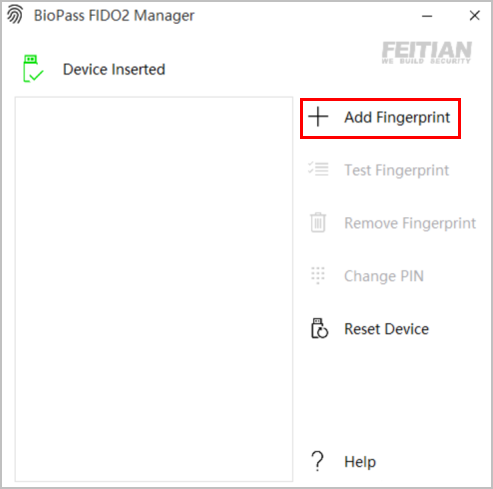
Open the key management tool and click Add Fingerprint.
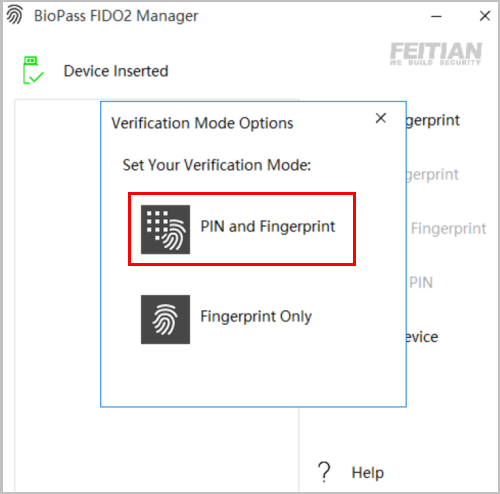
From the Verification Mode Options window, click PIN and Fingerprint.
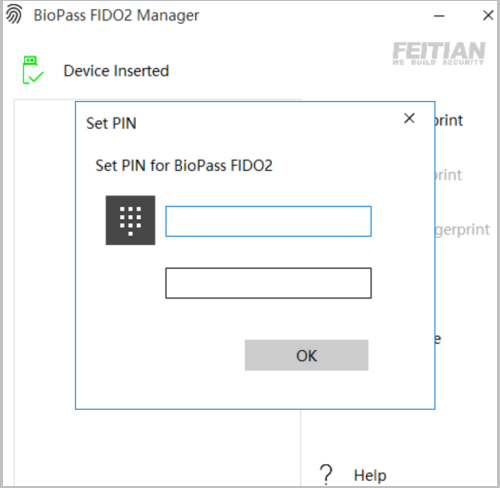
You will be prompted to set up a PIN for your FIDO key. This PIN is used as a backup for your fingerprint.
In the Set PIN window, enter your PIN and re-enter it in the field below. Then, click OK.
In the confirmation popup, click OK.
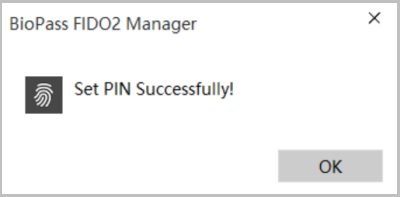
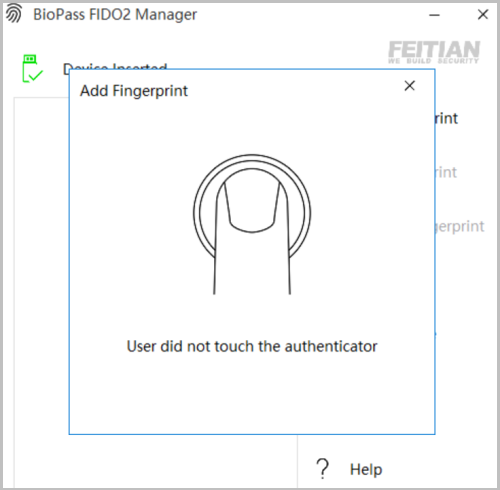
You will then be prompted to set your fingerprint.
Add your fingerprint by touching your key. You may need to touch it several times before your fingerprint is captured.
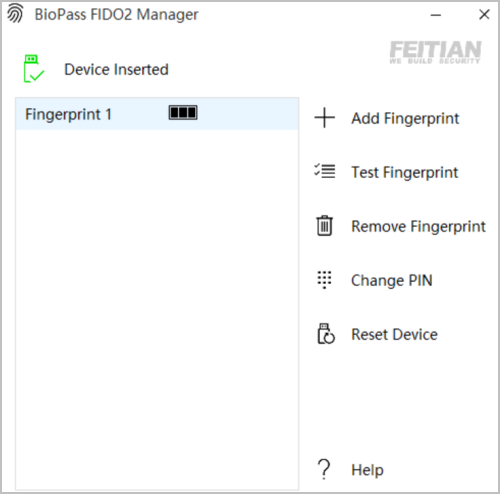
After your fingerprint is captured, it will be listed in the key management tool.
Follow the steps below to enroll your key in the Octopus system. The enrollment process is the same for both passwordless authentication and MFA.
To enroll your biometric key:
Insert your key into the workstation.
Click the enrollment link in the invitation email.
You will be redirected to FIDO Authenticator Registration in the User Portal.
Click Register.

The Windows Security key setup wizard opens.
In the Security key setup window, click OK.
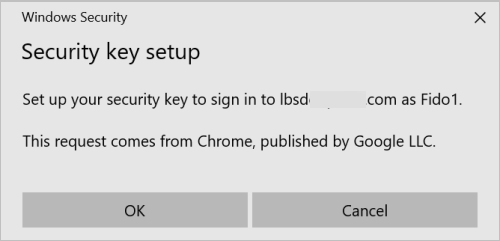
To enable the workstation to access your key, click OK.
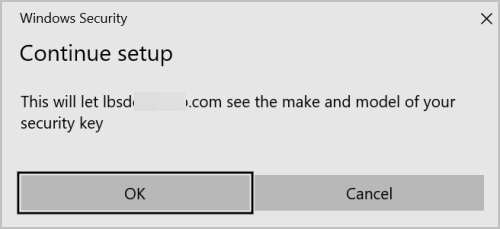
To continue enrollment, touch your key.
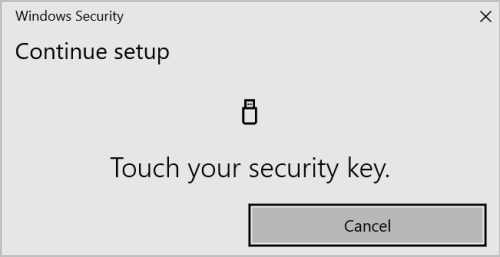
After your fingerprint is confirmed, your key will be enrolled.
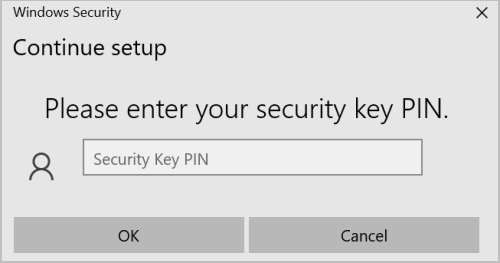
If you are prompted to provide a PIN, type your PIN and then click OK. (You will need to enter a PIN only if your fingerprint was not recognized / confirmed).
Your key is now enrolled in the system.
Follow the steps below to confirm your PIN and enroll your key in the Octopus system.
To enroll your non-biometric key:
Insert your key into the workstation.
Click the enrollment link in the invitation email.
You will be redirected to FIDO Authenticator Registration in the User Portal.
Click Register.
The Windows Security key setup wizard opens.
In the Security key setup window, click OK.
To enable the workstation to access your key, click OK.
You will then be prompted to set or provide your PIN:
If this is the first time you are using the key, go to Step 6.
If you have already set a PIN for your key, go to Step 7.
Create a PIN for your security key:
Enter a PIN in the New Security Key PIN field, and re-enter it in the field below. Then, click OK.
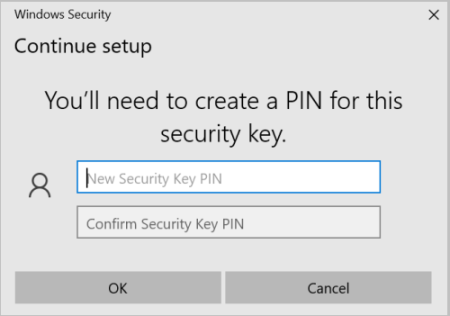
Continue with Step 8 below.
Enter your PIN, and then click OK.
To confirm the enrollment, touch your key.
Enrollment is now complete.
The login flow for FIDO authentication with MFA is Username + Password + FIDO Authenticator (touch). Users are not required to enter a PIN (even when working with a non-biometric key).
To enable users to log into Windows using FIDO MFA, the FIDO settings in the Octopus Management Console need to be configured so the PIN is not required for authentication.
To configure FIDO settings in the Management Console:
Log into the Octopus Management Console and select the Directories menu.
In the row or card of the relevant directory, click
 to open the directory settings.
Select the Authenticators tab.
Under FIDO2 Authentication Settings, configure the following settings:
FIDO Authenticator: Enabled
User Verification Required (PIN): Disabled
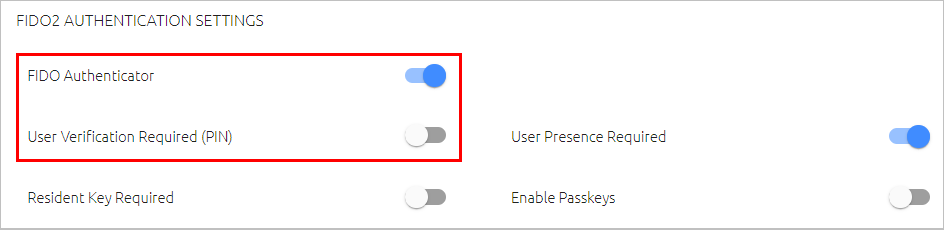
At the bottom of the tab, click Save.
From the toolbar at the top of the page, click PUBLISH and publish your changes.
The following sections describe the user experience of logging into Windows using FIDO authentication.
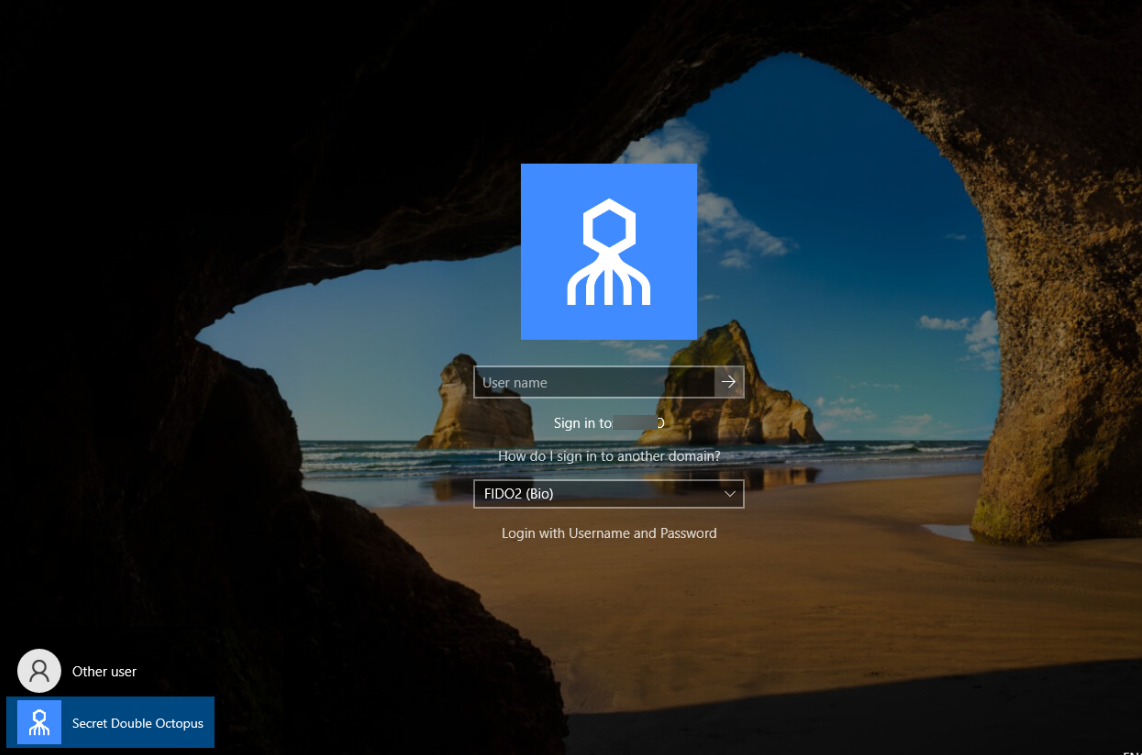
Passwordless Login with Biometric Keys
When logging into Windows, users enter a username and then touch the FIDO key. There is no need to enter a PIN during the authentication process.
 |
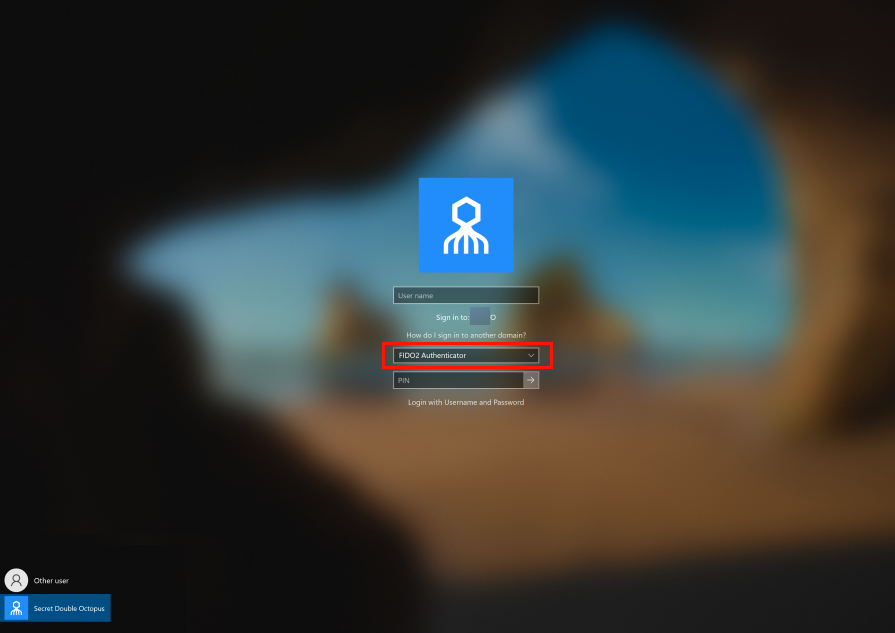
Passwordless Login with Non-biometric Keys
When logging into Windows, users enter a username and PIN, and then touch the FIDO key.
 |
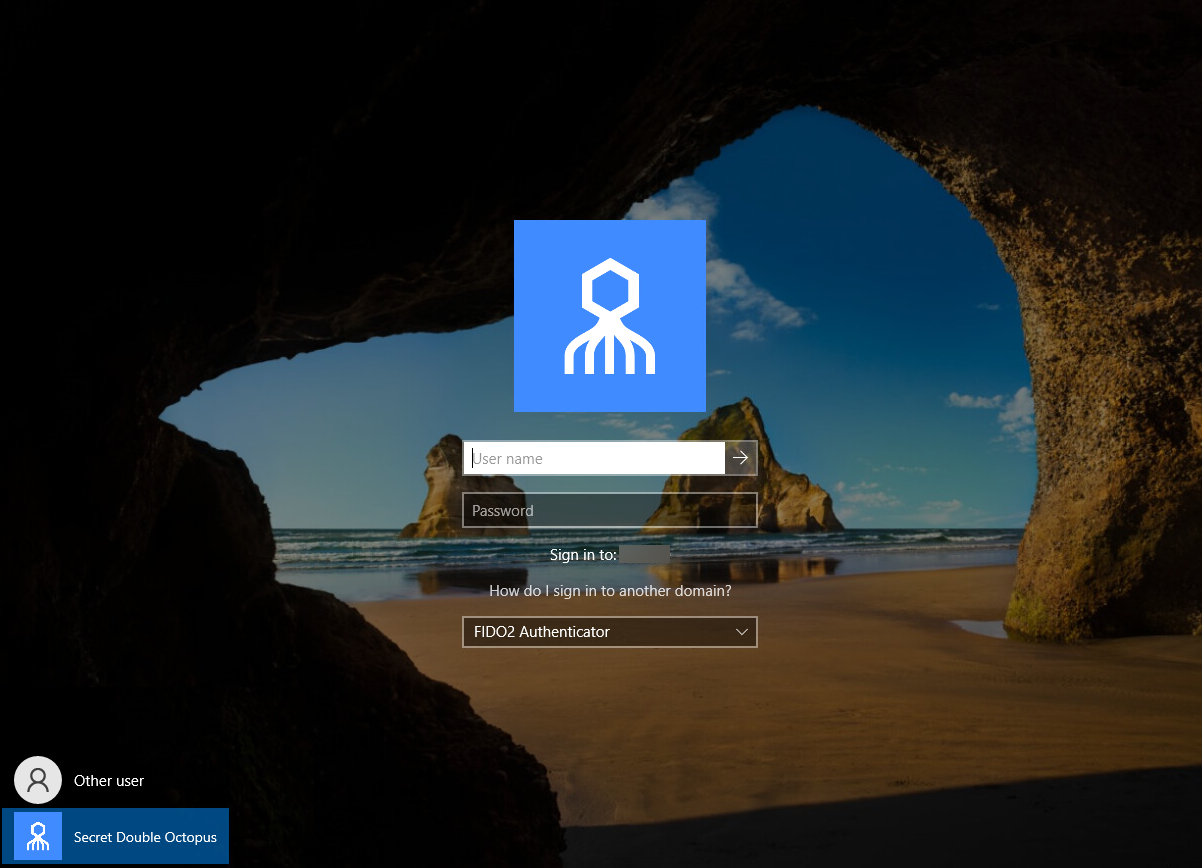
MFA Login (All Keys)
To log into Windows with multi-factor authentication, users enter a username and password, and then touch the FIDO key. The authentication process is the same for both biometric and non-biometric keys.
 |